How To Ship Tube Amplifiers - Packaging (Finding A Gem Down a Dark Dirt Road Pt. IV)
Jan 26, 2026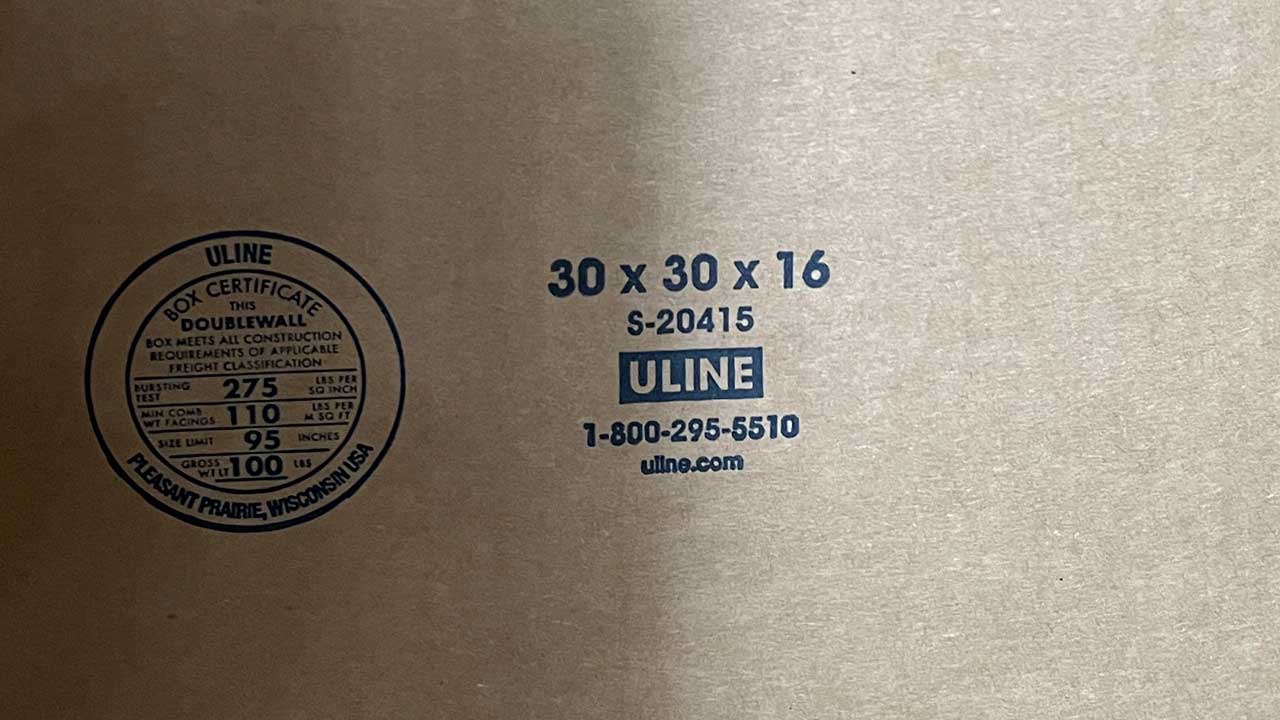
If you are not going to pull the chassis and/or speakers, proceed to follow the cabinet packing instructions for packaging the entire amp. The steps are the same, albeit with fewer shipments.
In my case, I had to ship:
- Eight speakers (four original Fender Special Design branded CTS alnicos plus the Eminence Lil’ Buddy speakers in use at the time of sale).
- The Super Reverb cabinet (for 4x10" speakers)
- The amplifier chassis
- Tubes, tube shields, original reverb tank, footswitch, original snowman-8 knobs, some removed original parts (capacitors, resistors, reverb cables) from previous service provided at time of sale.
Finding The Boxes:
In the past I have simply gone to guitar shops and asked for permission to see if they have boxes in their dumpster to re-use but a ’66 Super deserves better. My unfair advantage was having the Uline warehouse in Lacey, WA for local pickup. These are really good double-walled boxes rated for ample weight.
Admittedly, if I had to order boxes freight charges would make it untenable just to get materials for packaging. In my case, instead of $75 for freight it was a $25 convenience fee for local pickup but that was really more like a ticket to the amusement park once I got to the inside of the warehouse and began pondering leaving music to work at an Uline warehouse. The inside was like a little city as far as the eye can see with workers on vehicles delivering orders to pickup bays.
Many others would not have the unfair warehouse advantage so whatever boxes you are able to procure, the basic steps are:
-
Eliminate shifting in shipment. Shifting may be just as bad as dropping. Package to eliminate shifting.
-
Use padding to eliminate the shifting.
- Take measurements to fit things as well as possible. Ideally you want a box slightly larger but not very much larger than the speaker cabinet (or entire amp if that’s what you are going to do).
Measurements:
Taking measurements it was determined that I needed:
- Two 30x30x16 boxes. One allowed for eight speakers in boxes. The other for the bare cabinet.
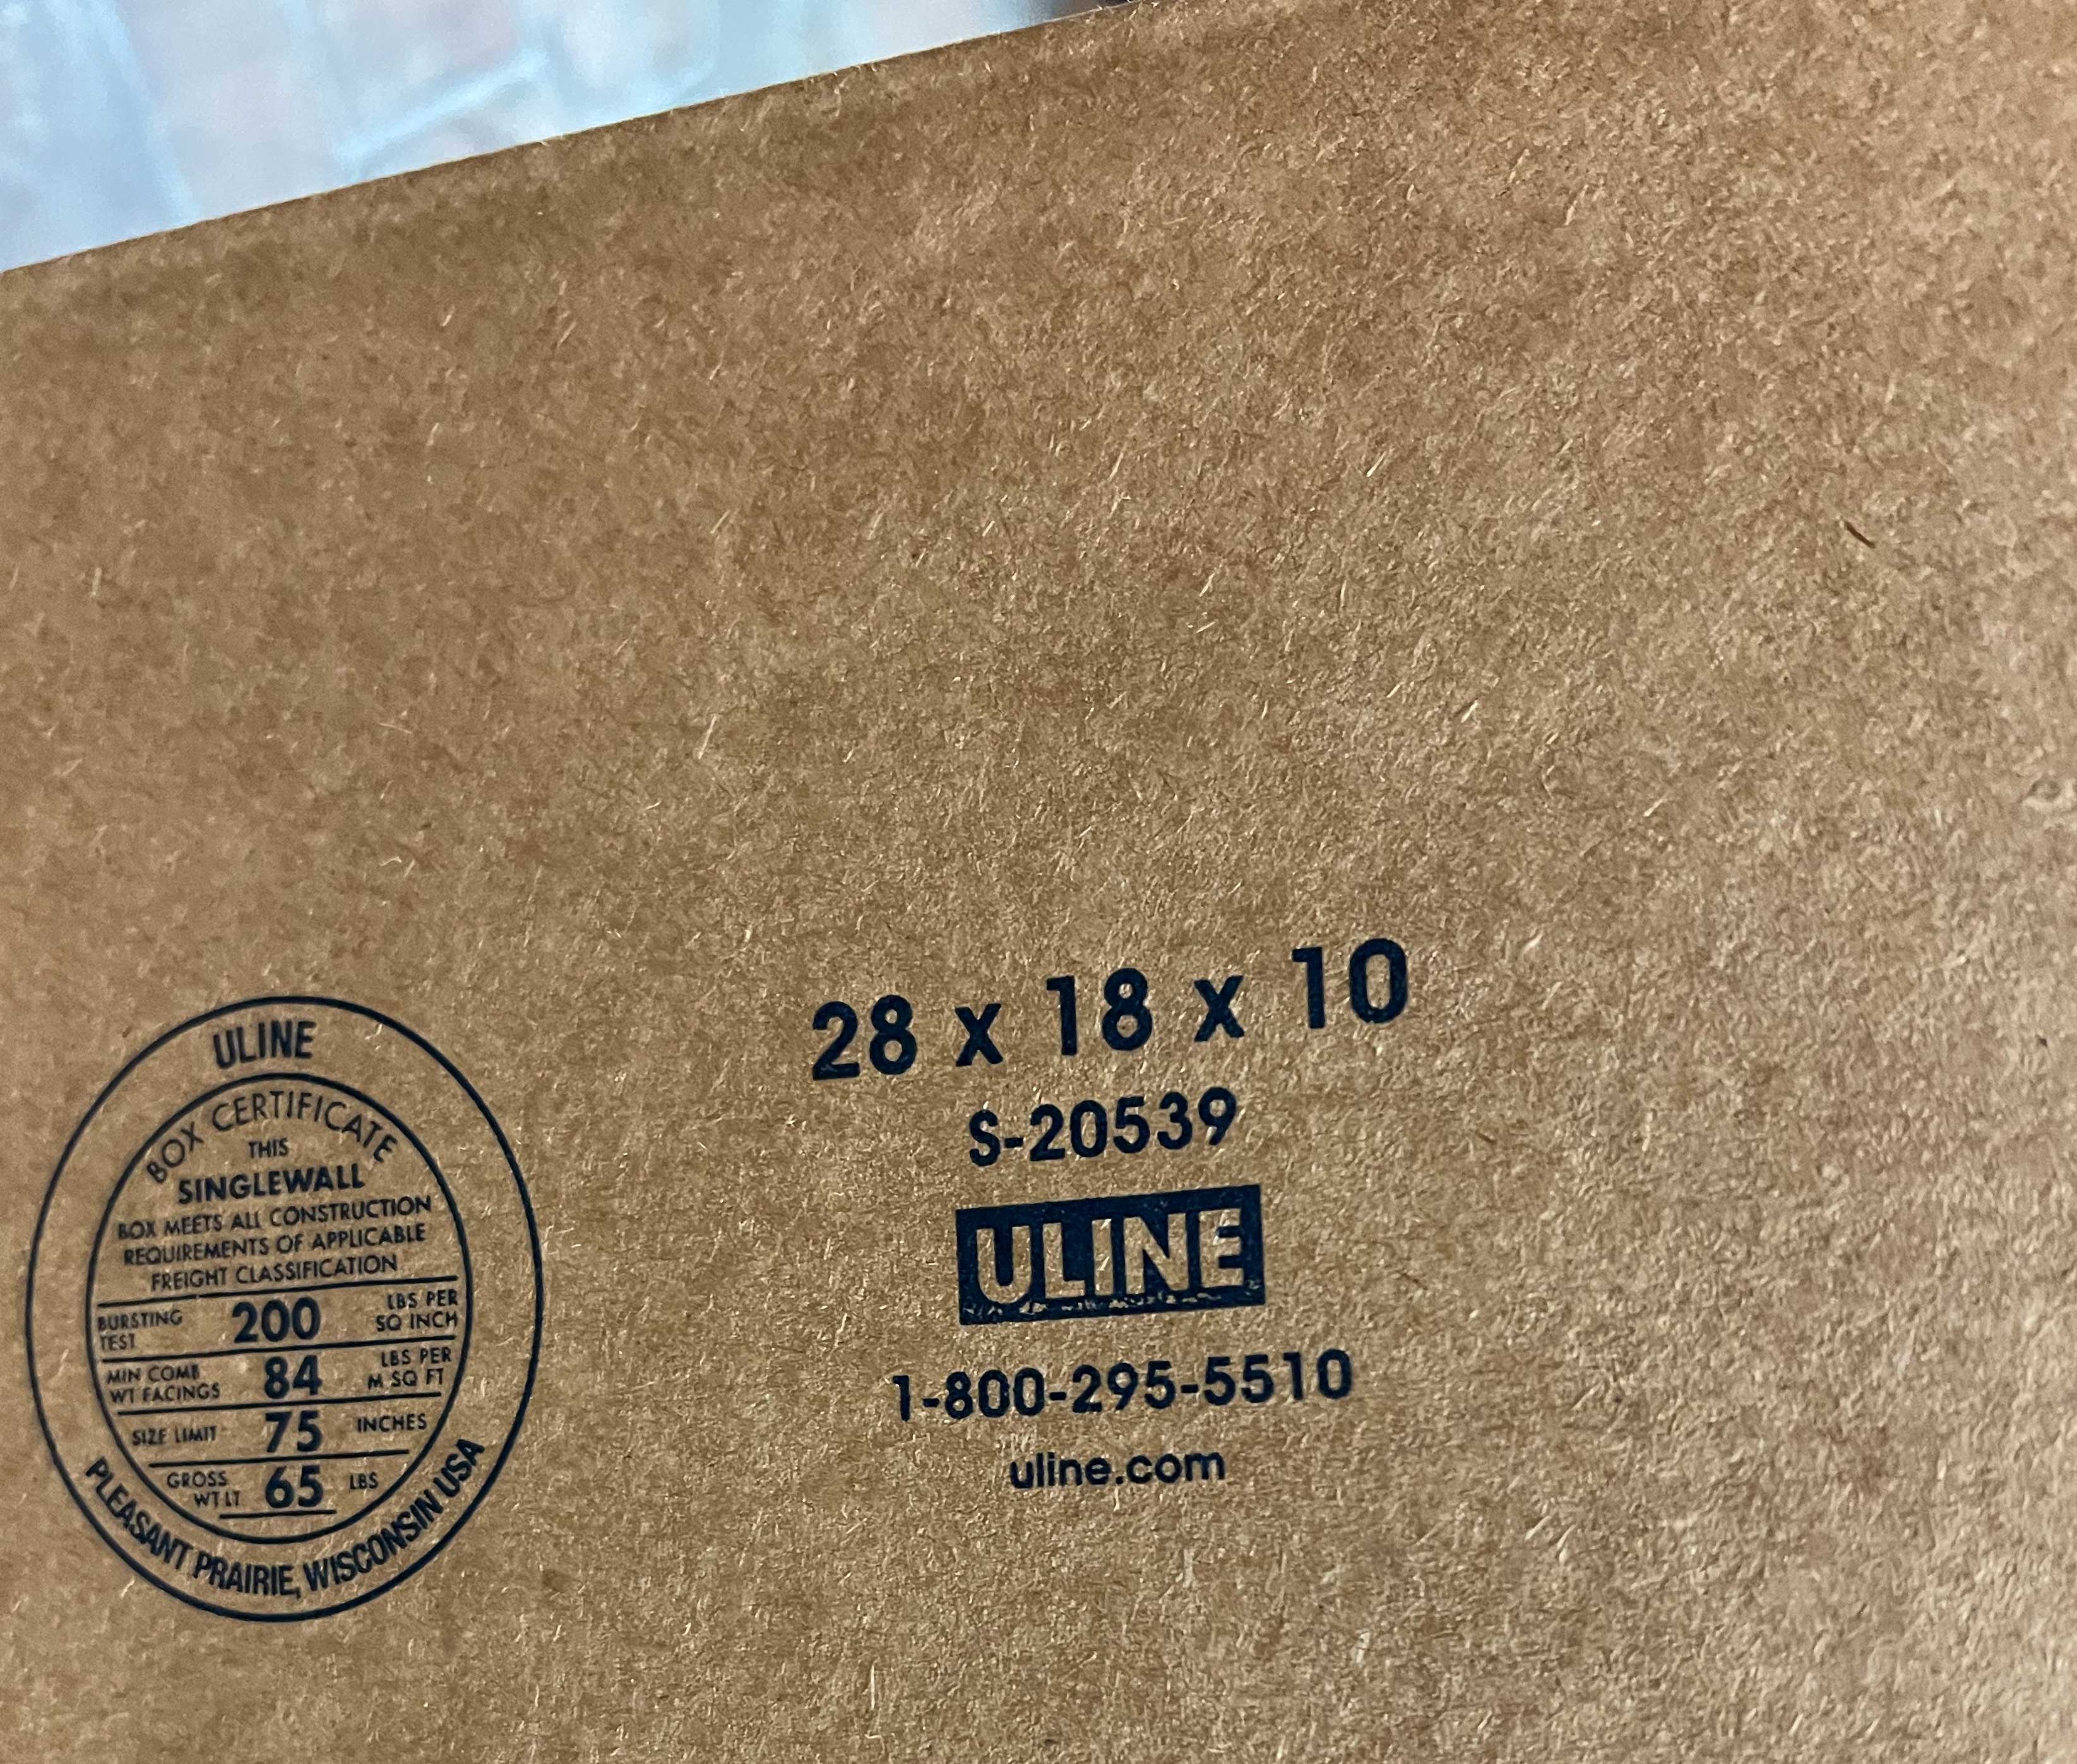
- One 28x18x10 box for the chassis.
- I sourced one more box in the house with dimensions 30x15x6 for the most fragile items. The reverb tank fit within that box and the box dimensions allowed for two smaller boxes inside. One for tubes and the other for the original snowman 8 knobs, reverb/tremolo footswitch, and chassis mounting hardware.
All measurements were taken in order to allow for additional packaging material.
Supplies:
- Rigid insulation foam (I got the foil faced stuff). 2” is used to line the boxes but I went ahead and also got a sheet of 1.5” as well (just to fill smaller gaps where needed). This may be found at Home Depot.
- Metal ruler - 4 ft.
- Utility knife (I used a a carpet knife).
- Sharpie or red pencil to draw lines for cutting foam to size.
- Gloves if you want to be extra careful
- Bubble wrap
- Packing tape.
Cabinet Packing Instructions - Building The Box:
1. Mark the foam:
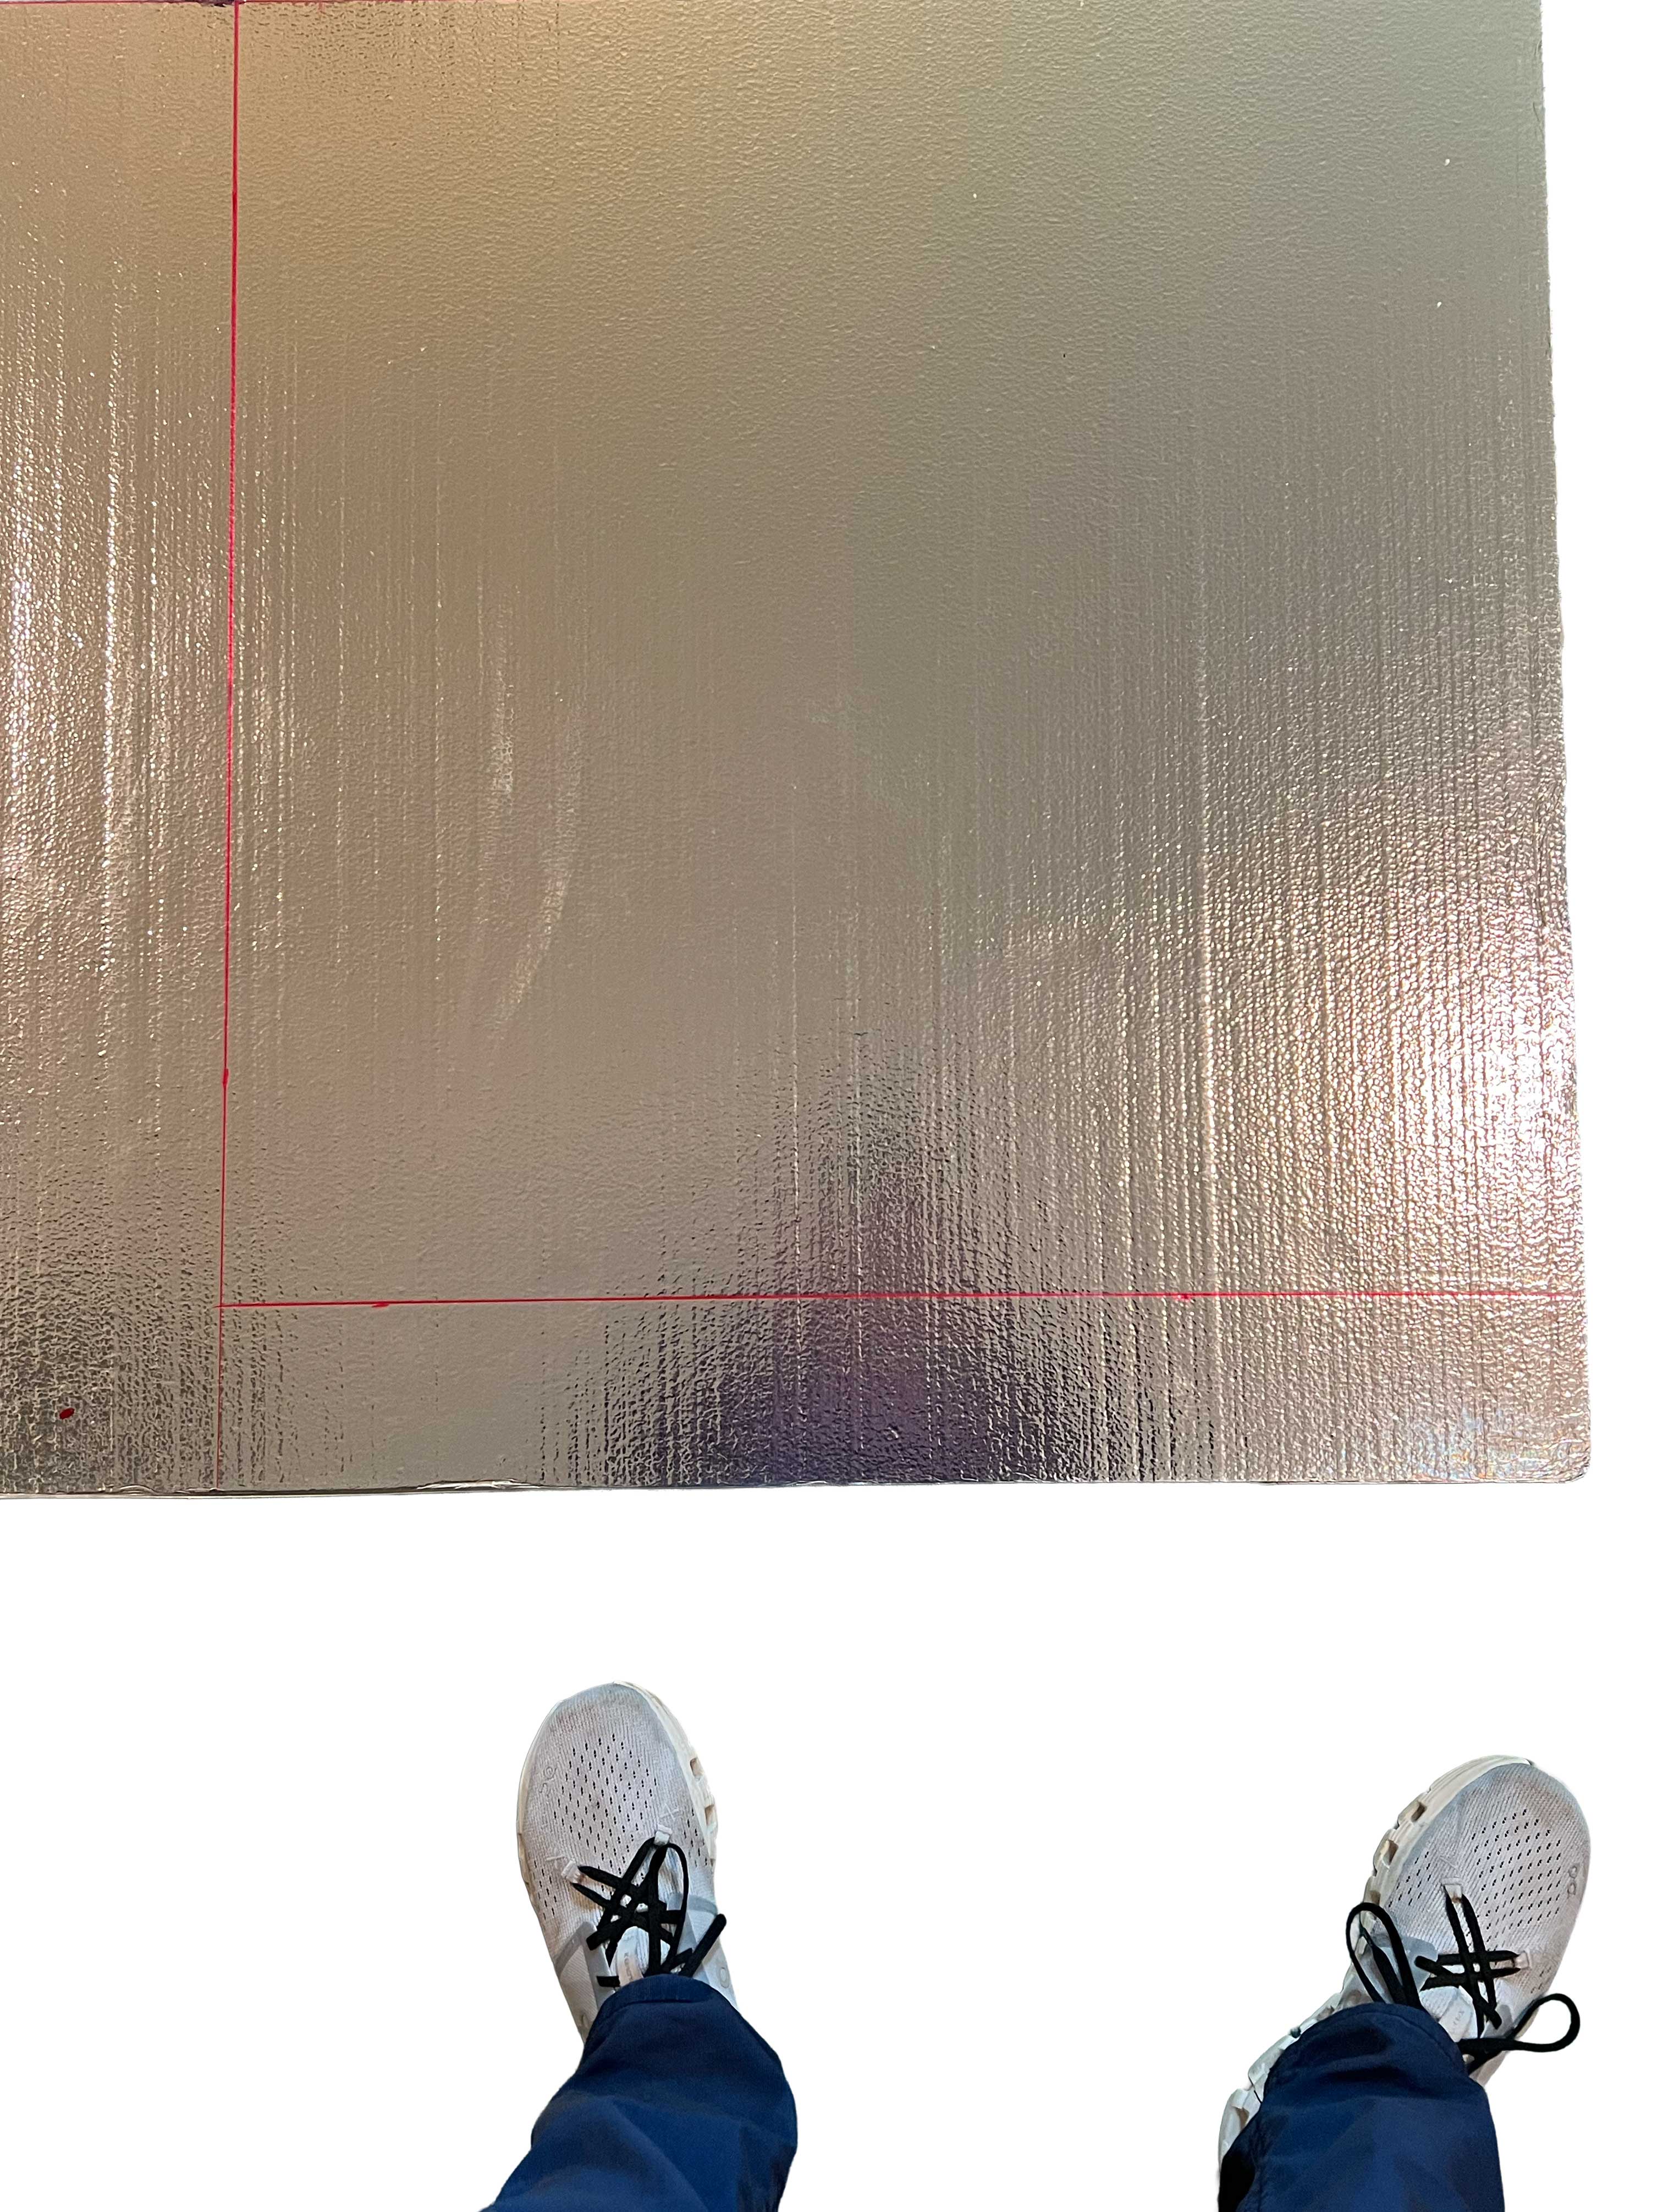
2. Then use the metal ruler to guide the blade:
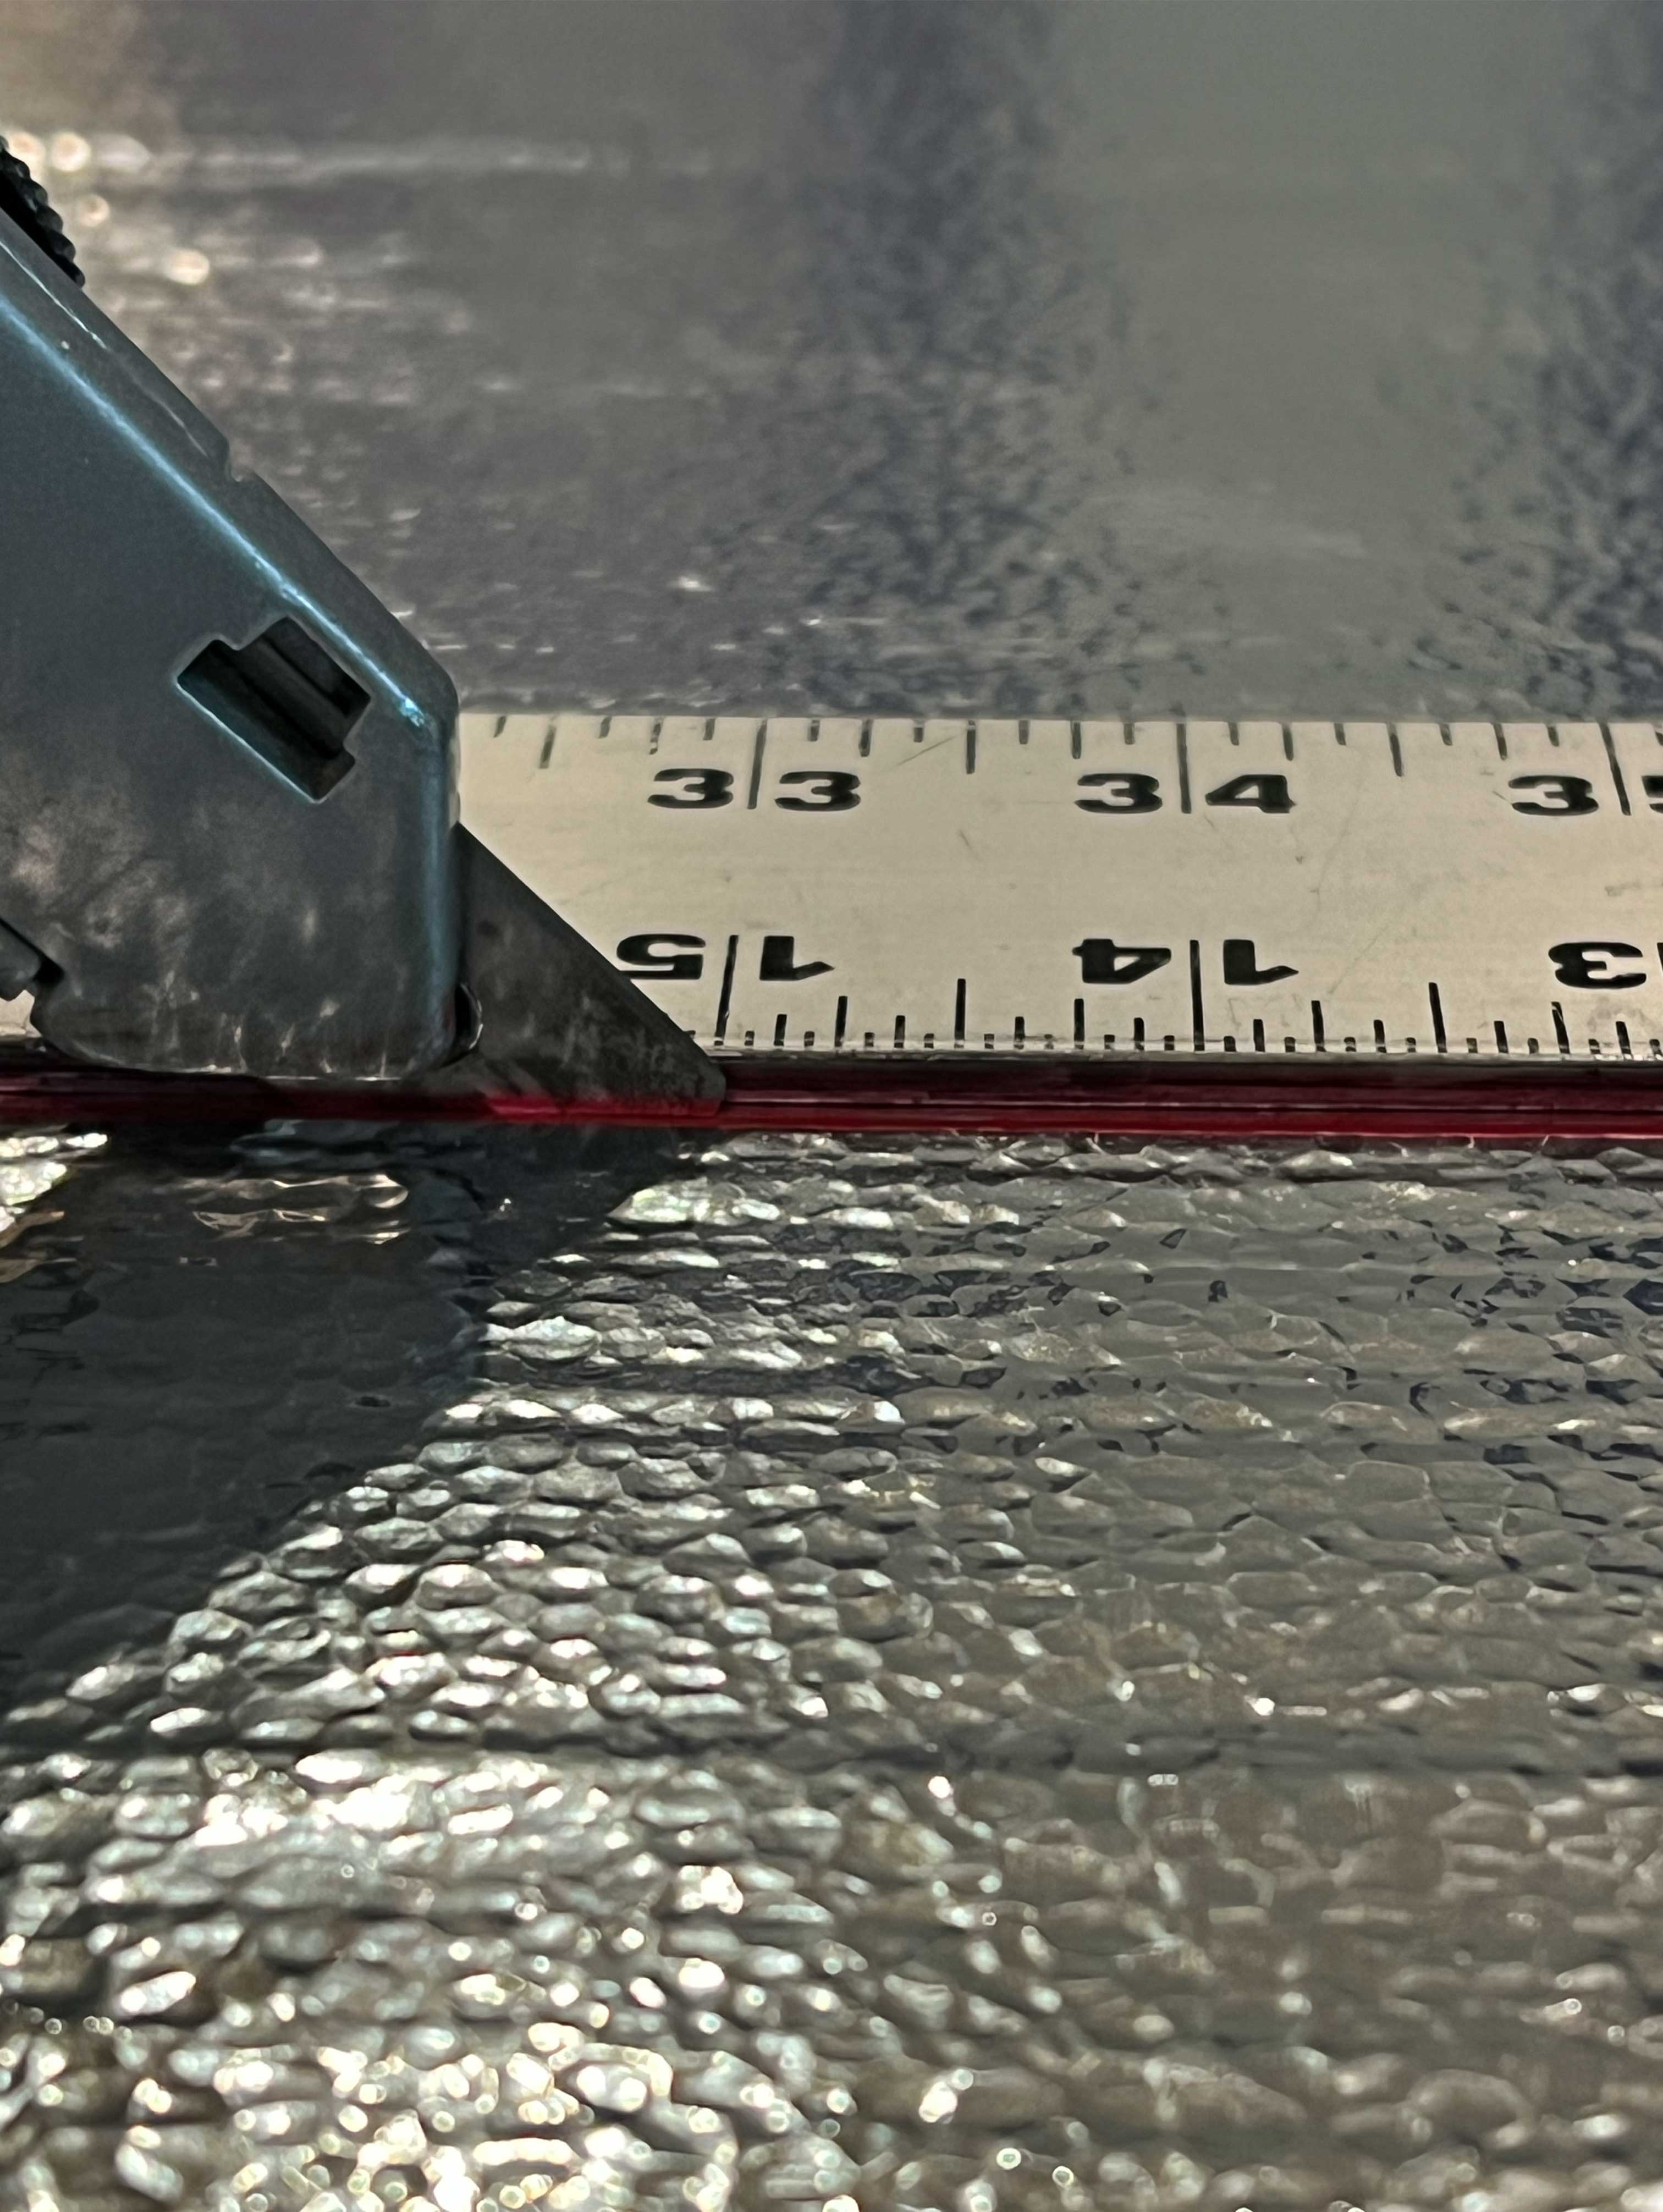
You’ll need to use your hand to hit the underside of the foam and break it along the line. With a clean cut and accurate measurements, tolerances are close enough. An insulation knife can always cut away any excess if the fit is not perfect:
(The clip below is an embedded video, not just photo. Click to play.)
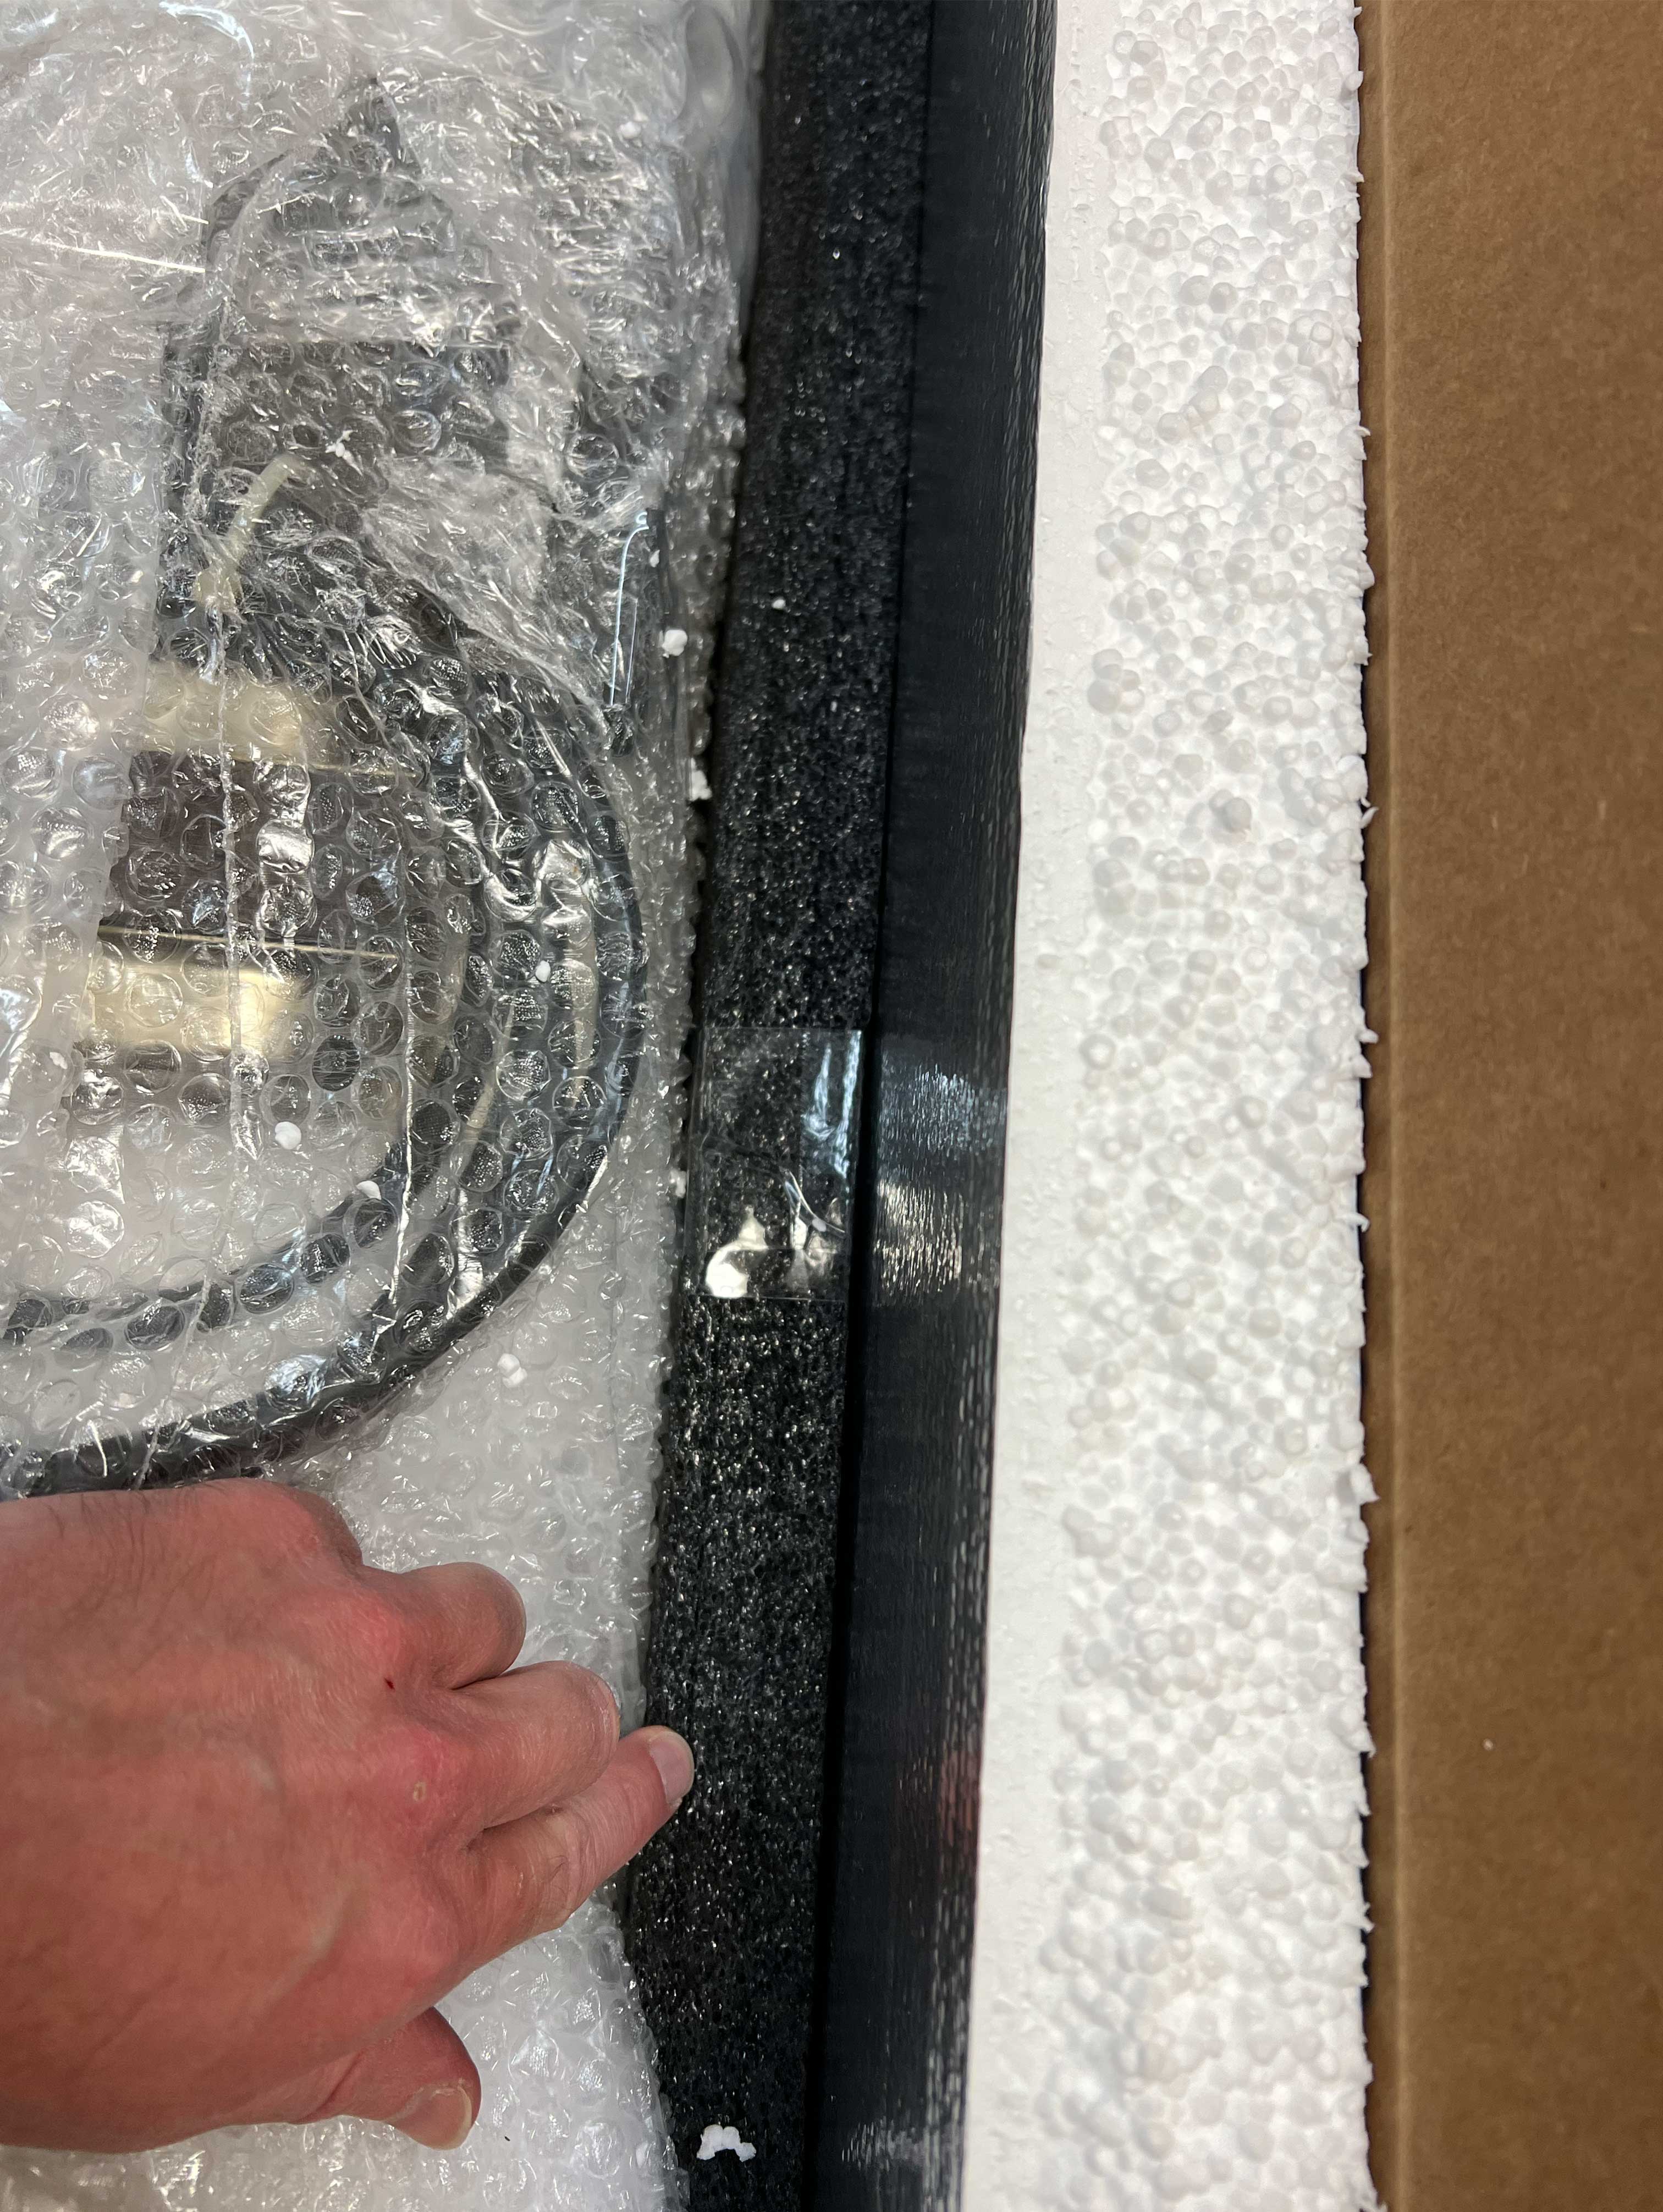
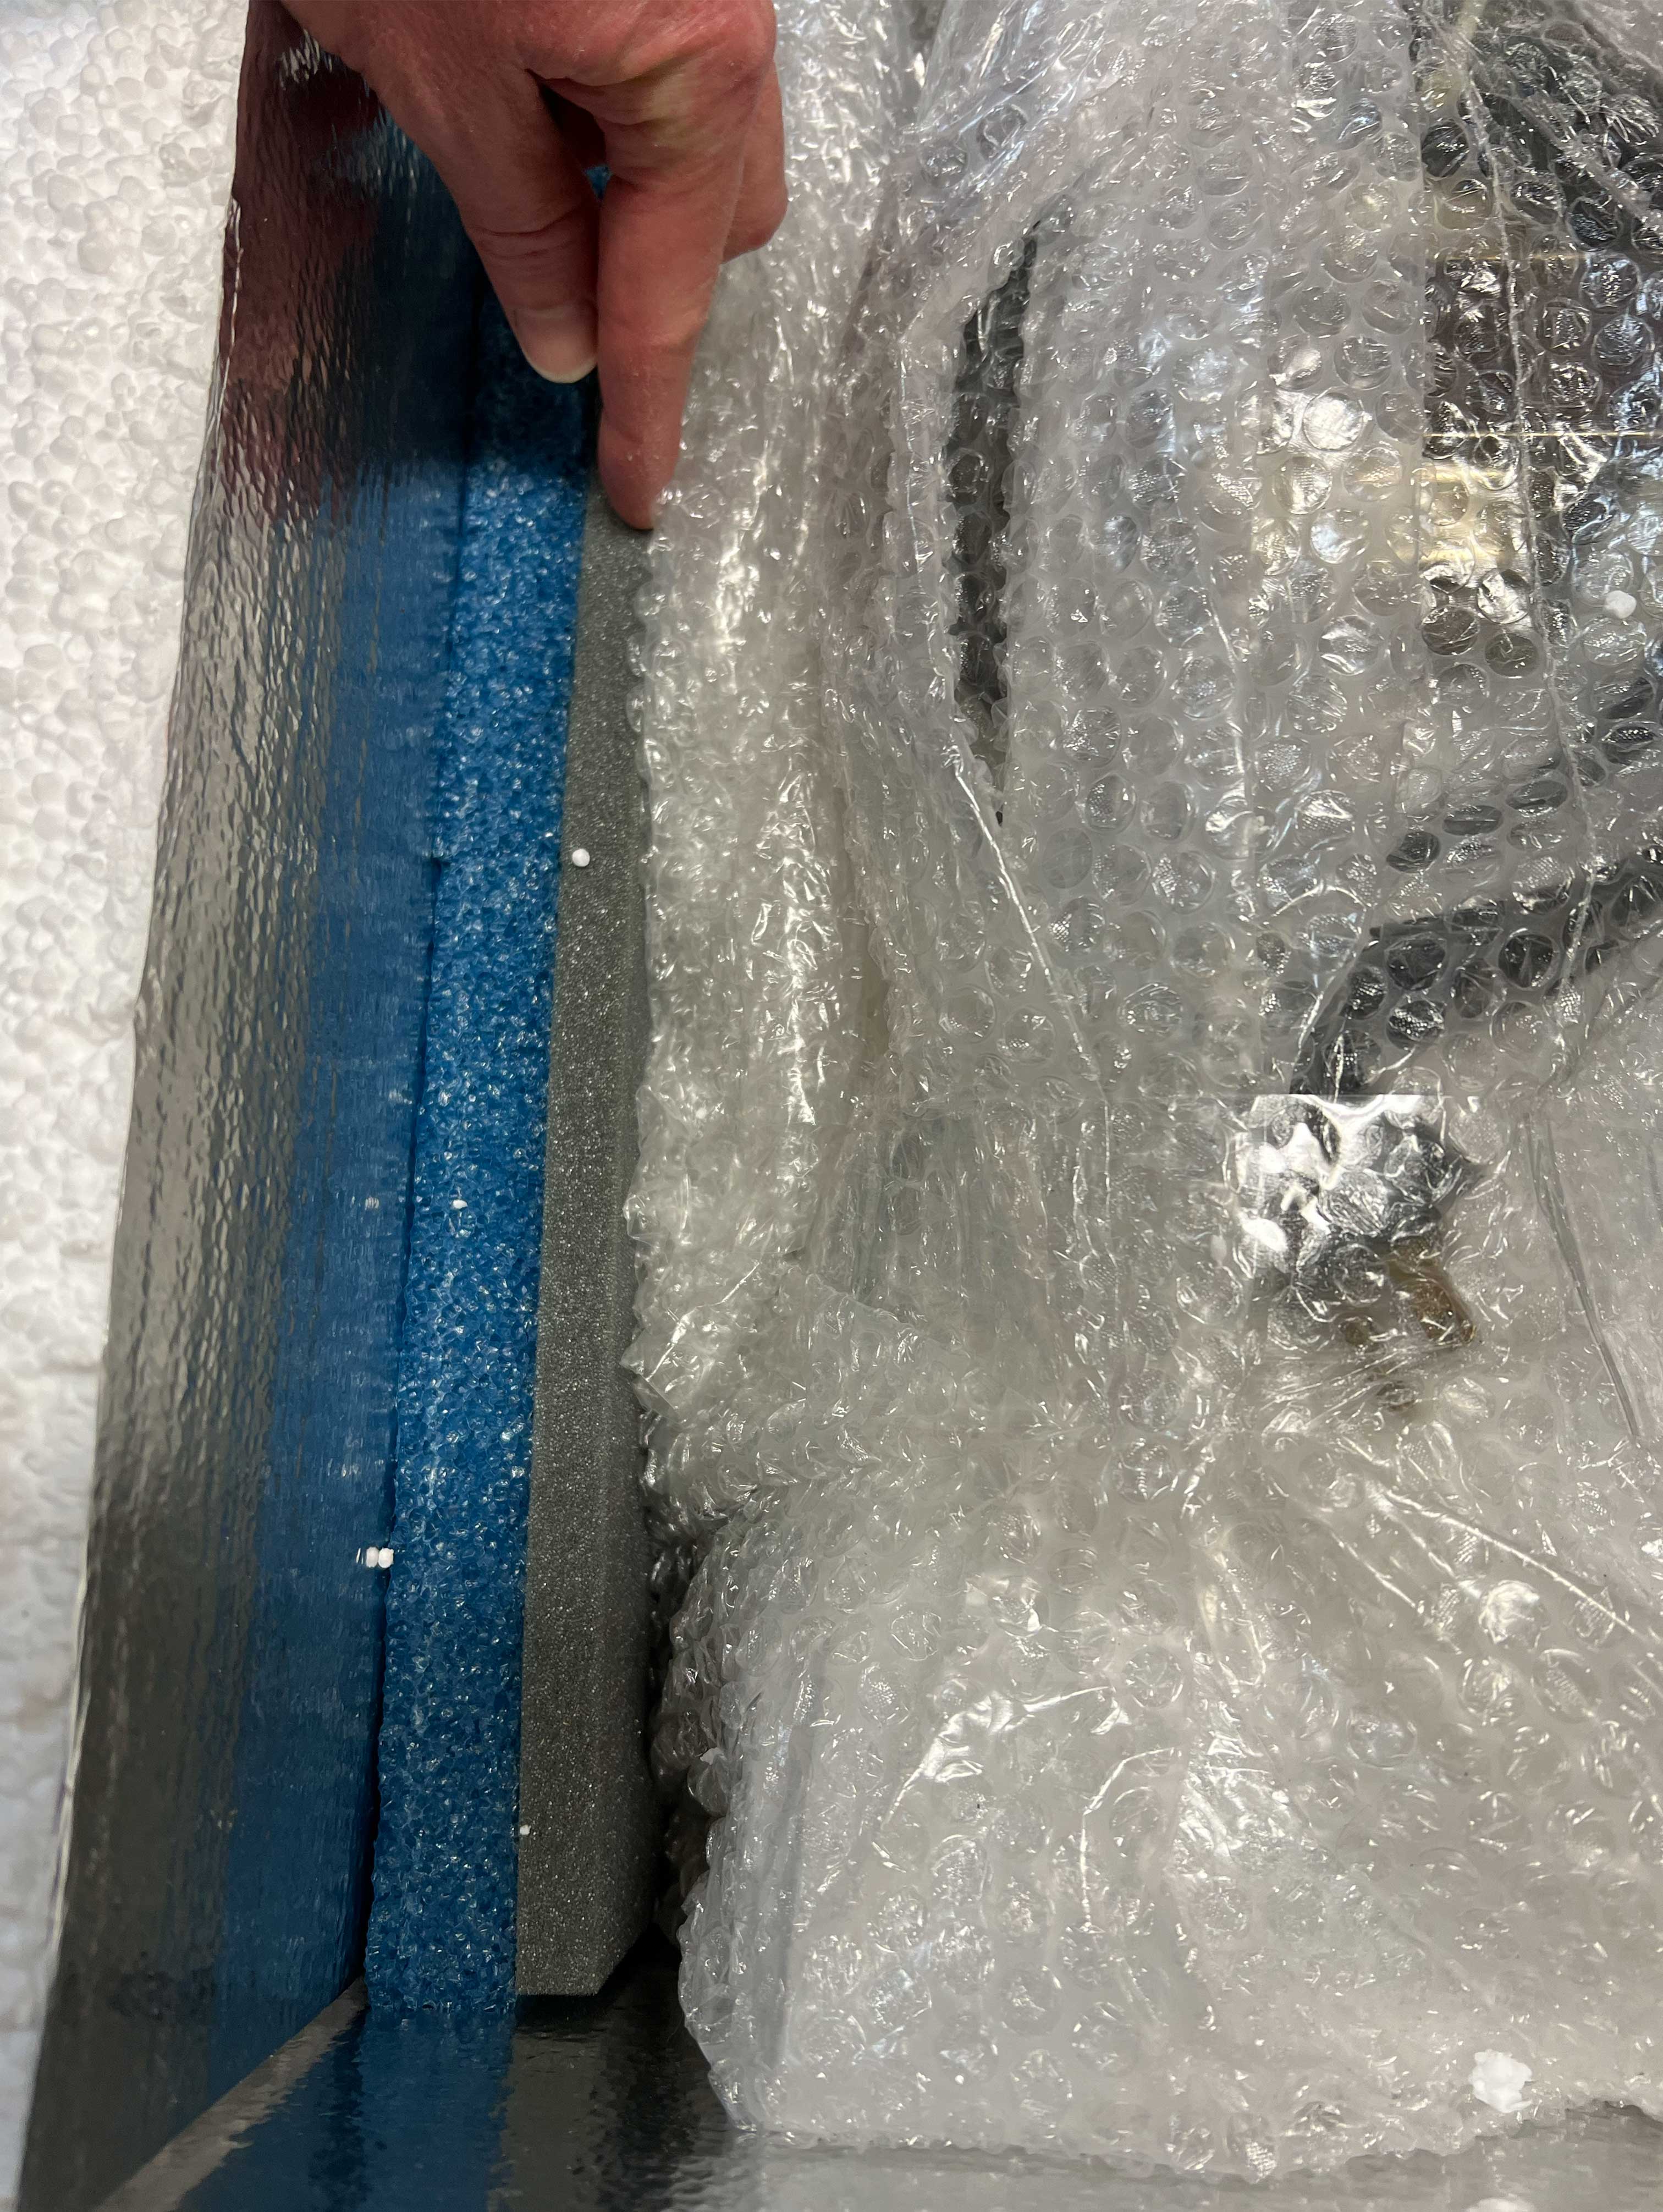
3. Make your measurements to allow for 2” of foam on the bottom, top, and sides when fitted to the box:
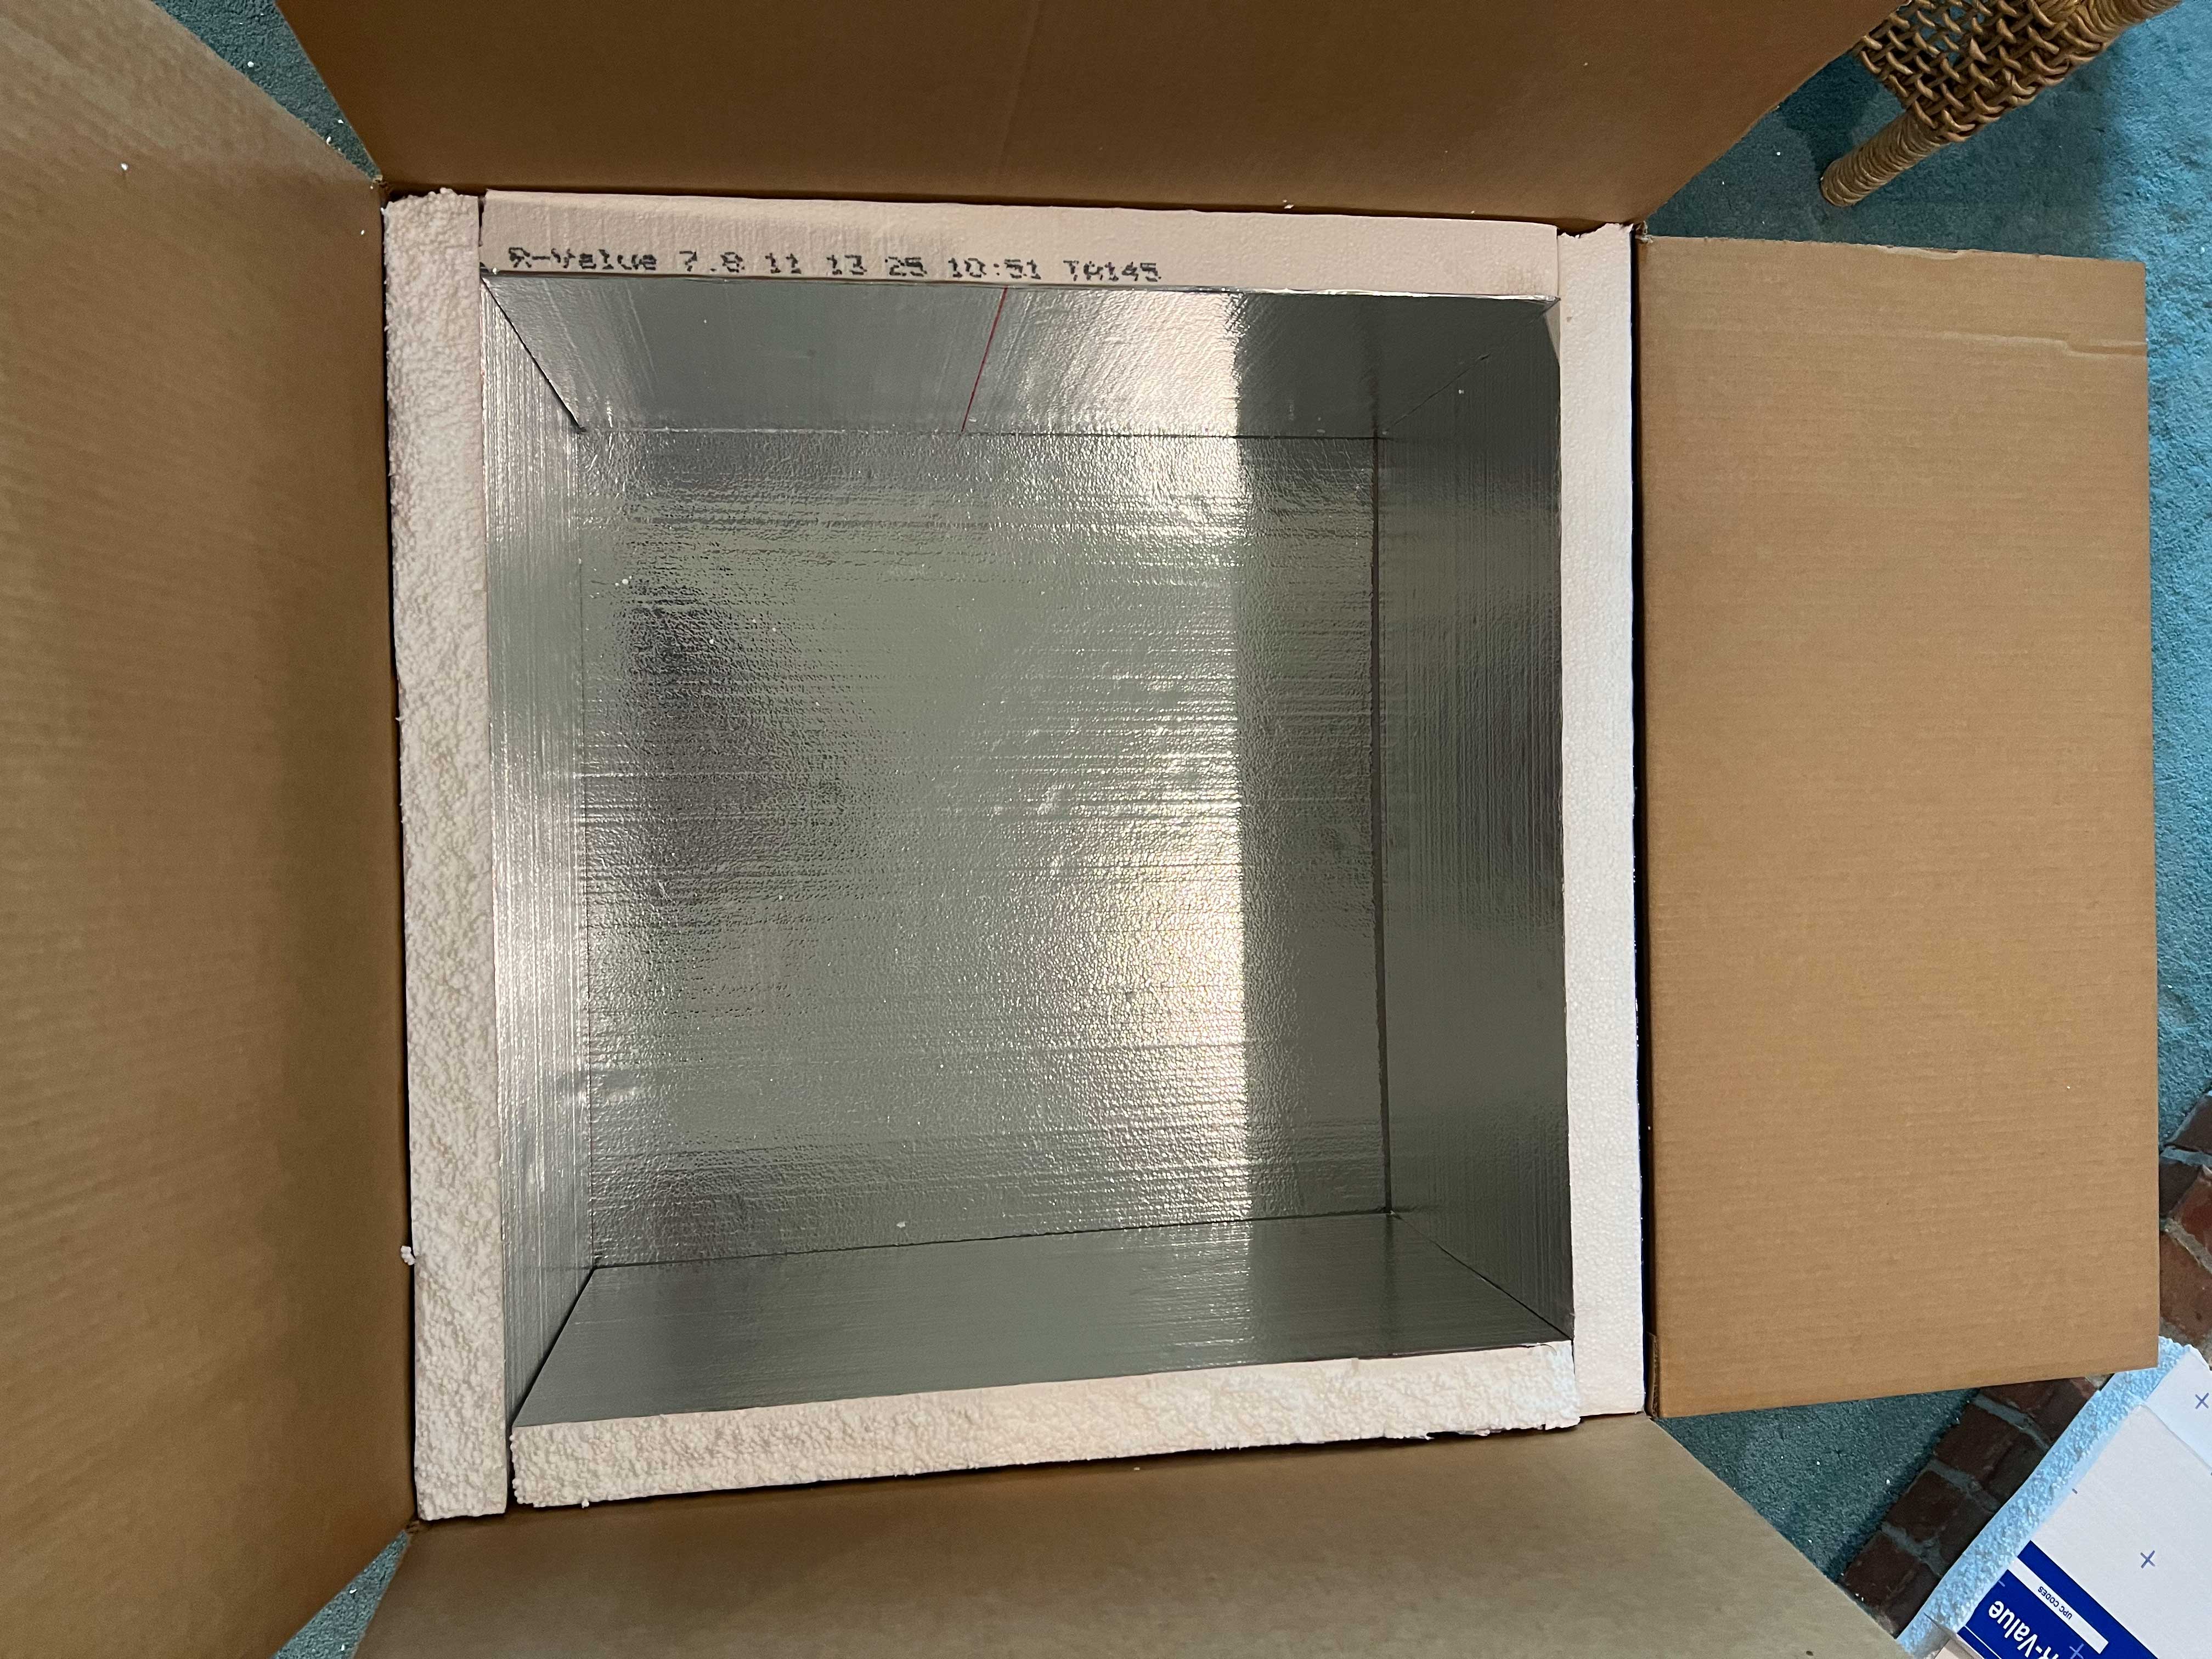
Because a couple extra cardboard slip sheets were given with the order (perhaps by accident), I went one step further and used a carton sizer (also from Uline) to fabricate a second box fitted around the cabinet itself. The idea was to keep foam from getting wedged in-between the grill cloth and baffle board (while also providing an extra layer of protection, now creating a foam box within a double-walled box for a cabinet that was also boxed. That's like triple boxed!).
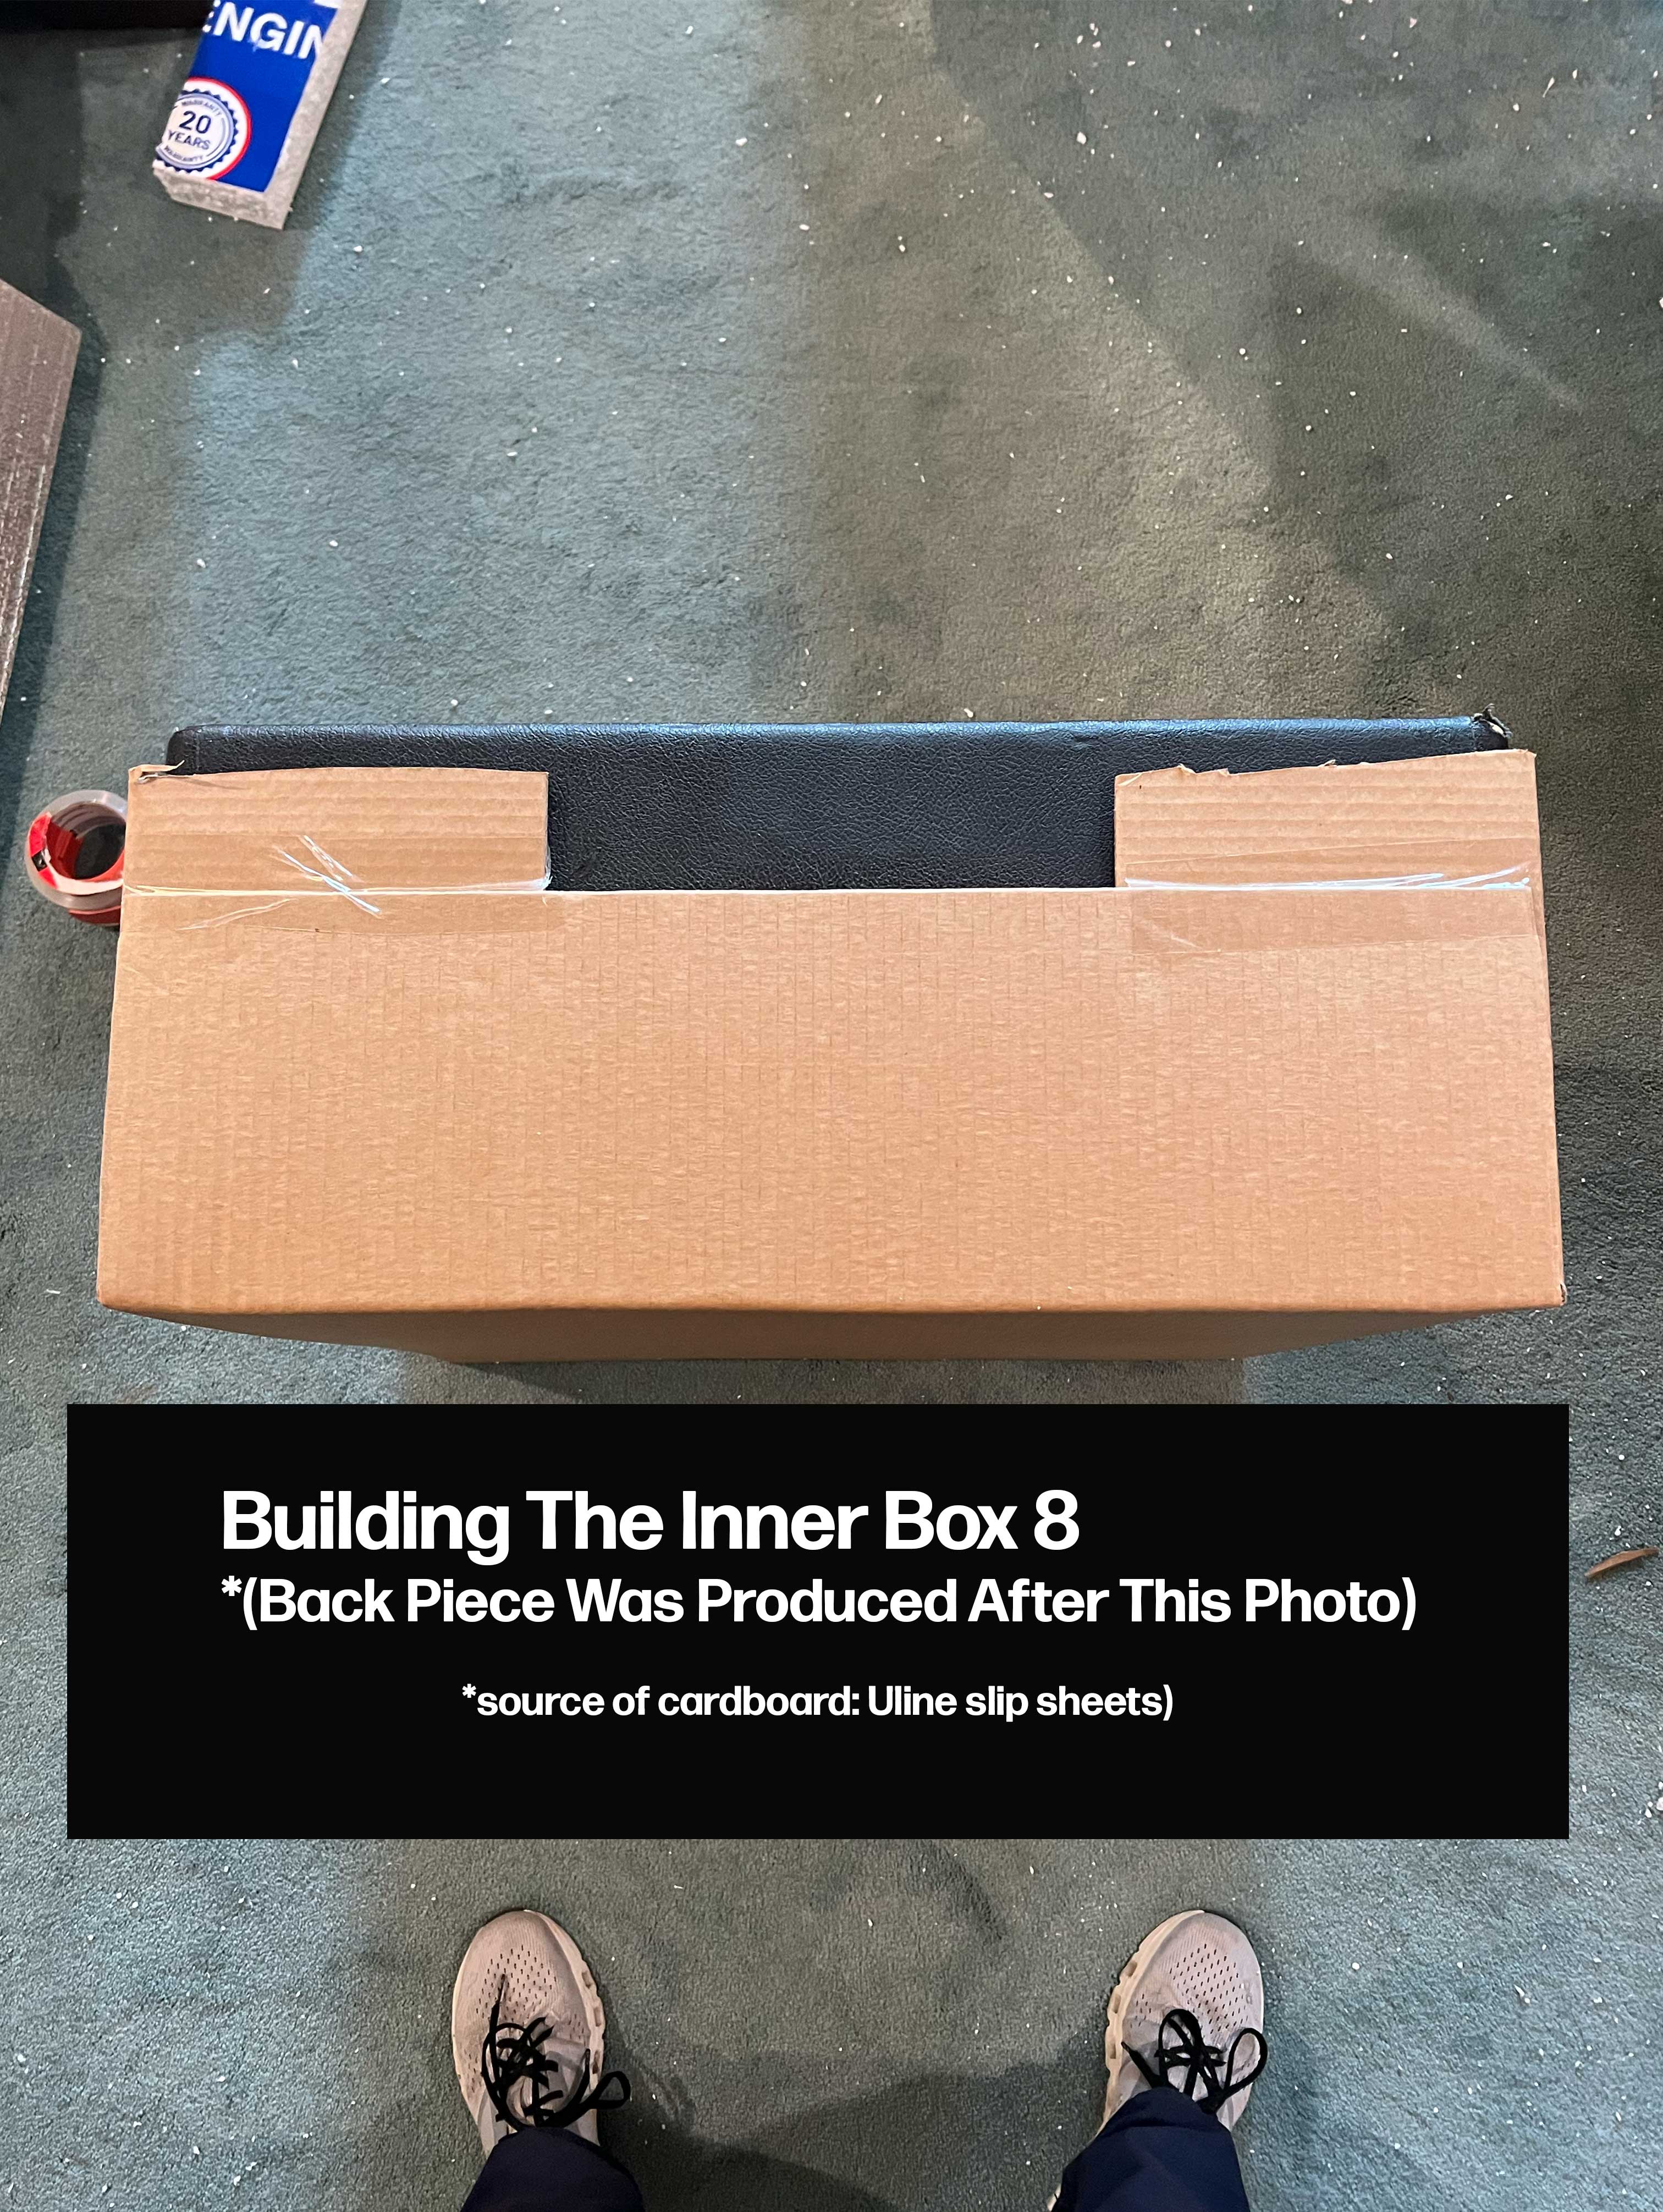
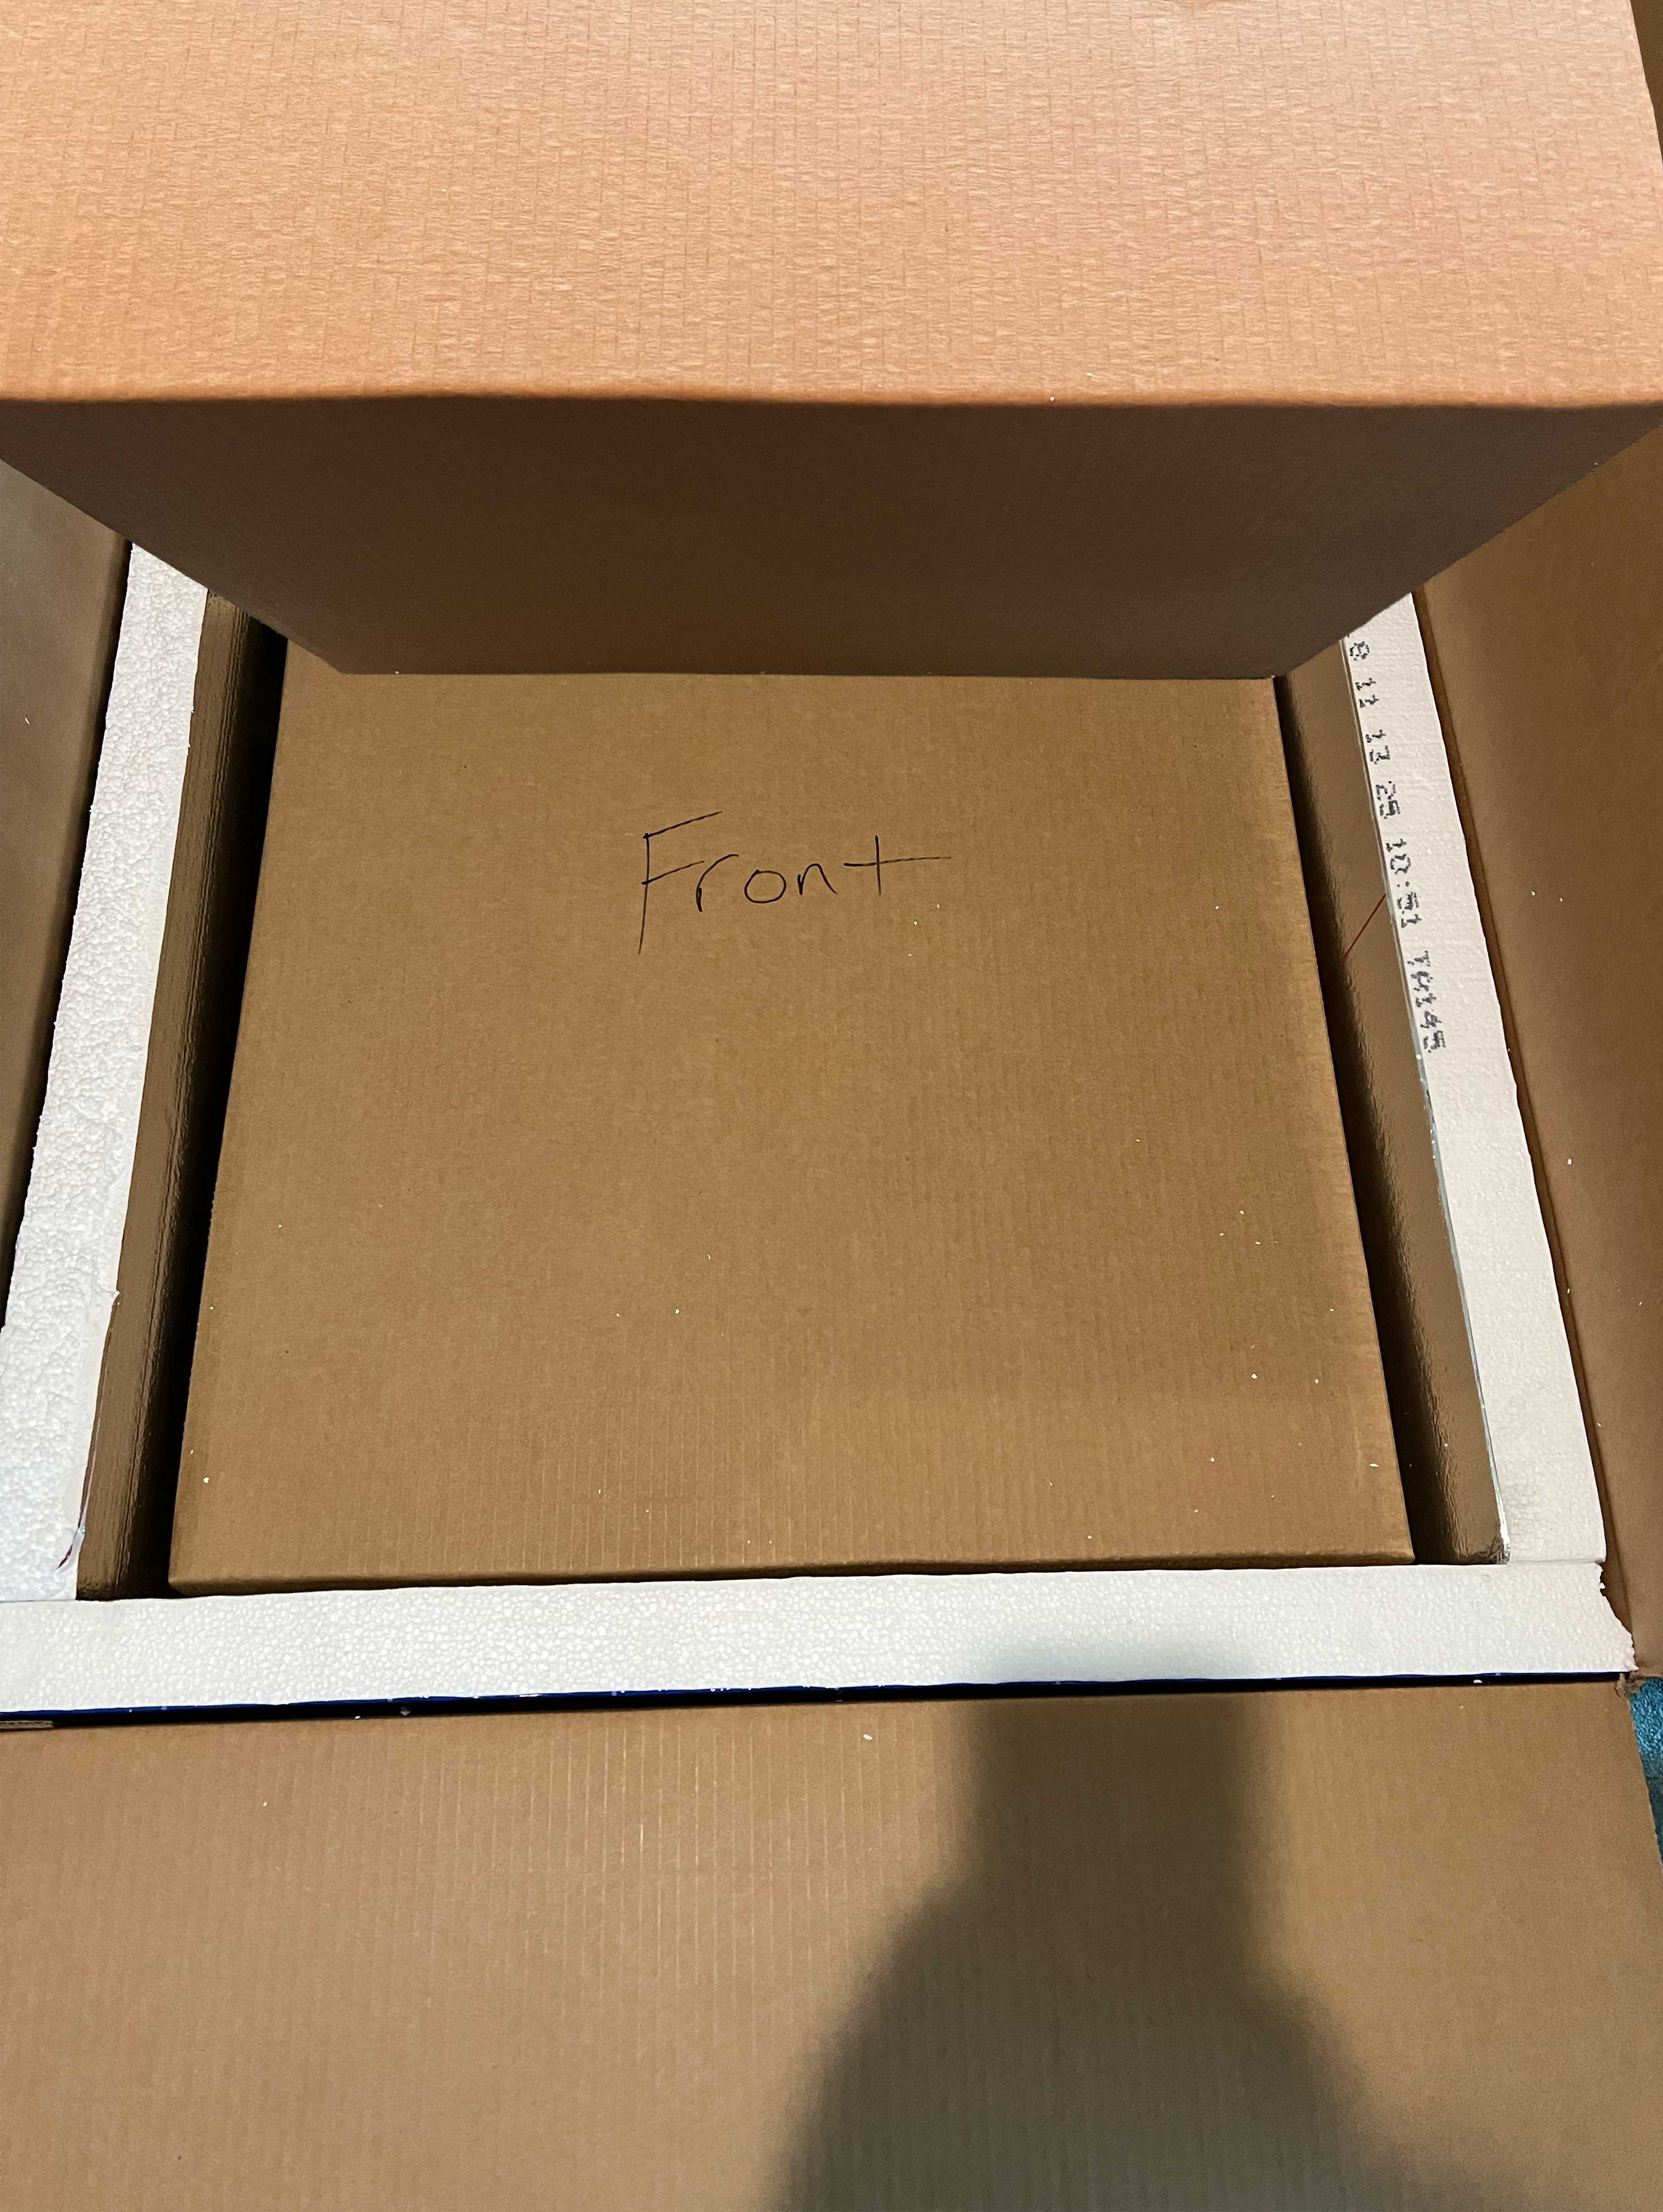
Placing the inner box into the outer box lined in 2” foam:
It was about this time that I was starting to think “maybe I just could have shipped the entire amp this way.” Realistically, that’s what most people would do.
If you are not going to do what I did and are going to ship an amp without removing all possible sources of jackhammering damage (recalling the story about my Dual 1219 turntable that arrived with platter shaft collapsed and unusable - story from Part II in this installment), then what I’ve shown for the cabinet packaging may be your best bet for packaging the entire amp. (which is why I wanted to start the instruction with how I packaged the cabinet, as that will apply to the most amount of people looking for a single answer on how to ship a guitar amp).
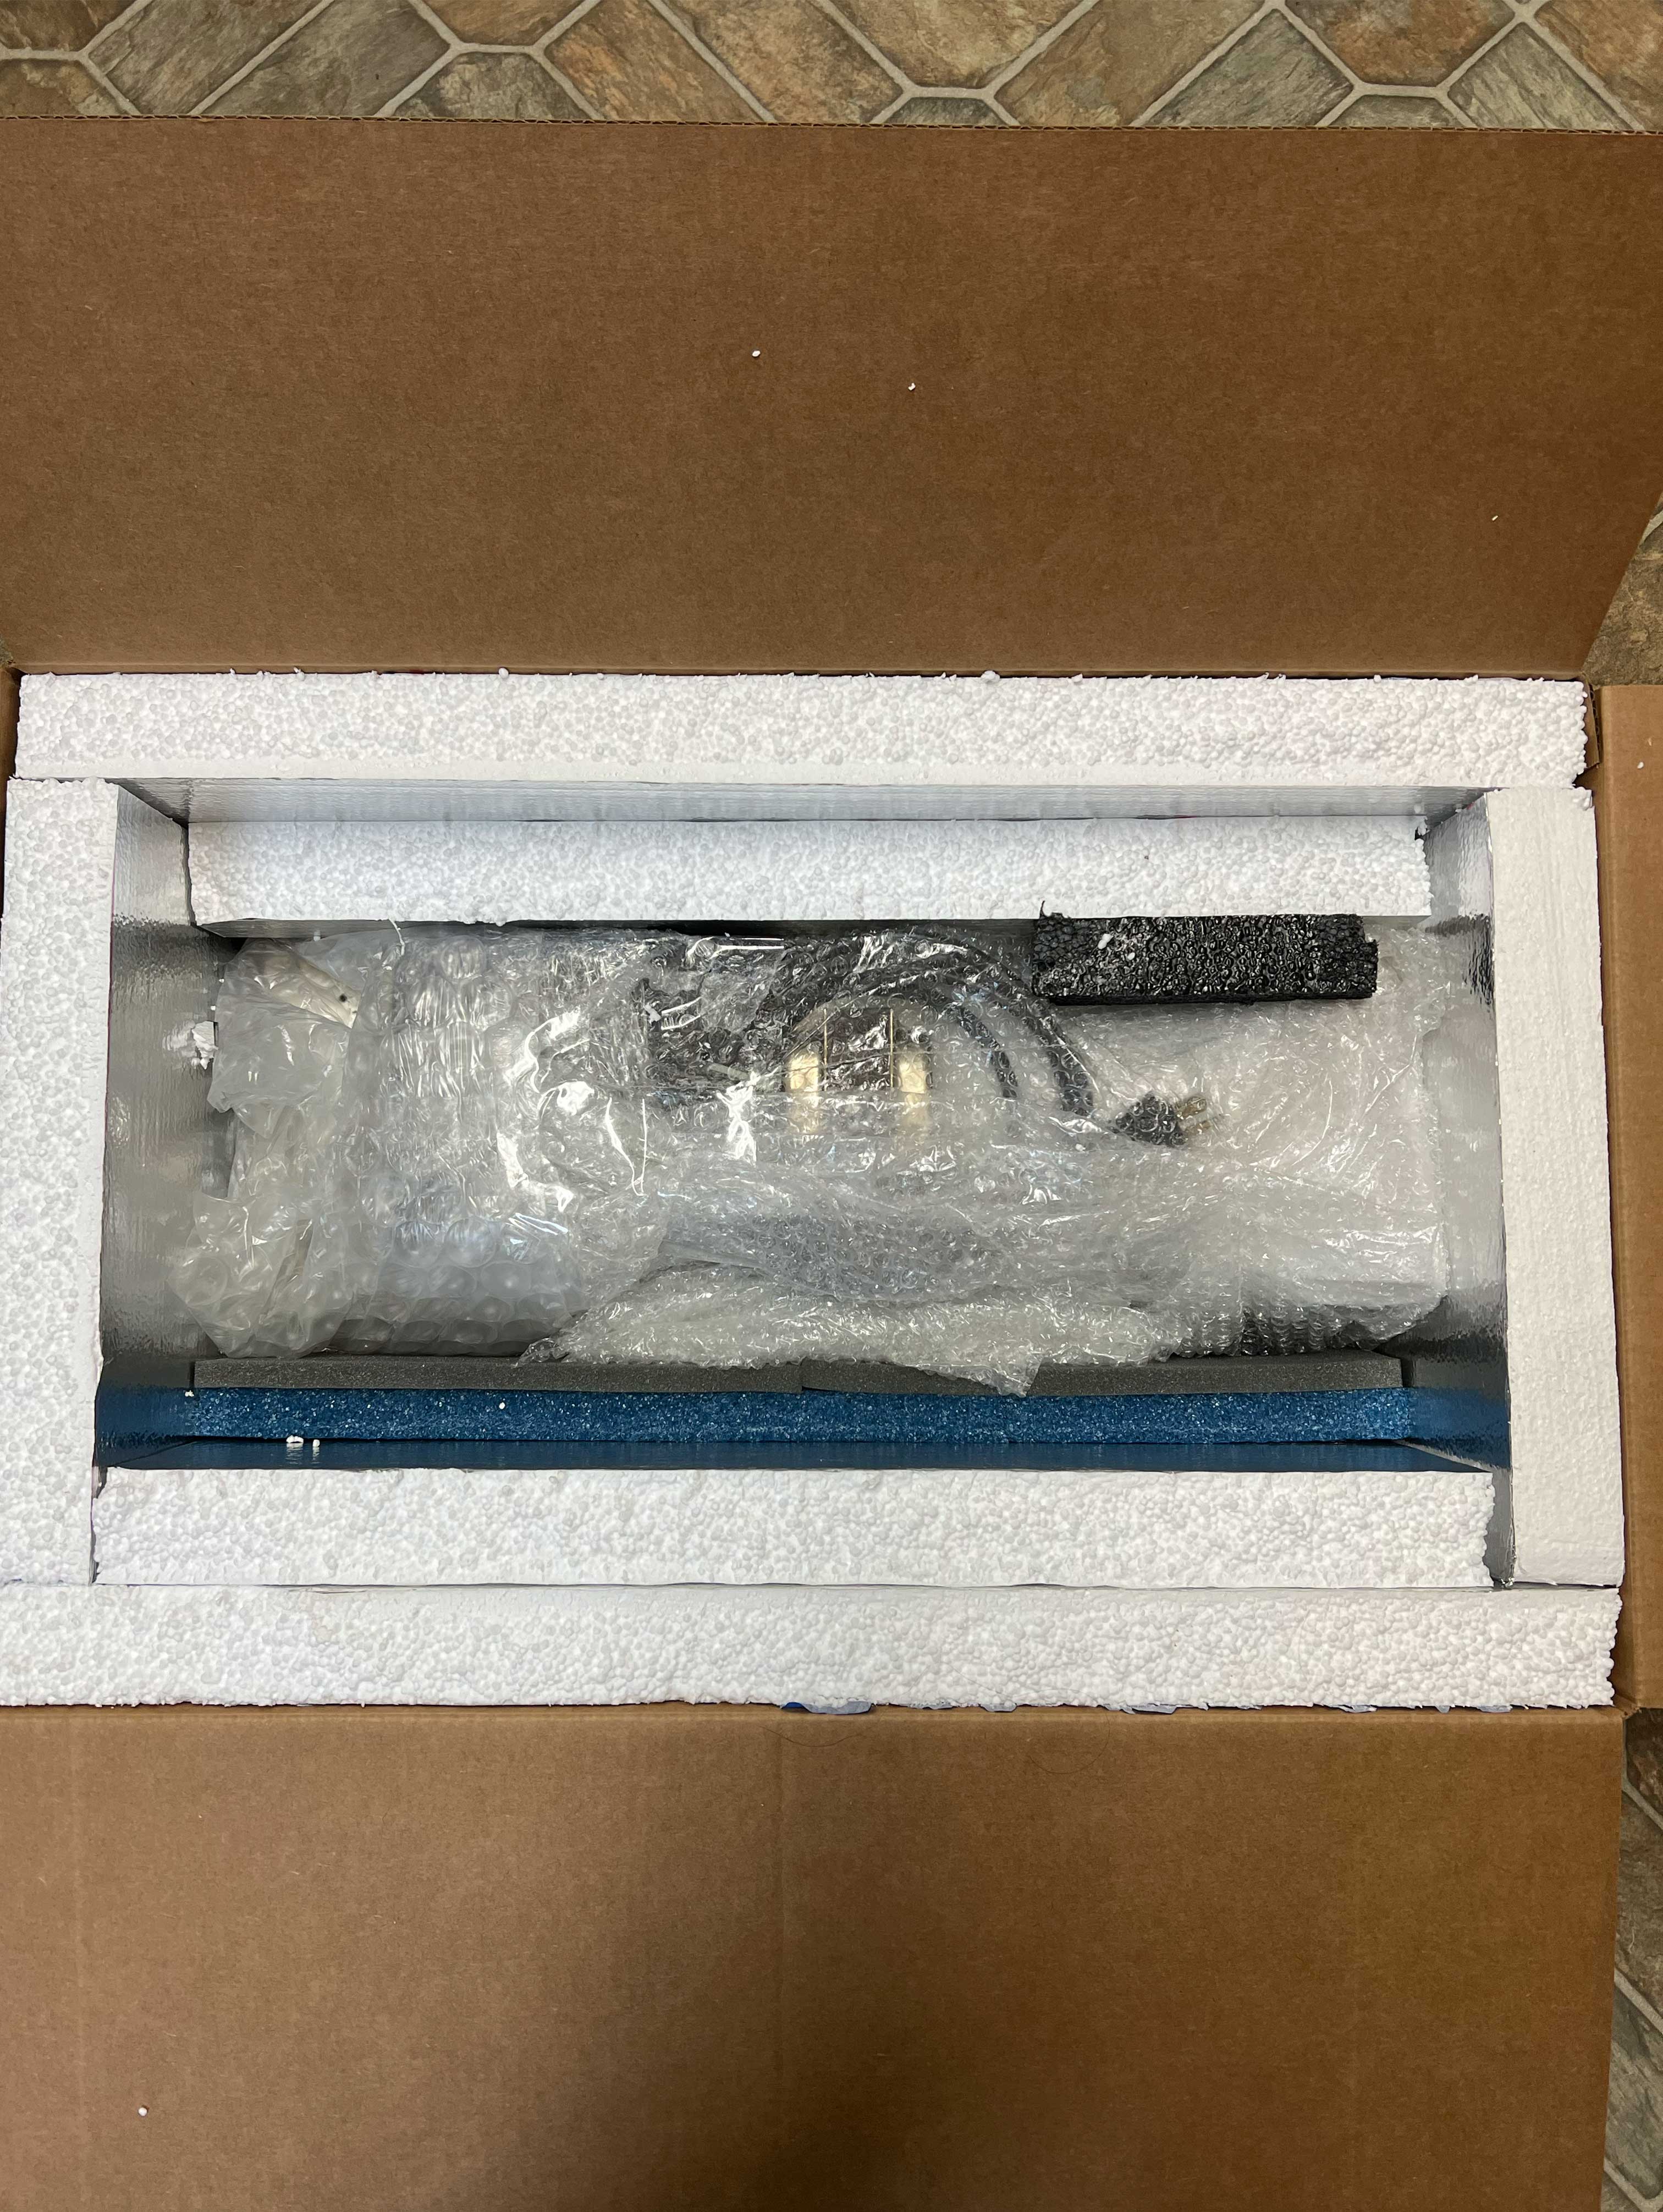
4. Then place bubble wrap into all the gaps and on top:
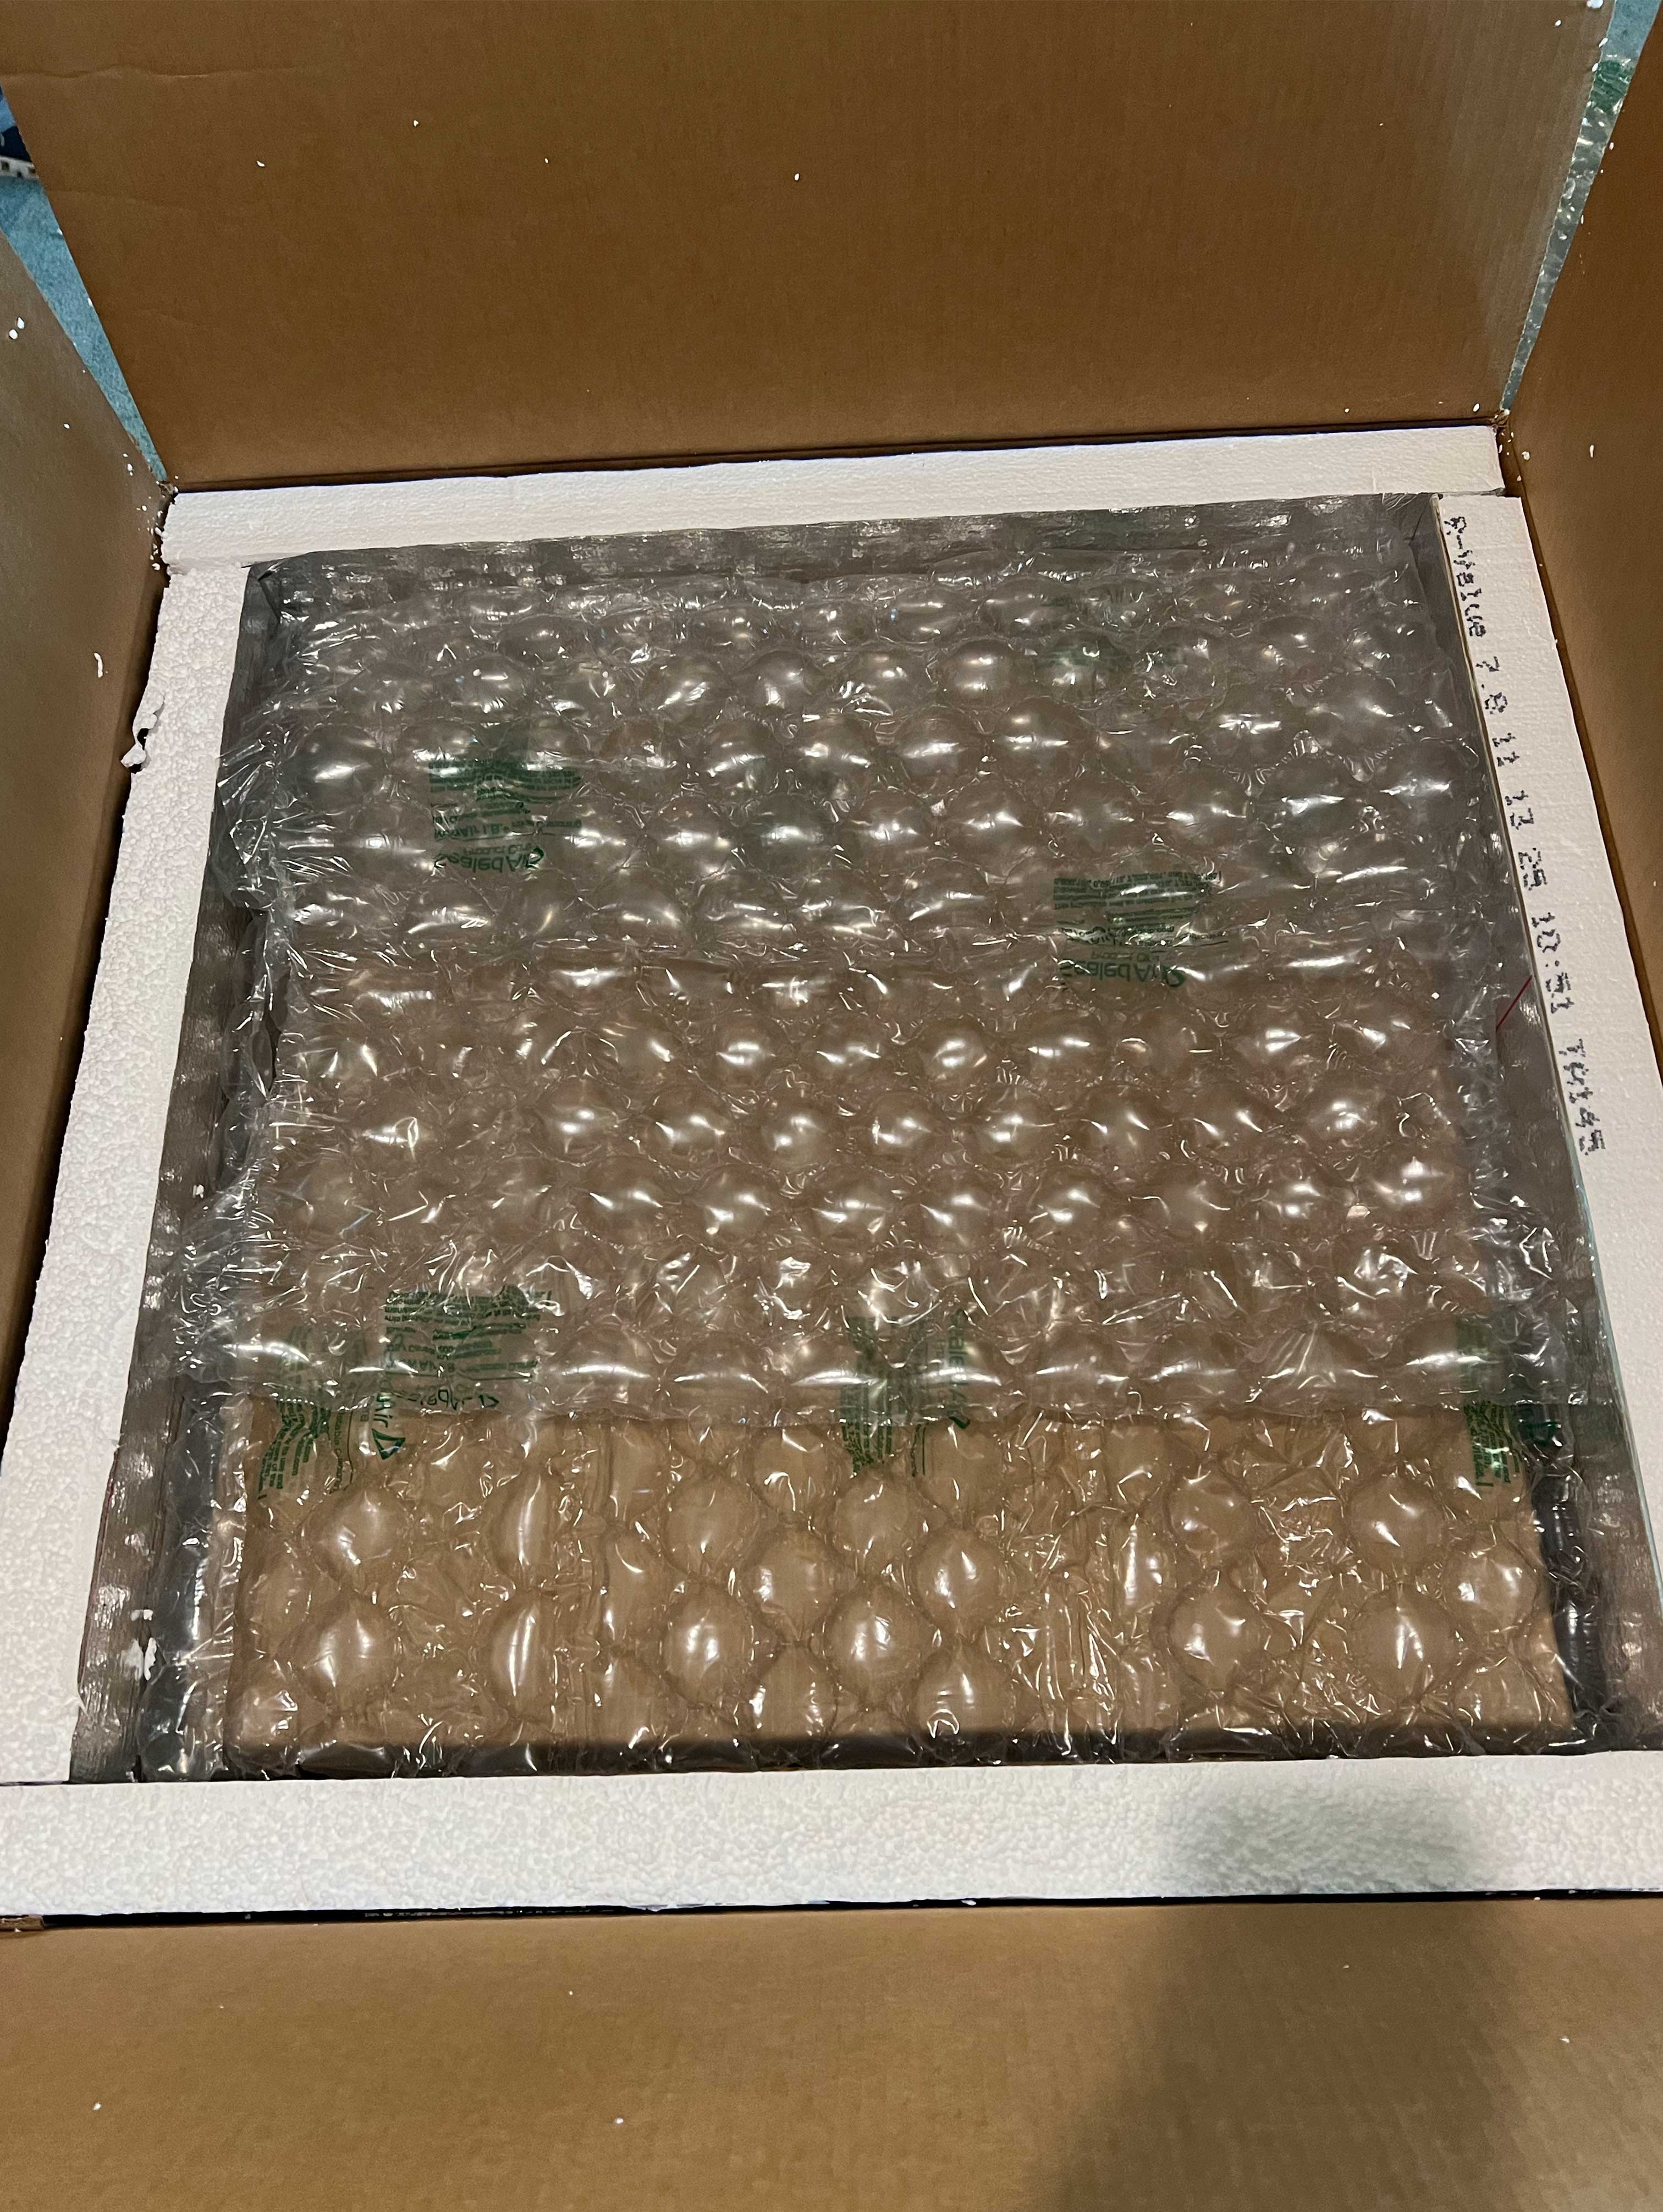
Finally, place another piece of 2” foam on top:
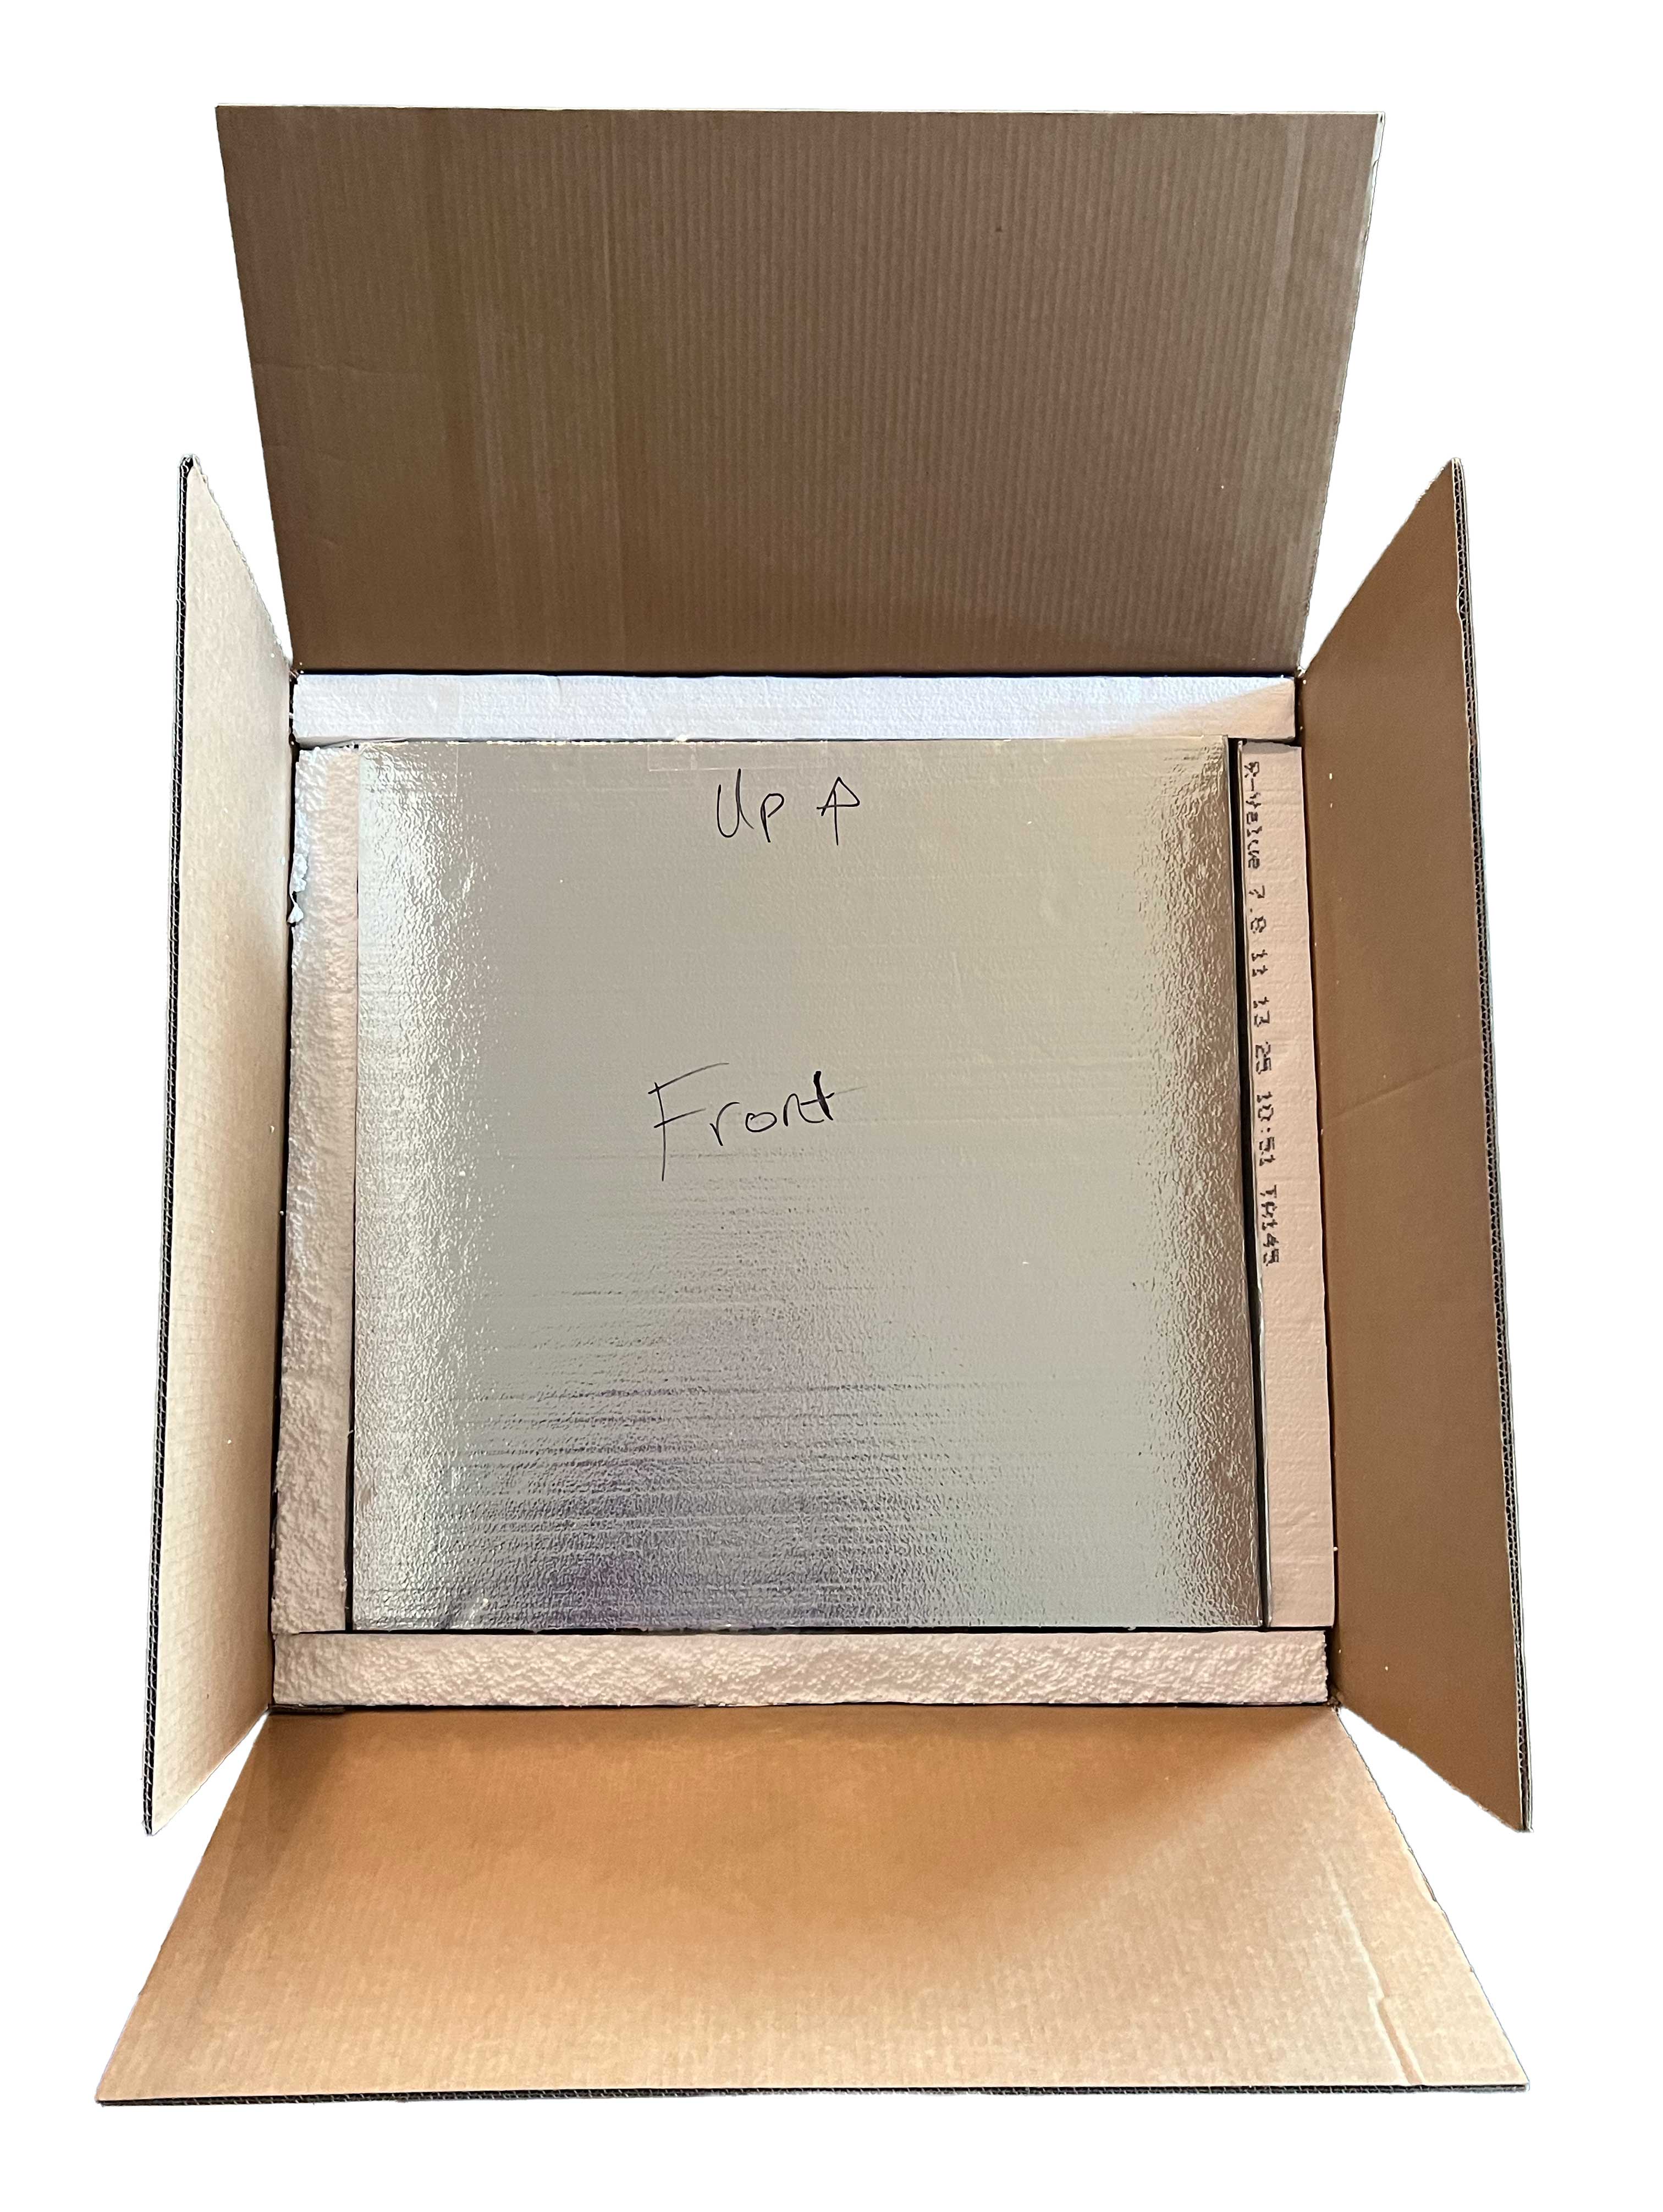
5. Seal the box up and don’t go skimpy on packaging tape. It costs far less than your amplifier did.
The Speaker Shipping Box:
Aside from making great speakers, Eminence boxes are among my favorite. The speakers are in a molded cushion and thankfully the seller saved the original factory boxes. All four boxes were measured ahead of time and it was determined another 30x30x16 box would do the job to house all of the speakers.
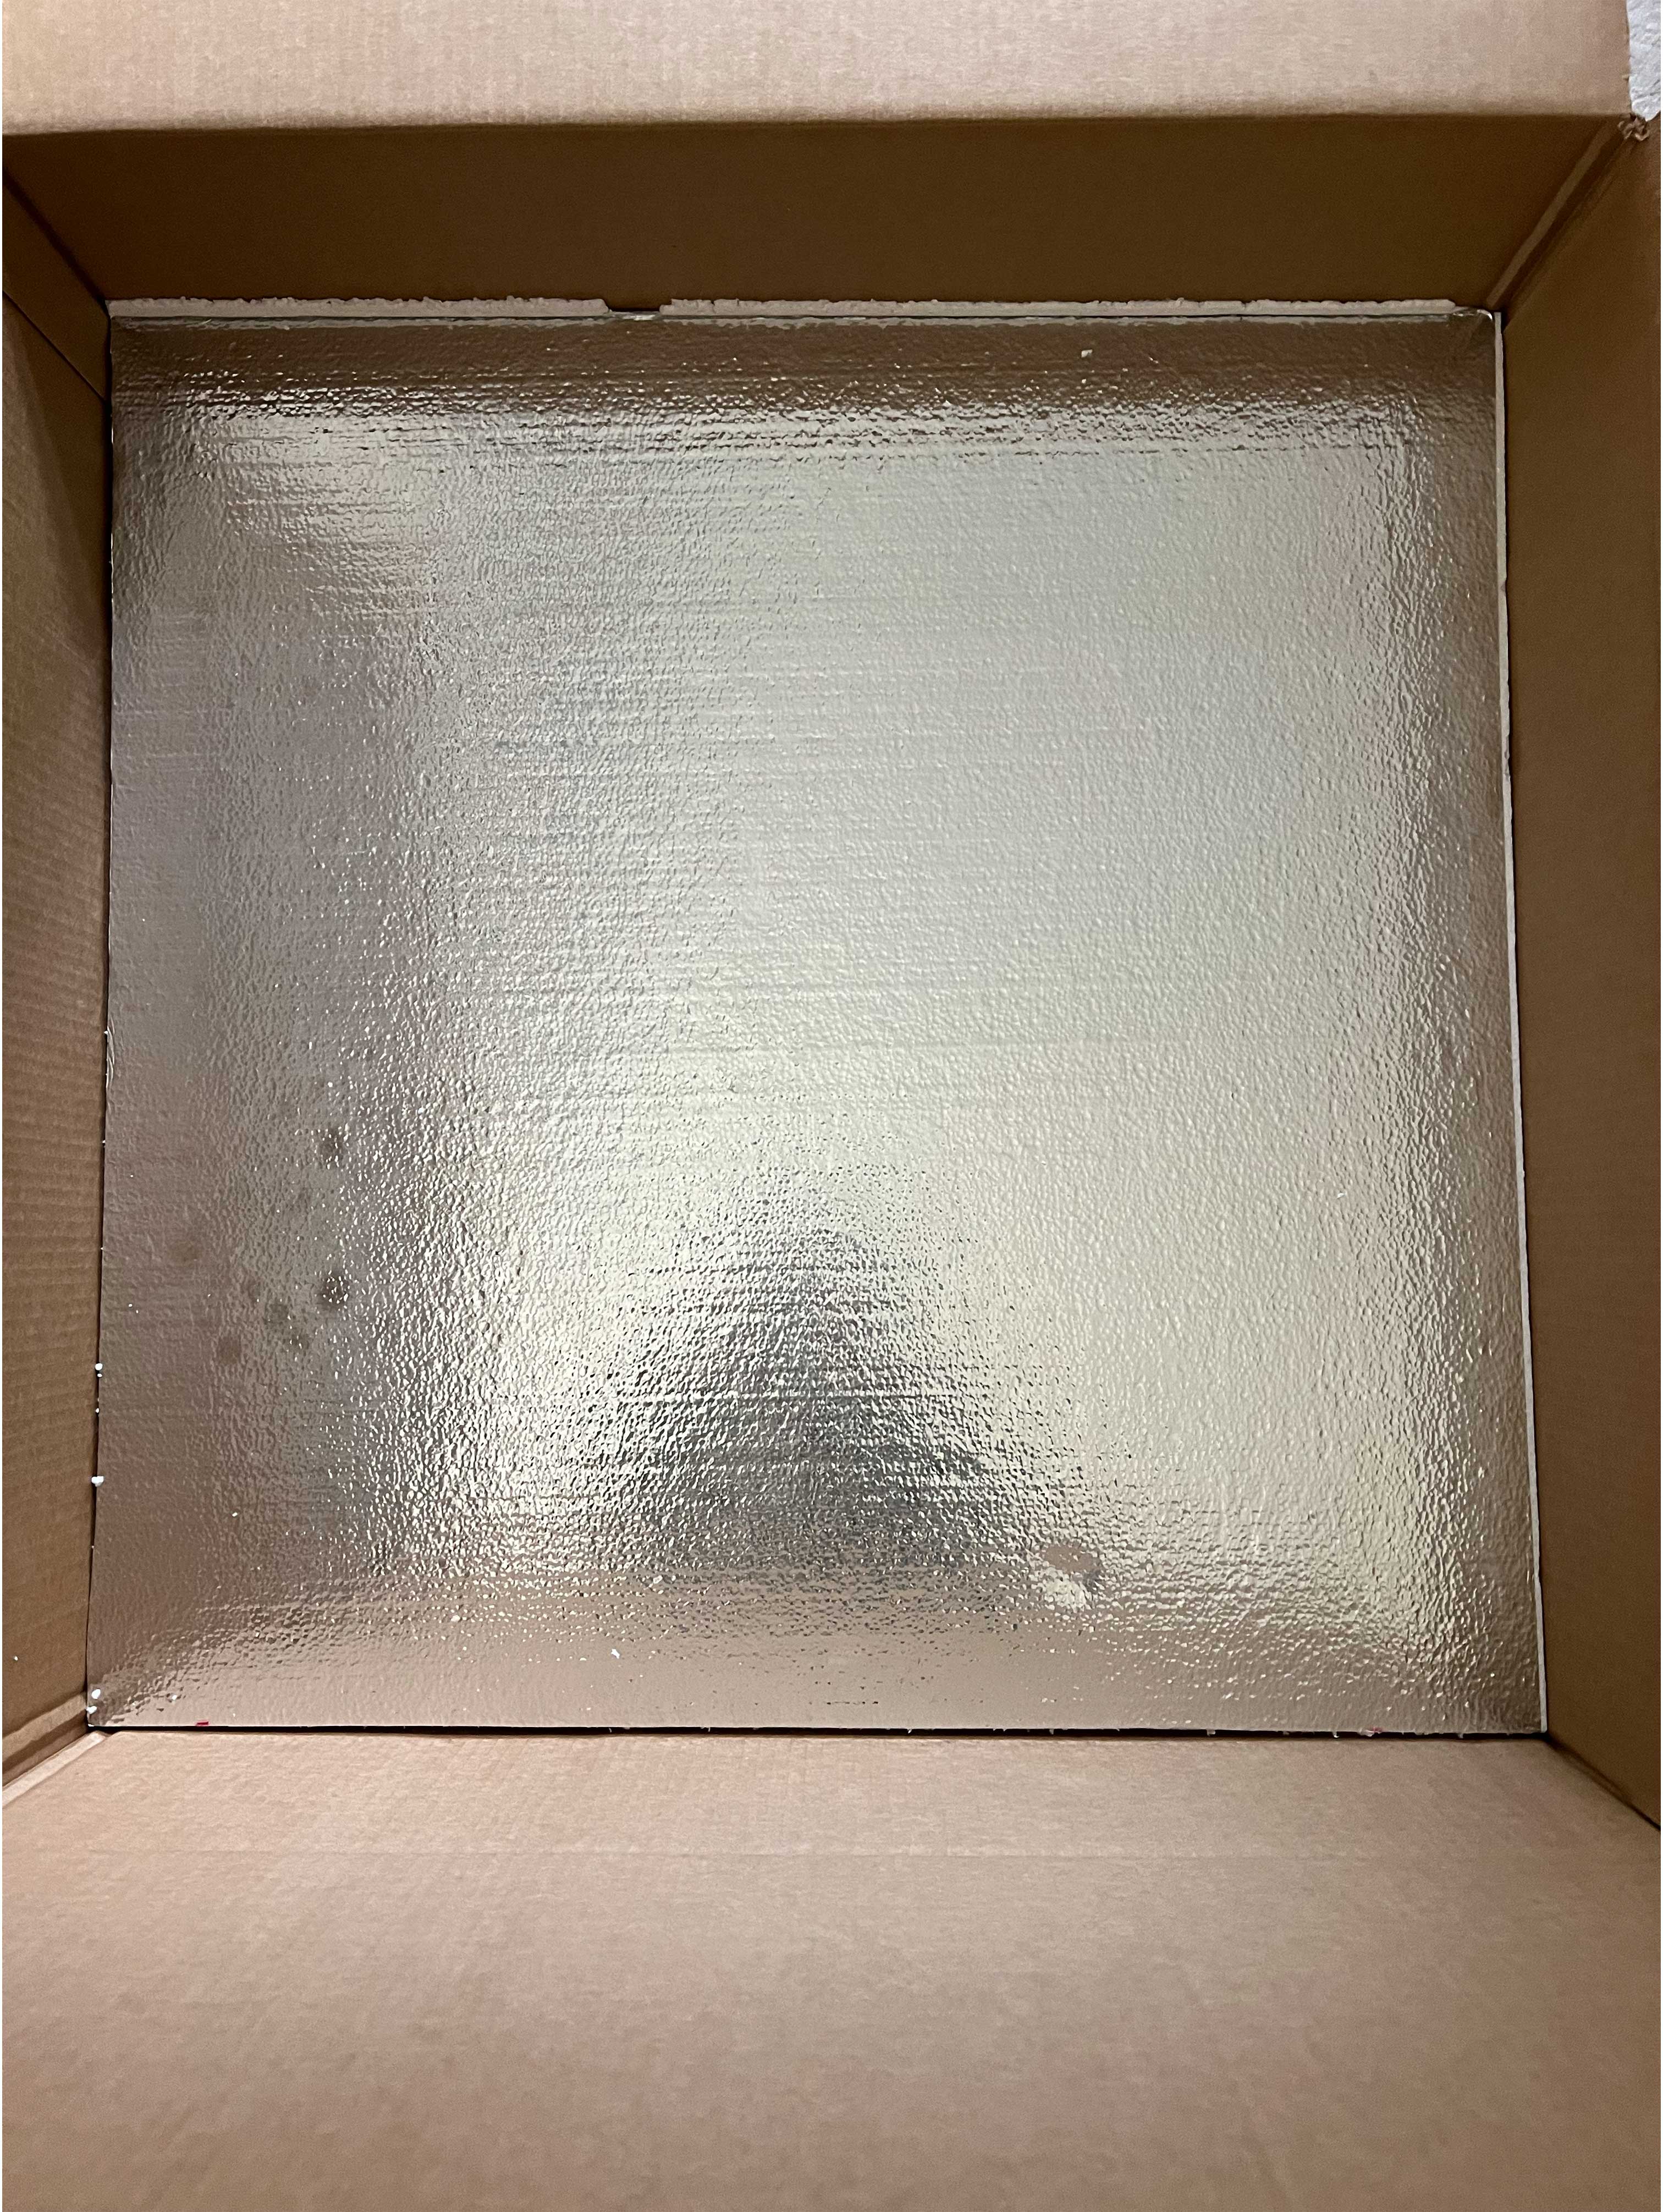
First placing 2” of foam on the bottom as with the cabinet before:

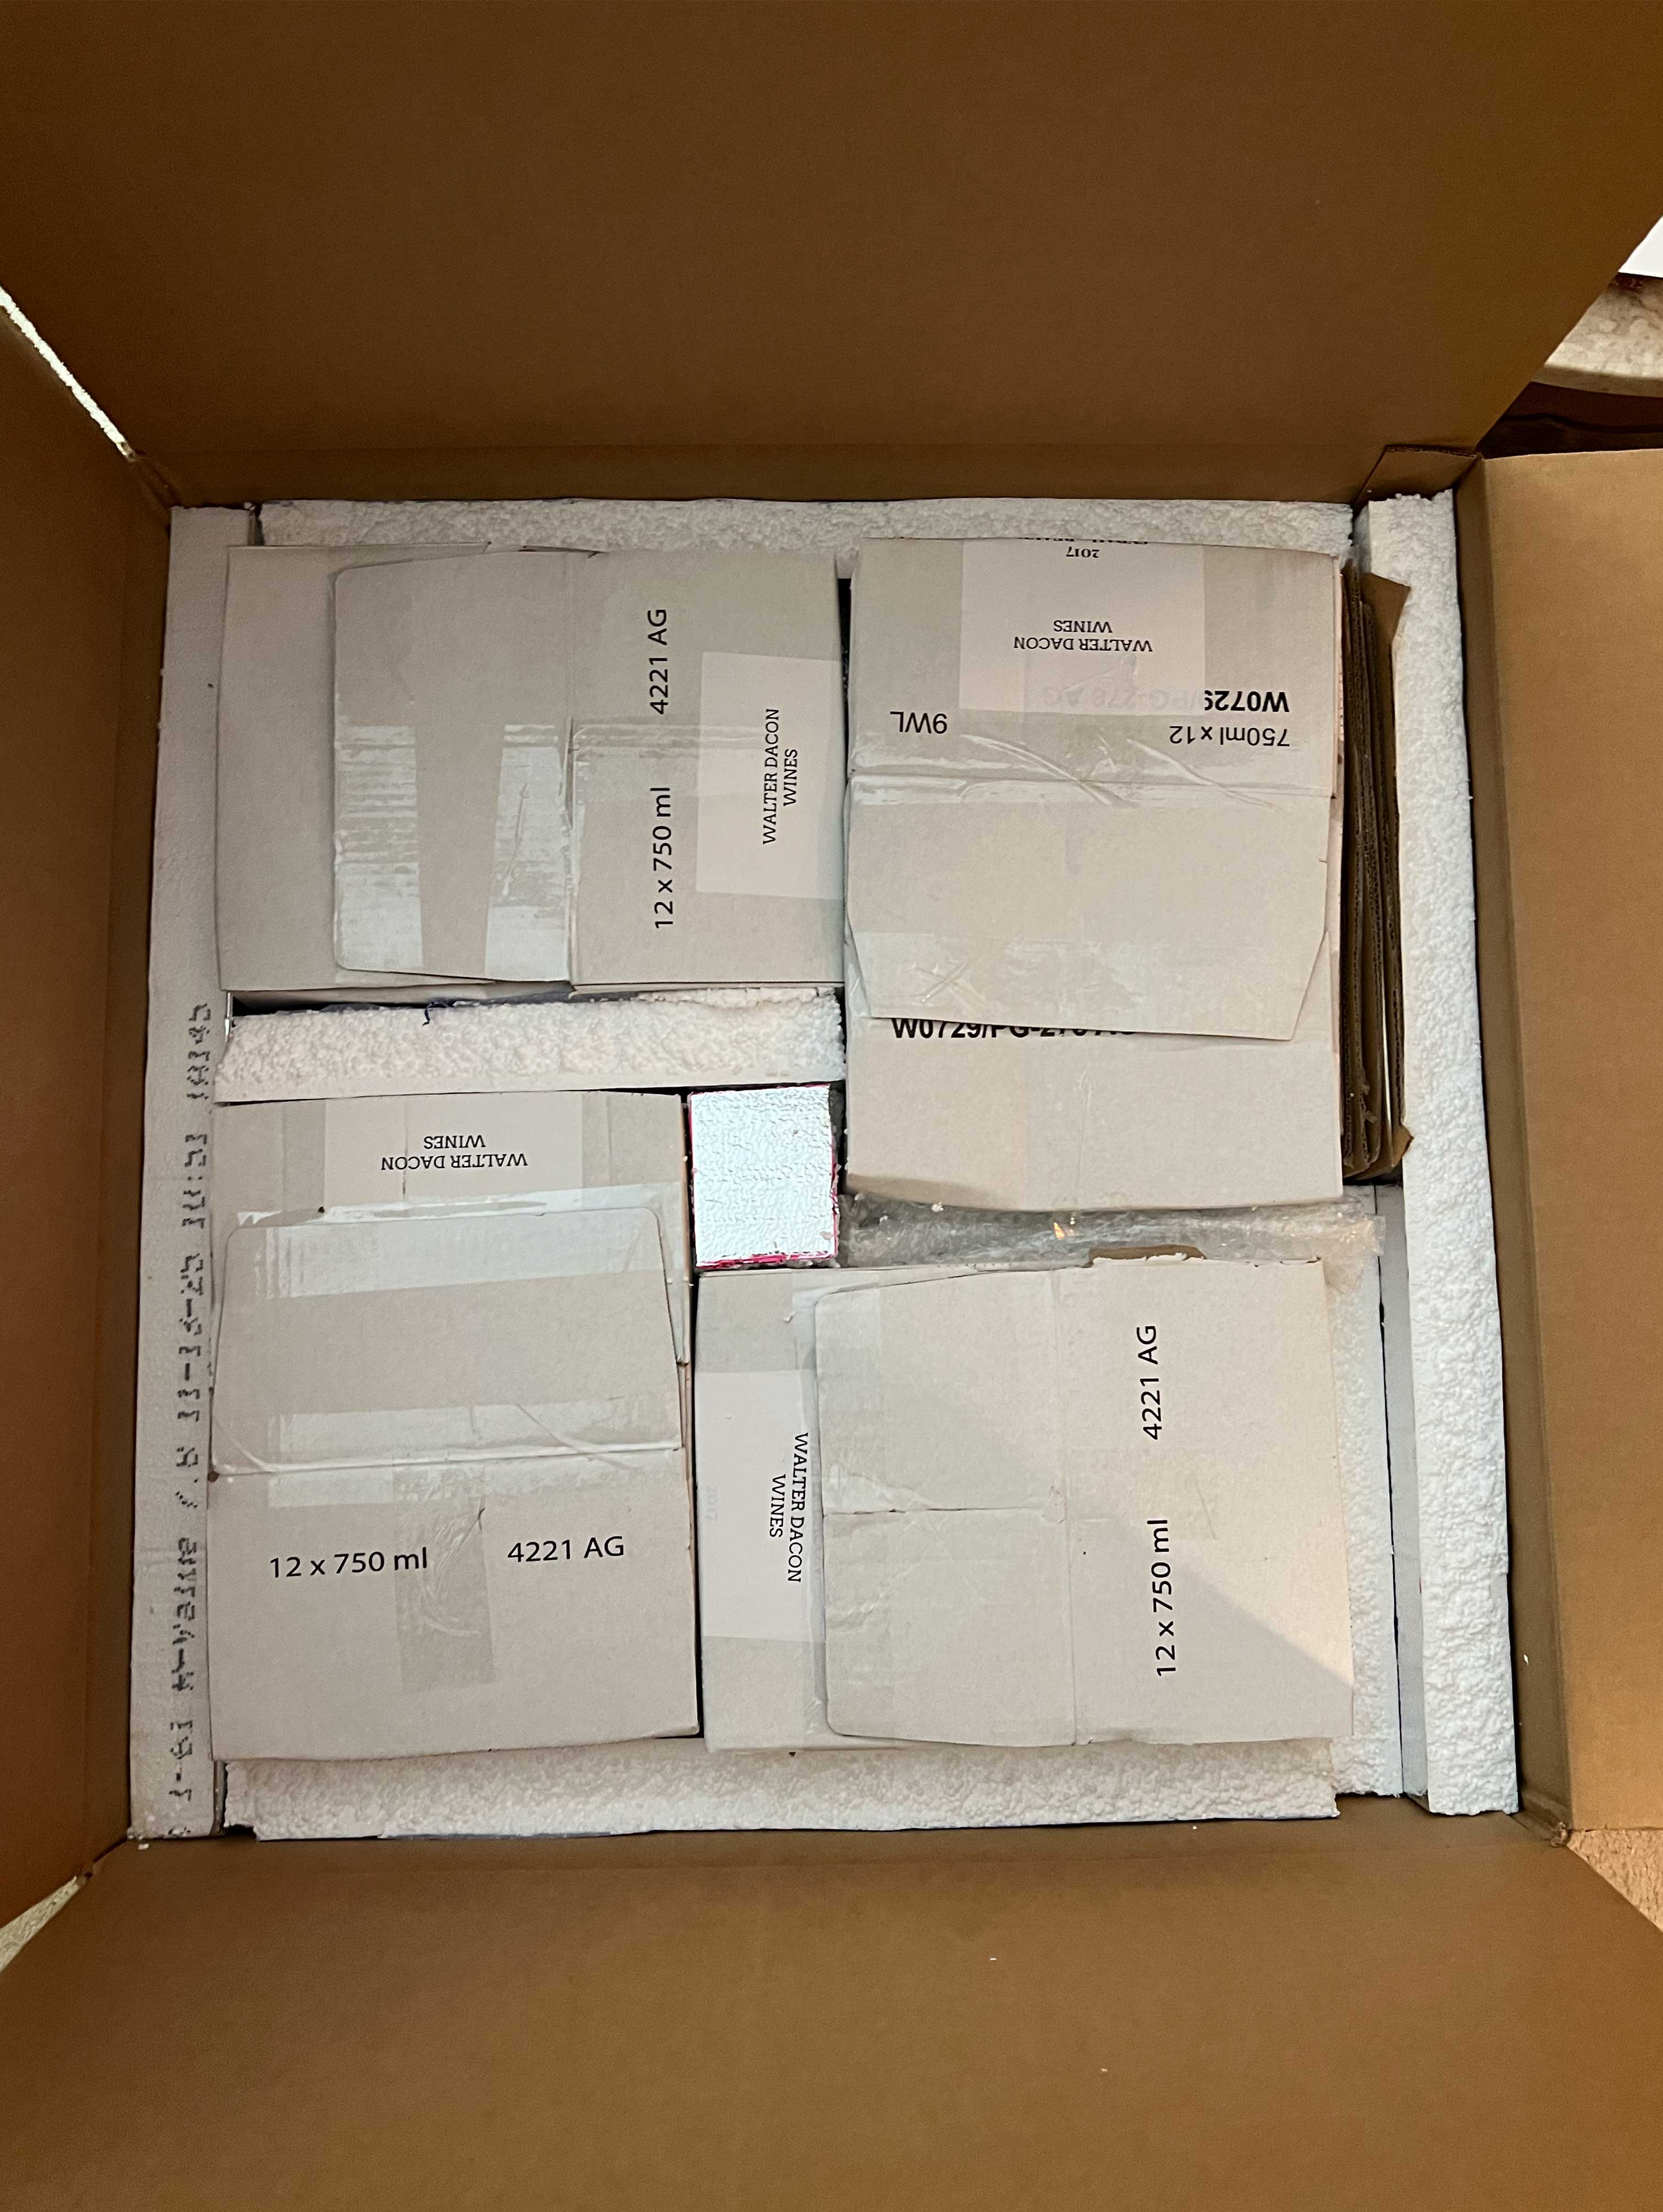
Then the Lil’ Buddys packed side by side:
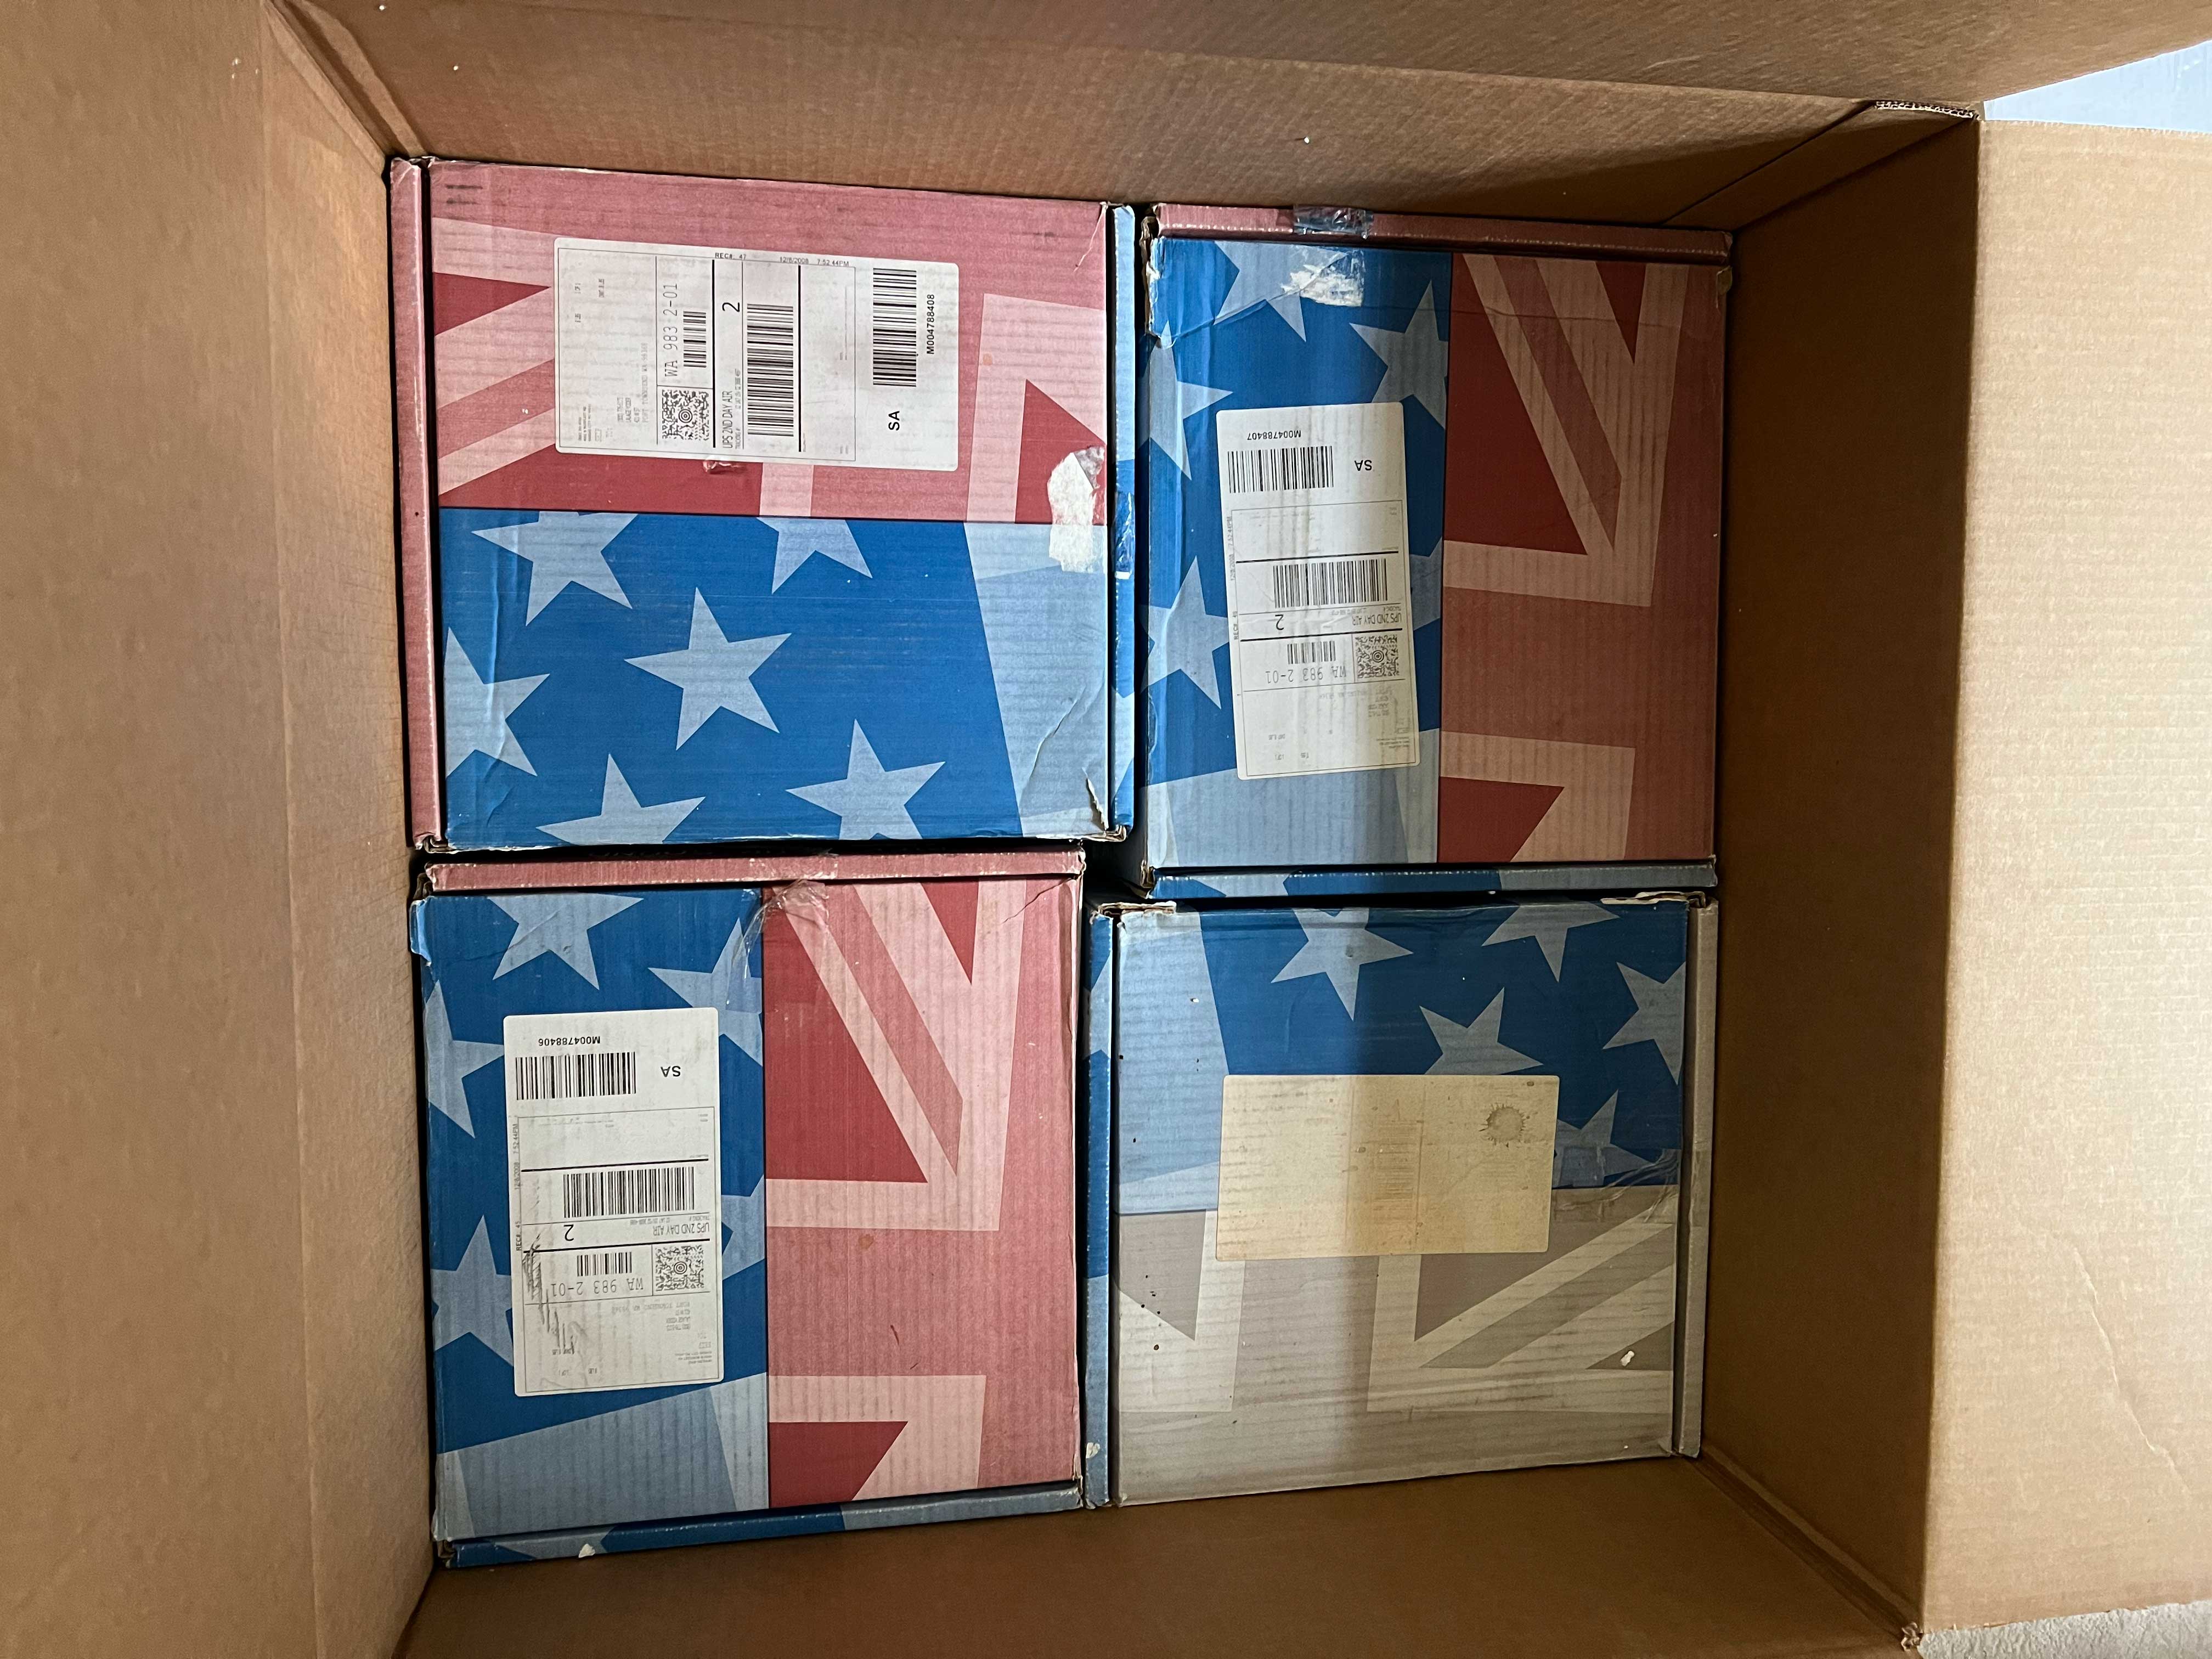
Then 2” of foam for a layer, leaving the top half free:
Then with the CTS speakers packaged (well) in old wine boxes shaped down to size with the carton sizer tool, they went on the top layer. Recalling that shifting is as bad as dropping, size the foam to fill the gaps:
Then a sheet of bubble wrap on top:
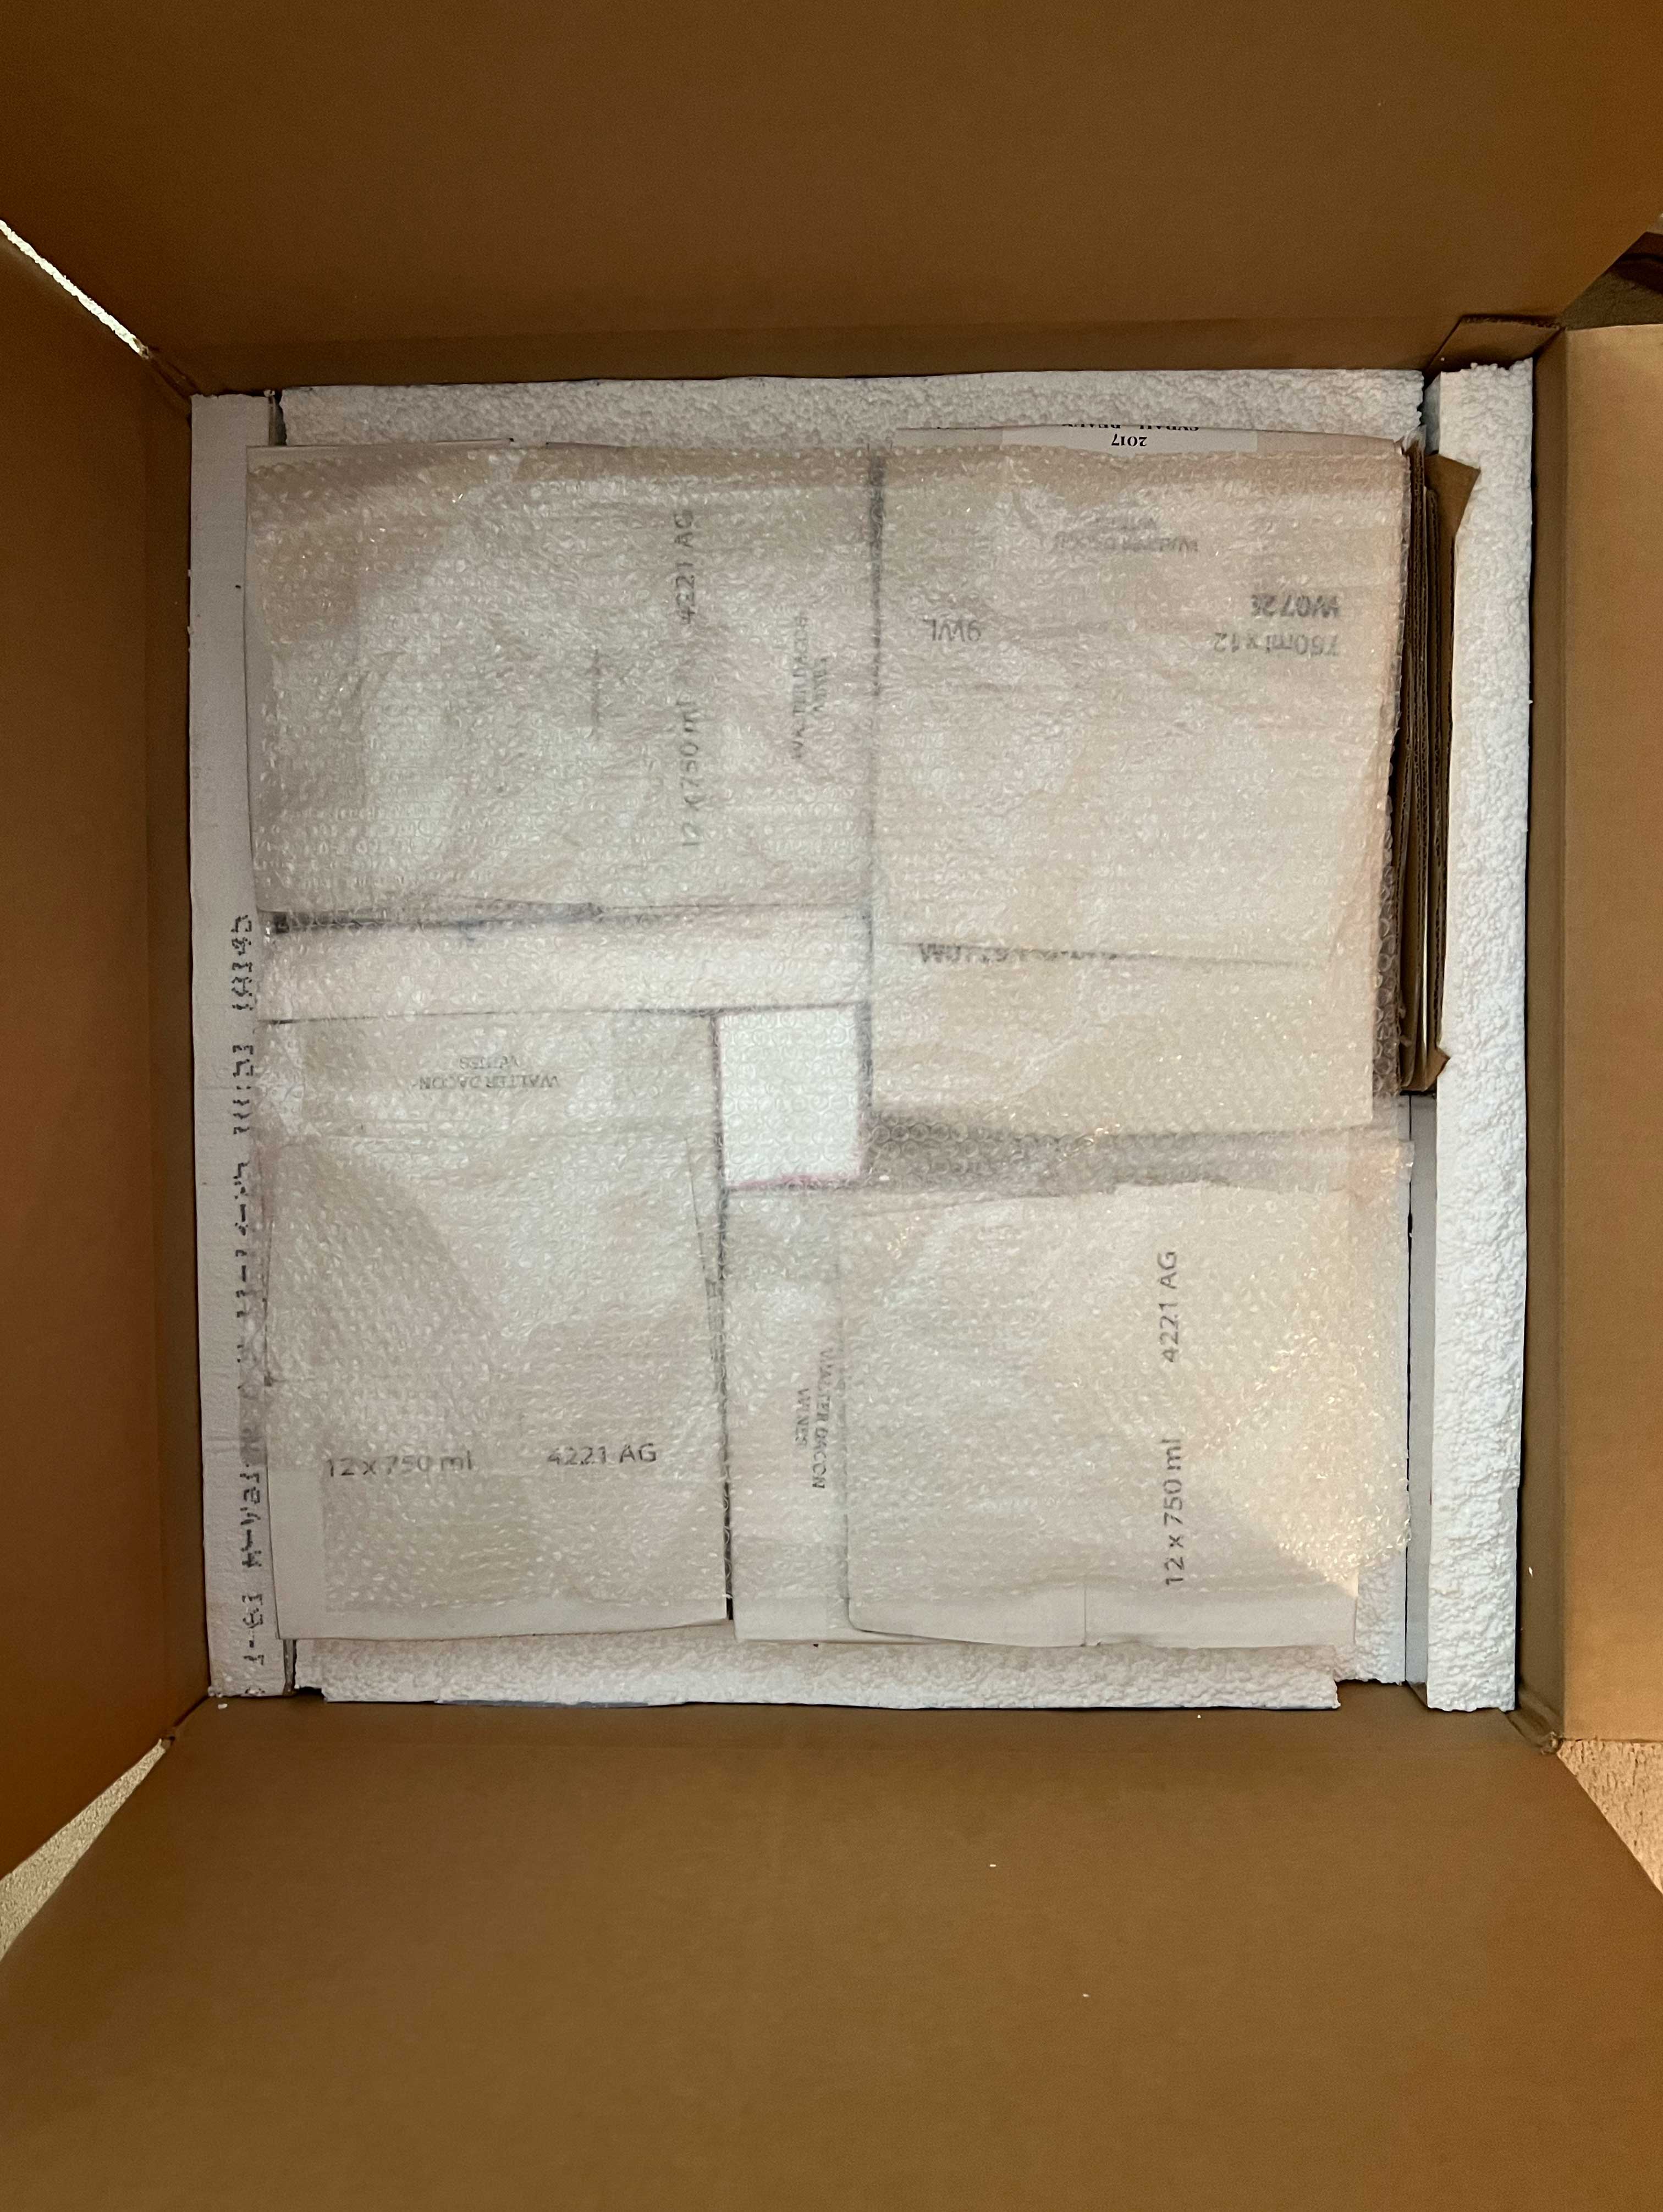
Followed by one final piece of padding.

By the way this takes a lot of time, but so does getting good at guitar. If you can’t change the world, maybe you should just change yourself. Thanks Tom, words to live by. This is how much vintage Fender amplifiers matter to me, but they may not matter as much to someone else. The previous owner cared enough to be a steward for this stuff in a one room structure on a homestead with no running water. I care and wish everyone else did the same. But YMMV. Attempting to right Guitar Center’s wrong was the least I could do to take a sad song and make it better (and if I ever go into the business of shipping tube amplifiers worldwide…..)
The Chassis:
A 28x18x10 box from Uline (product # S-20539) made for a perfect chassis box:
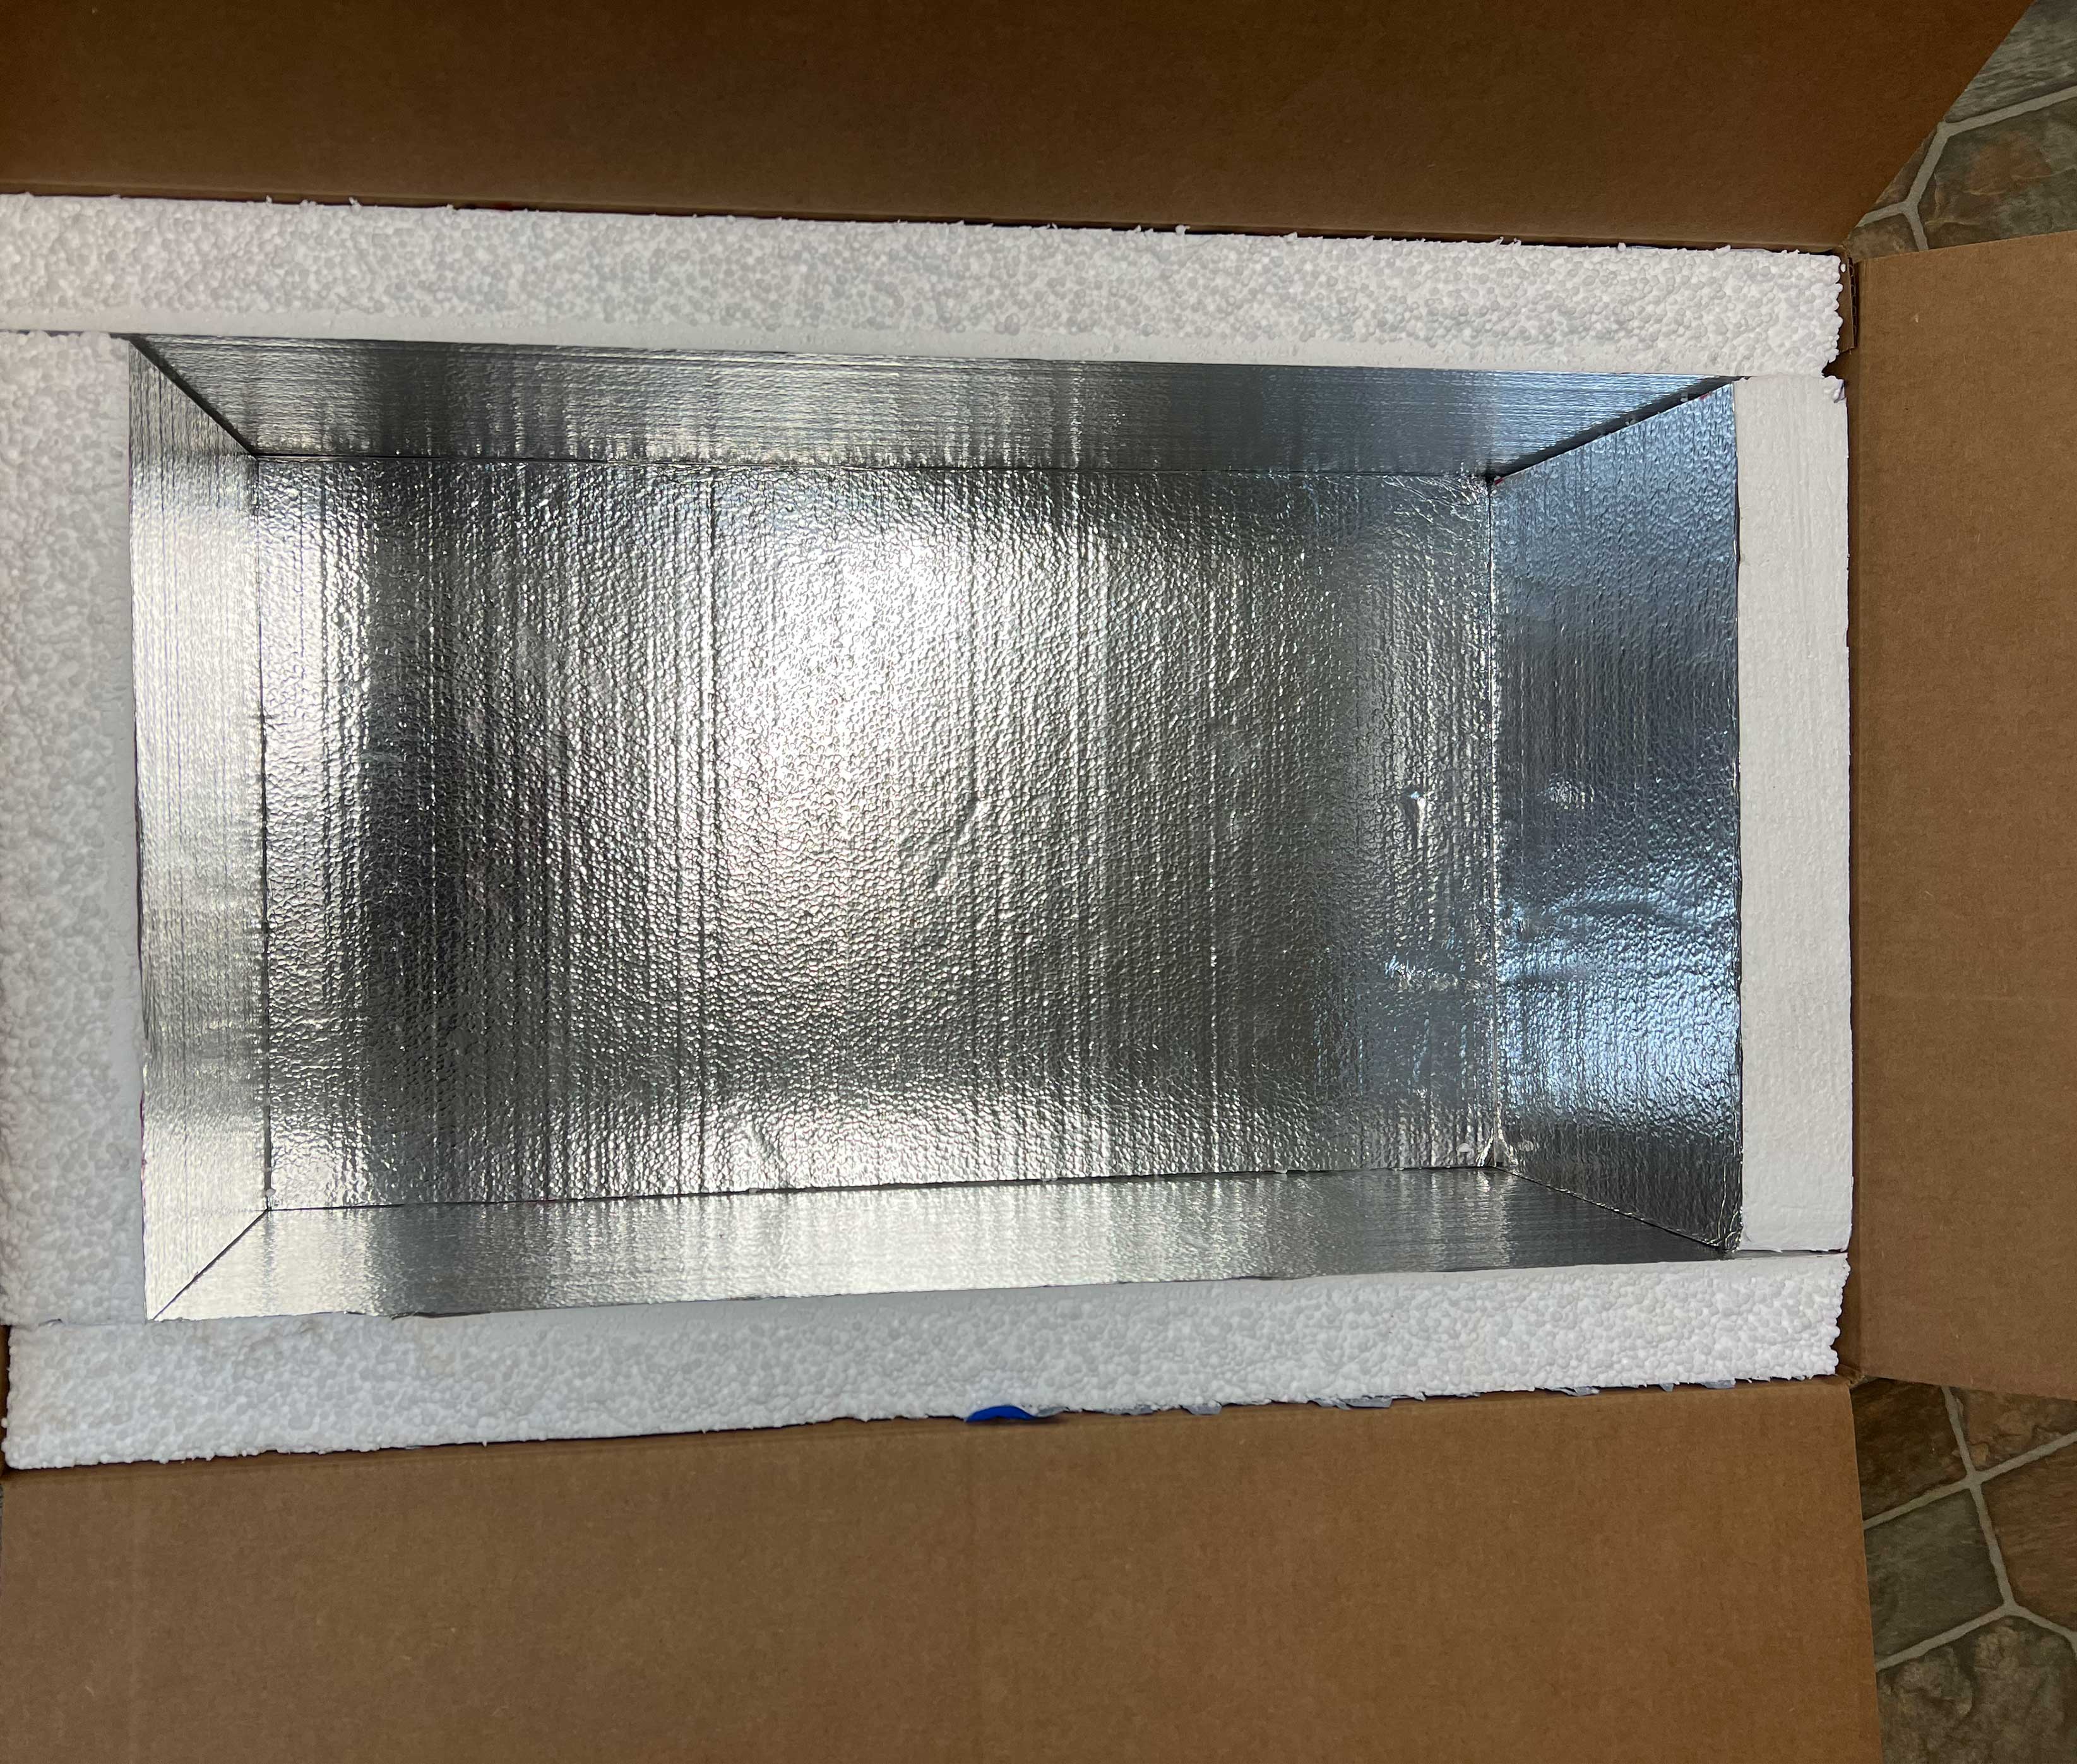
As before, use 2” foam on the bottom and all sides:
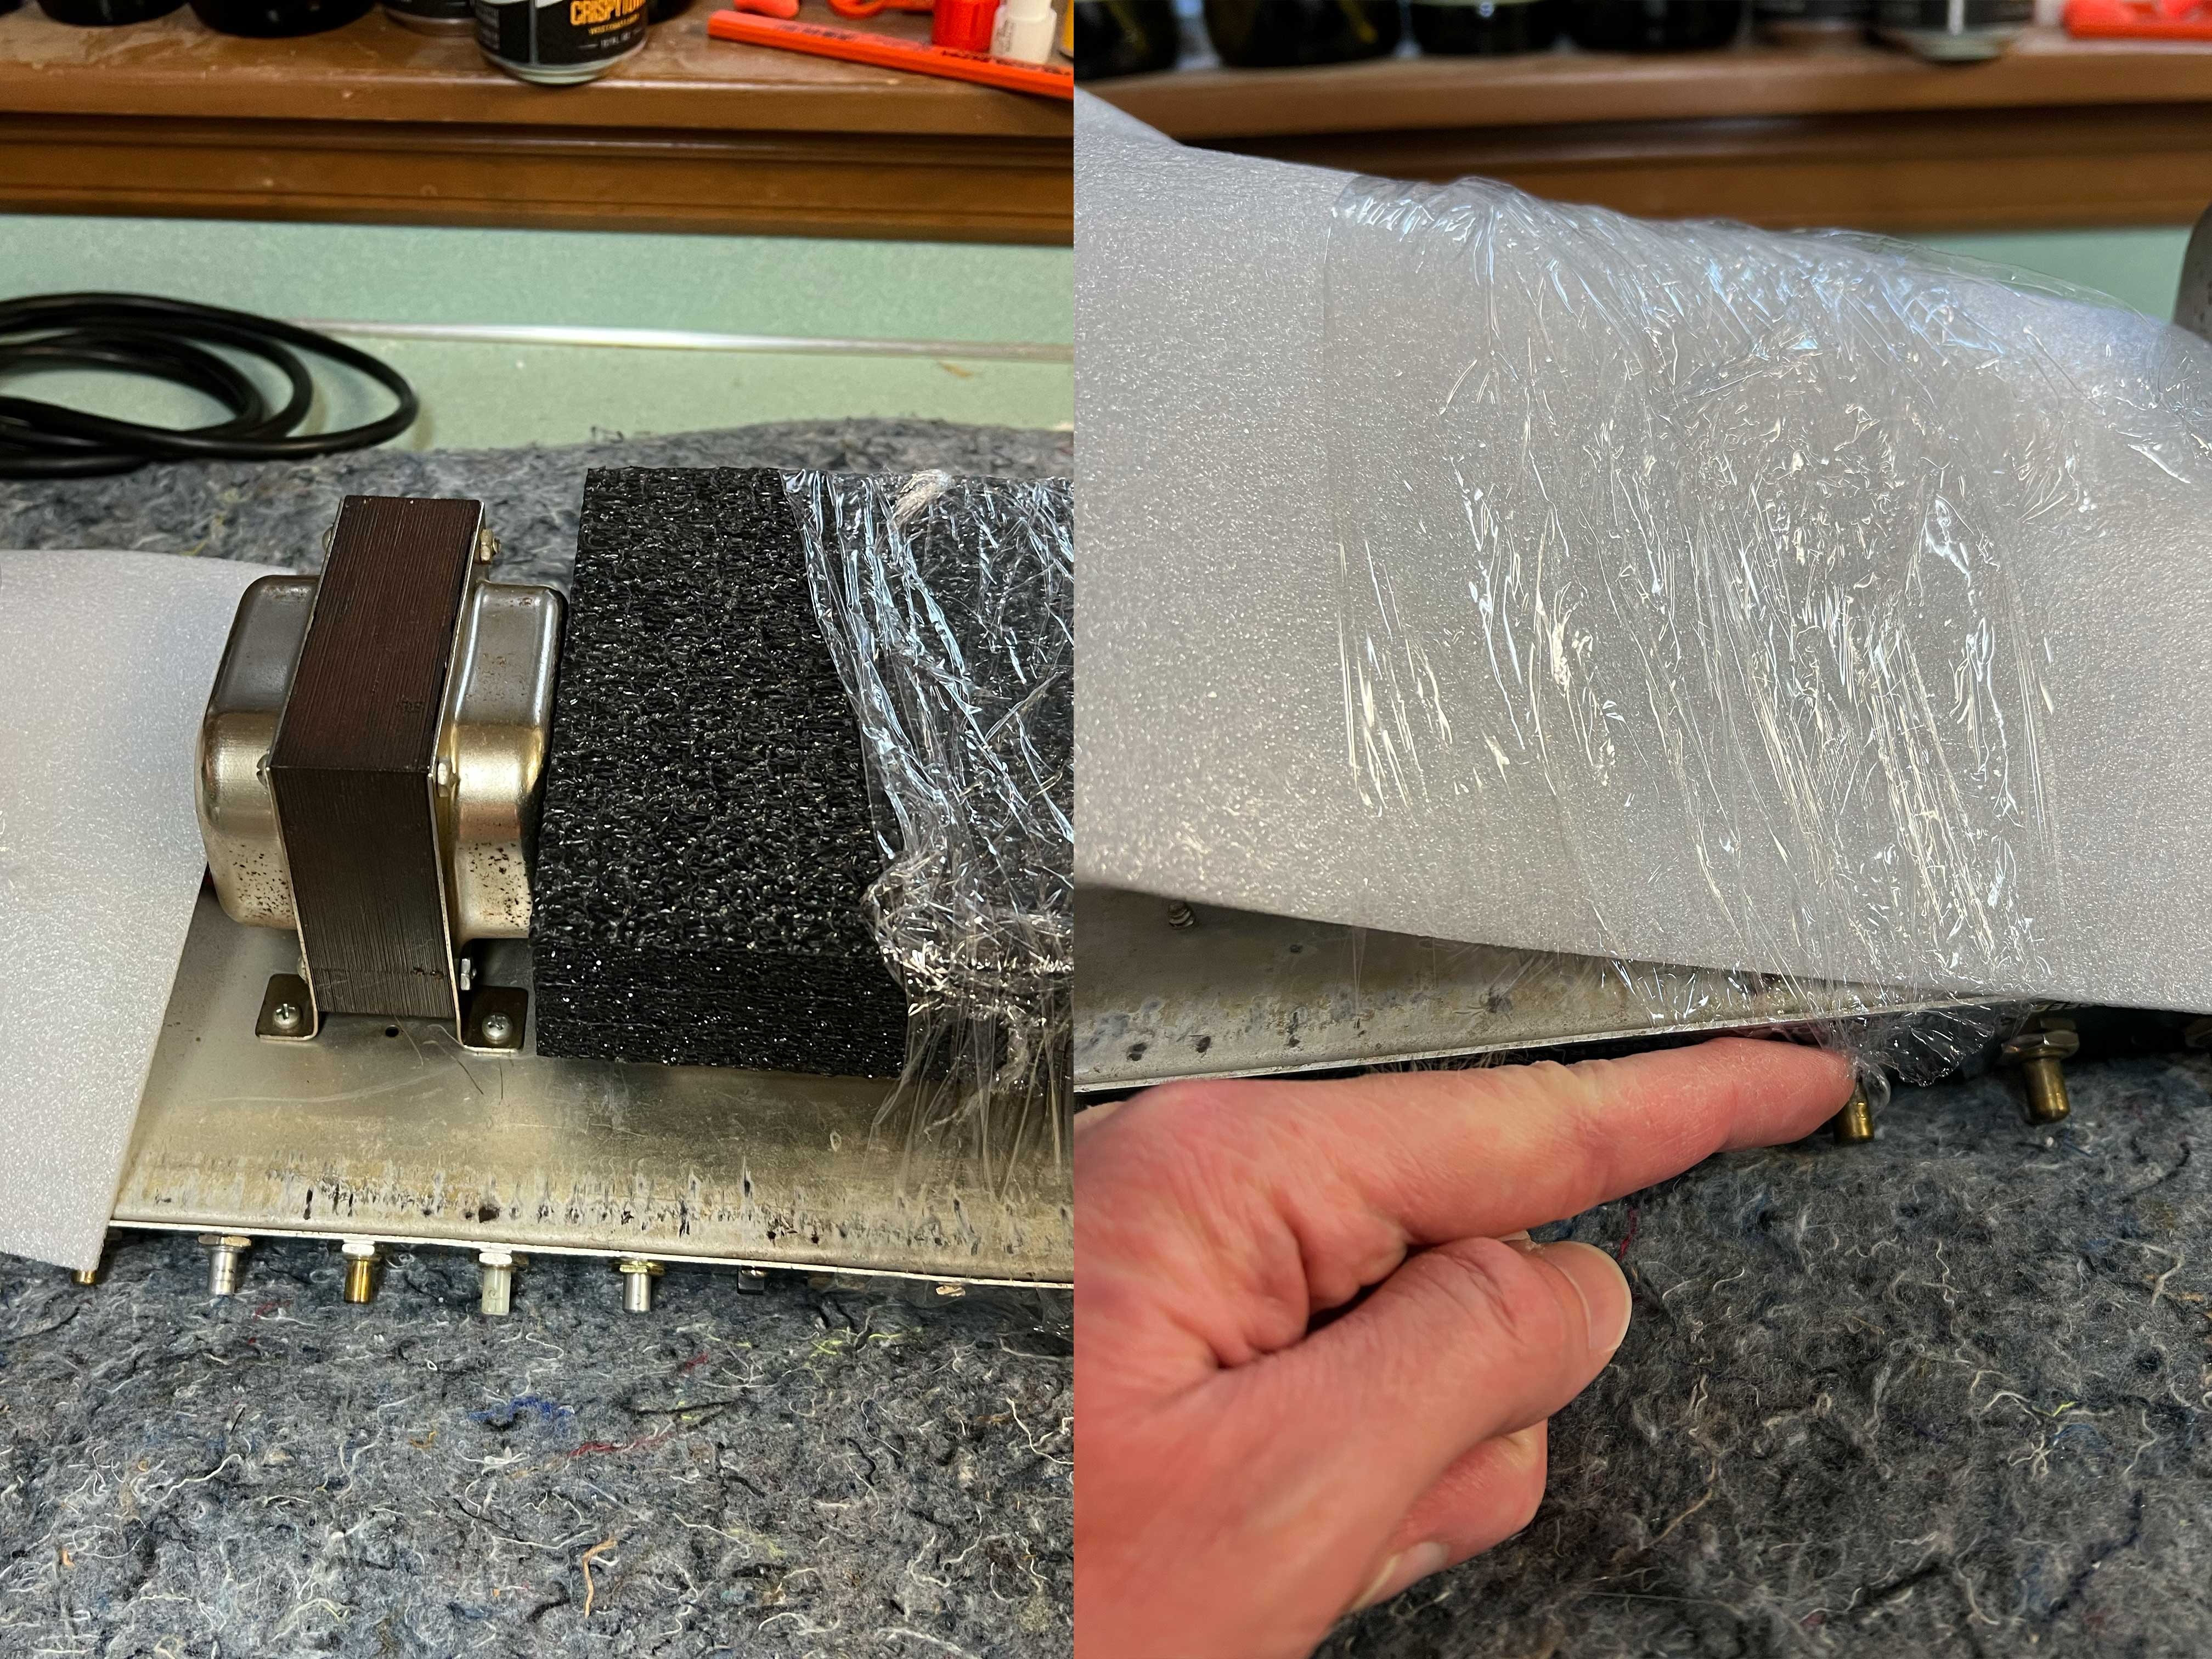
Padding was placed over the power transformer and secured with stretch wrap (https://www.uline.com/BL_5401/Goodwrappers-Mini-Wrap). You want to be careful about not using tape around amplifier chassis faceplates or back panels, where an innocent application could cause unintentional damage. Also notice in the photograph that the stretch wrap was deliberately broken to provide a hole for the potentiometer, and that the doghouse where the filter capacitor reside was padded with thick foam, leaving the output transformer in the center all that was exposed.
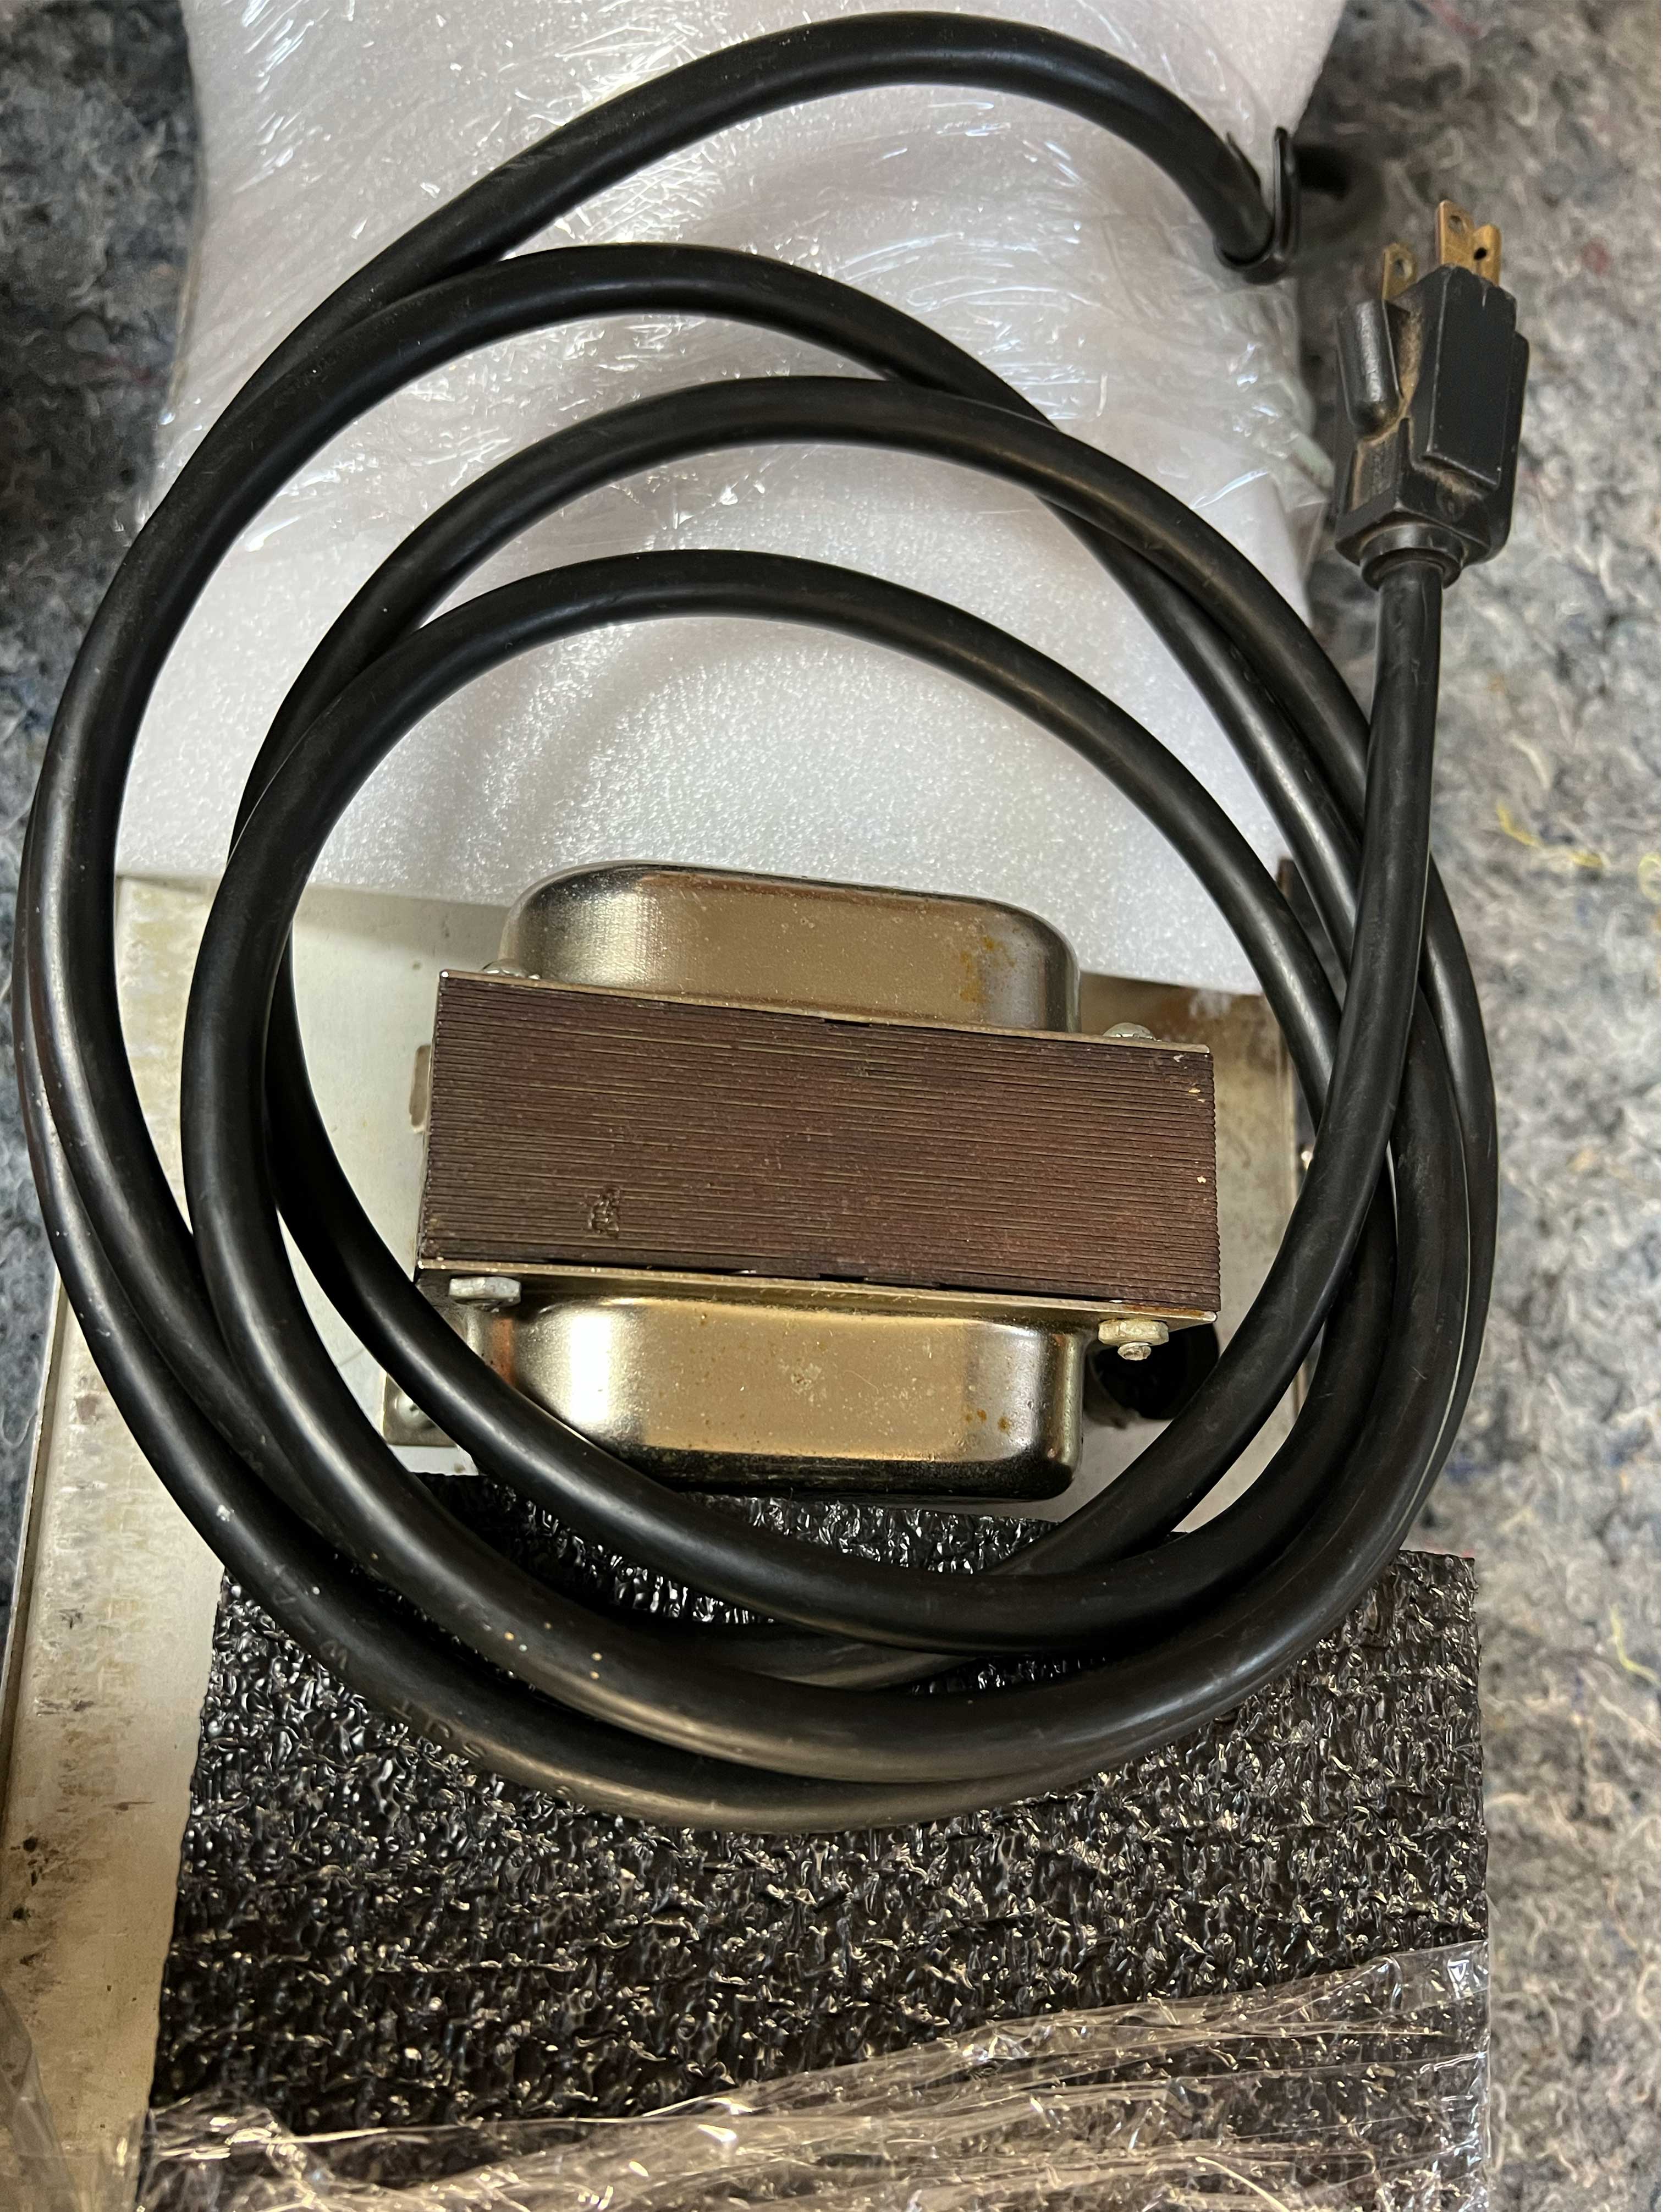
Wrapping the entire chassis in bubble wrap and placing it into the box lined with 2” rigid foam, all gaps were filled with additional softer foam for the back panel and switches:
As well as the front panel with all jacks, pots, and the pilot lamp.
The amplifier should fit like a glove when you get it right.
Leaving room for an additional layer of padding on top with 2” foam fitting into place before closing the box, this video shows the final packaging of the chassis box. Contact information with addresses and phone numbers was included inside every box but not shown online for obvious protection of privacy.
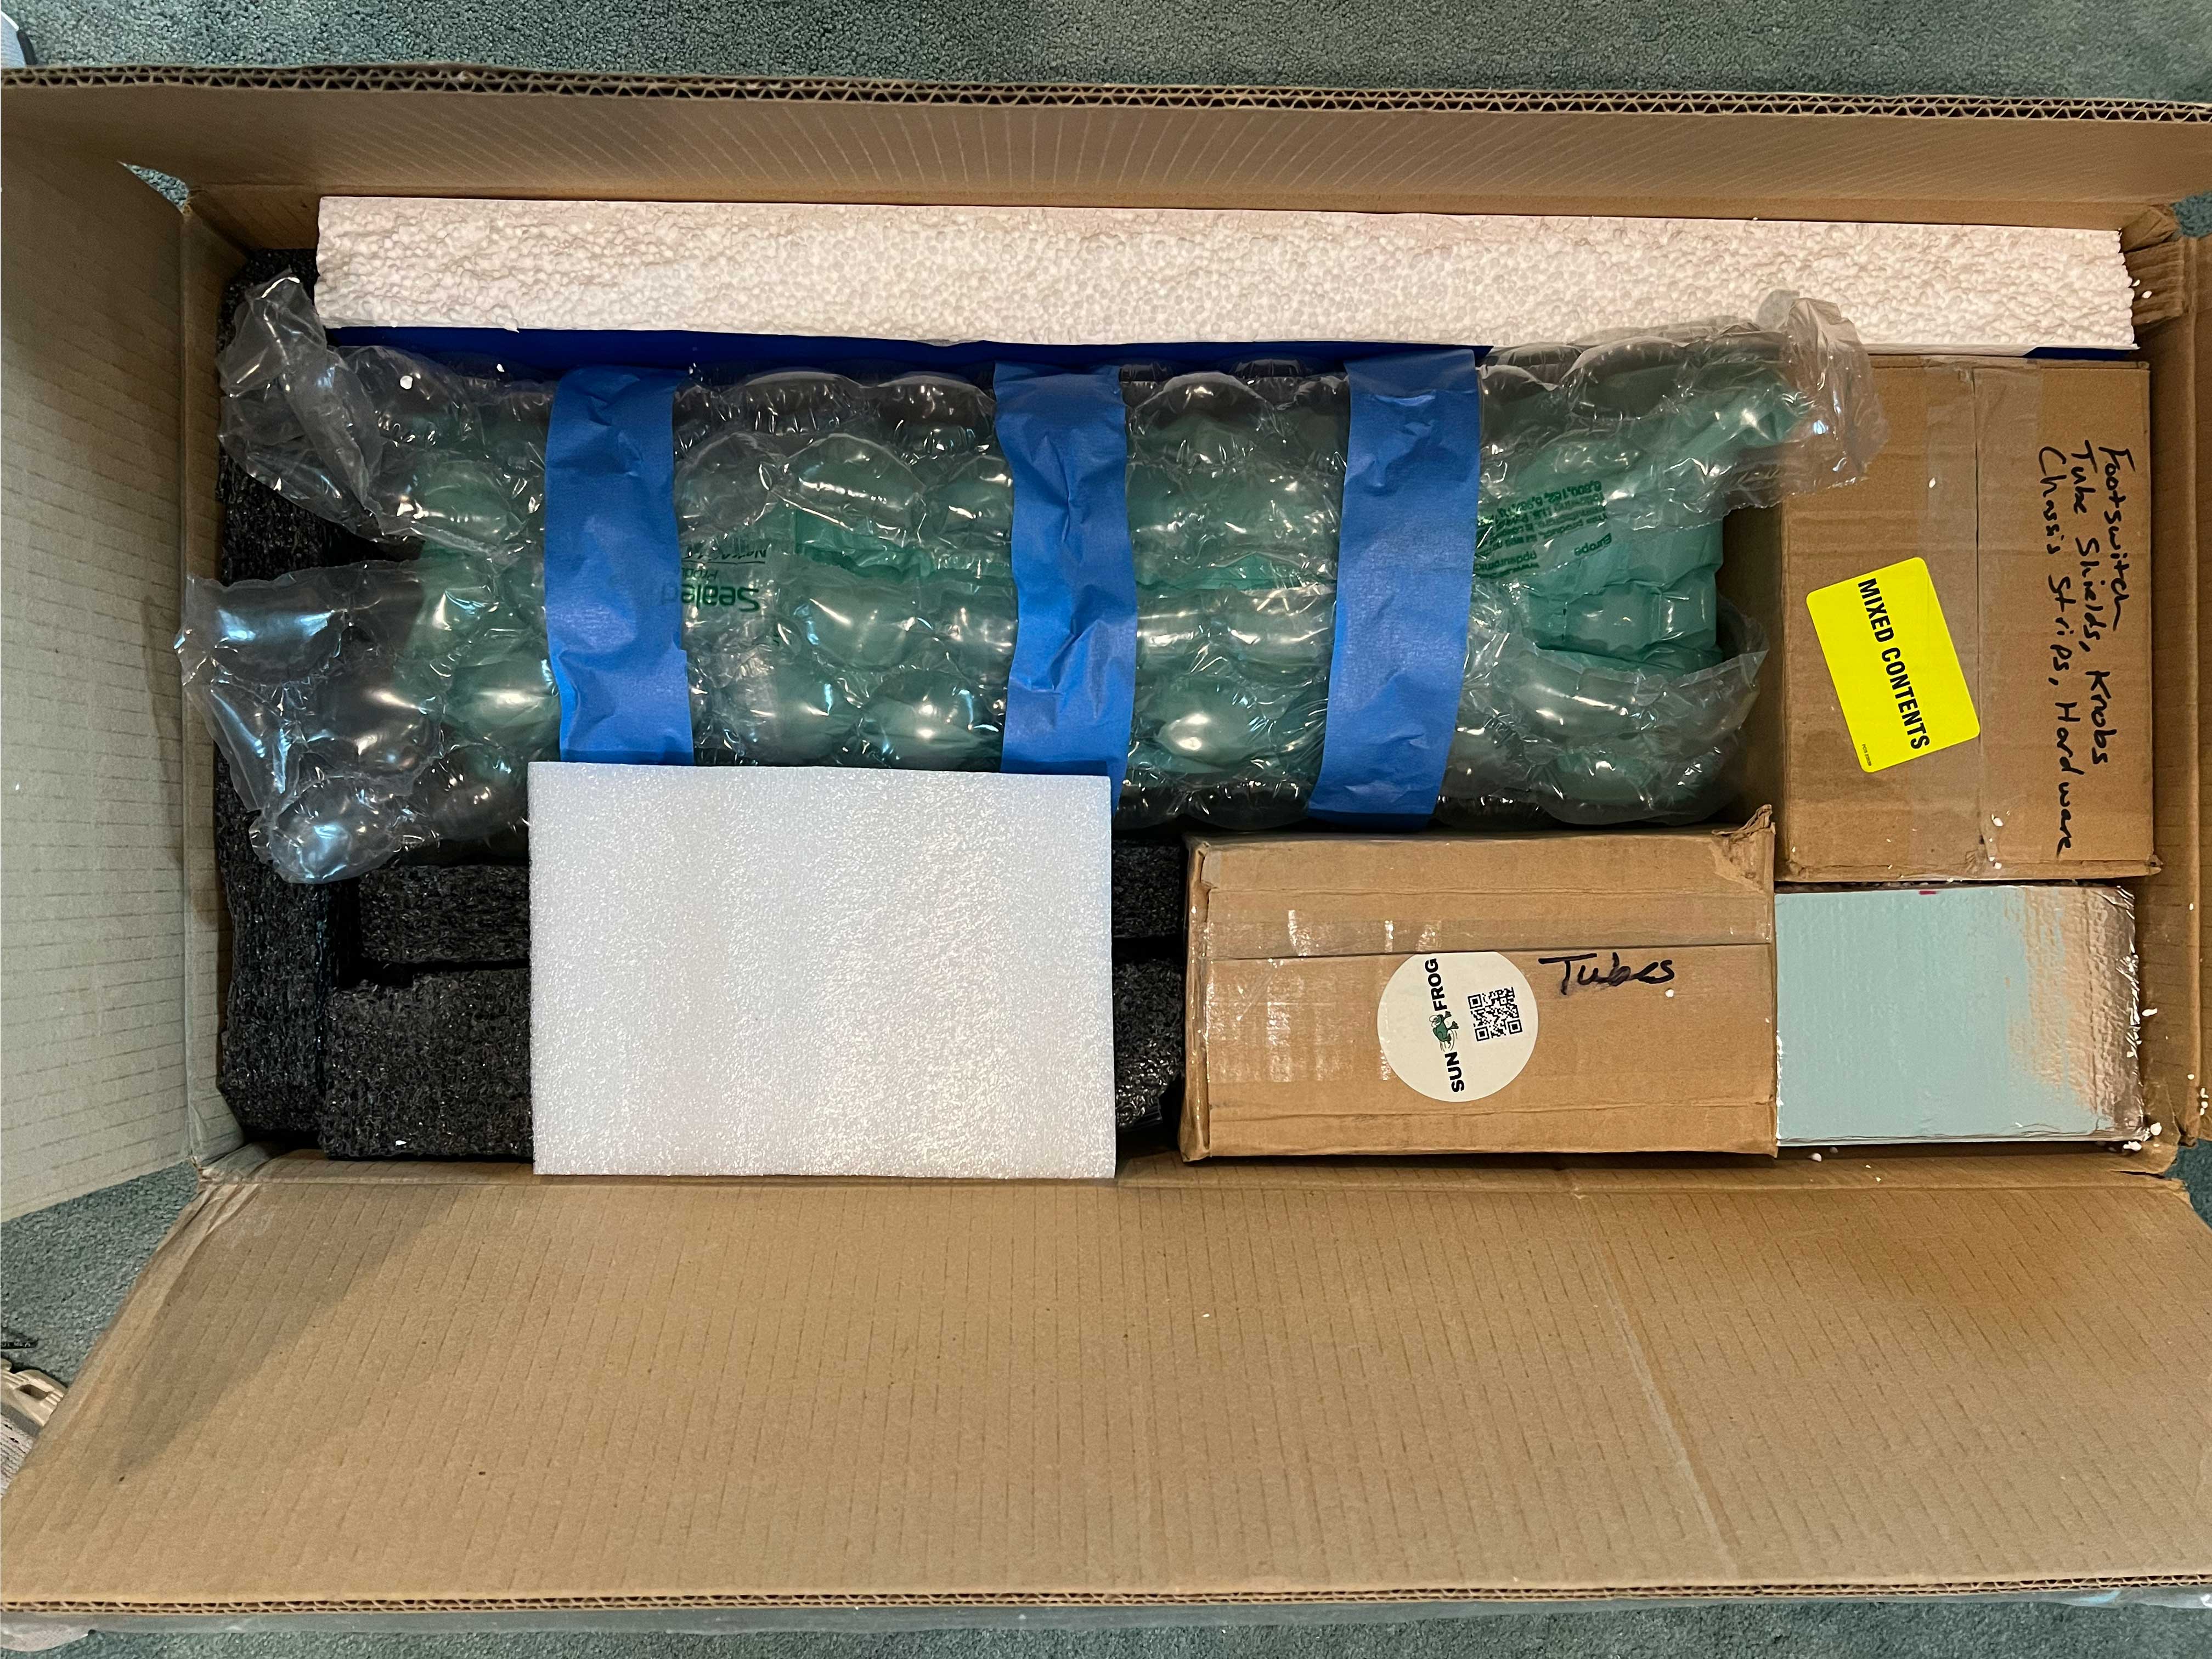
Packing The Final Box: Delicate Items (Tubes, Reverb Tank, and misc. hardware).
Obviously ensure your tubes are padded in shipment. Smaller boxes were included inside the main box, both providing additional protection as well as eliminating the chance of a tube rolling into a reverb tank.
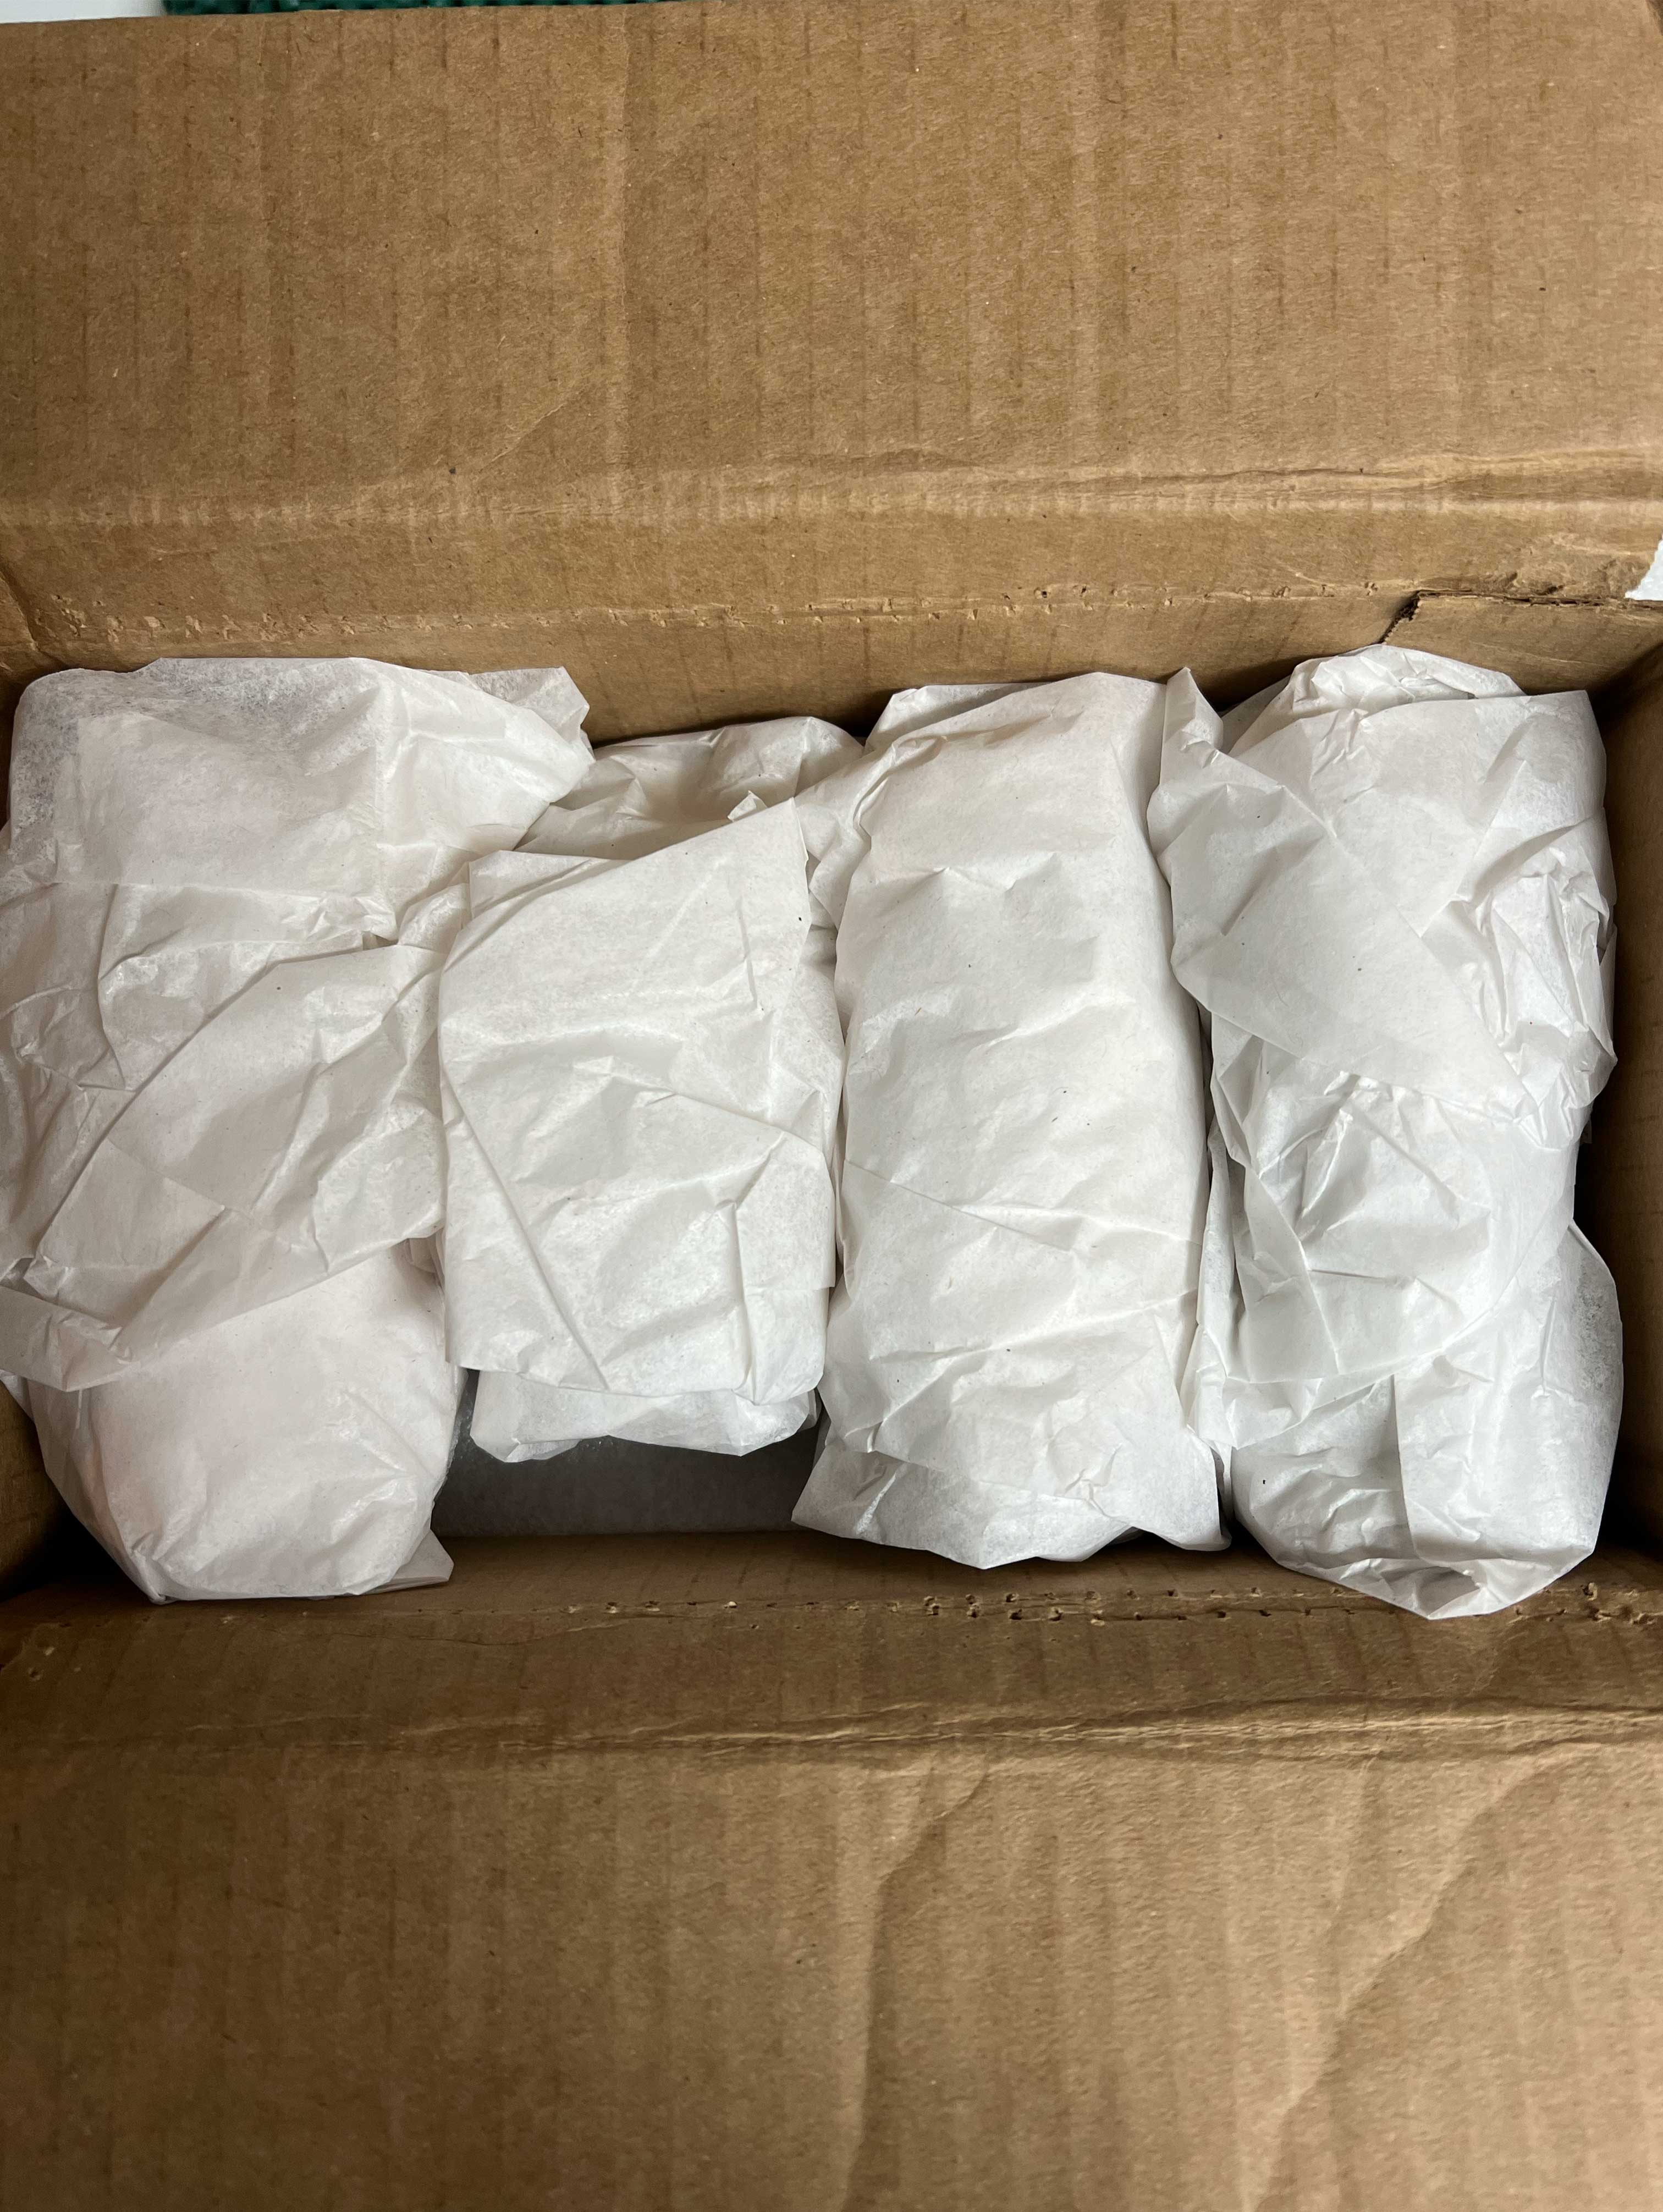
The additional padding makes for a better fit. Notice how I am not using rigid foam for the tubes. You want tubes to be padded with softer materials.
The reverb tank was wrapped in bubble wrap inside of the tank bag with the footswitch and other items in another separate box. The idea here is not only to avoid shifting items, but to take additional precautions to reduce the chances down to zero of anything rolling around and impacting anything else in the box.
Final Thoughts:
Obviously this method is not for everyone, but case in point, the first thing I saw after walking outside from the FedEx Office store was a worker loading the speaker box into a truck. From the corner of my eyes I saw that box rotate in a 360. FedEx was going to charge about $100 to pack, plus materials.
Insure your shipments even if you have packed them bomb-proof. Someone else with company budgets would have to make the potentially viral video test dropping a new non-finite run of the mill modern production Fender amp out of an airplane to the ground after following this packing method. I'm not going to run that test with vintage gear but no one ever regretted packing something TOO well. Pack it like you expect it to be handled by Godzilla.
In this case, shipping coincided with the winter storm knocking out power to 230,000 Nashville residents. Am I concerned about the amp arriving safely with delayed FedEx deliveries? Why would I be. I built an insulated house in every box.
Is it a lot of work? Of course. What do we gain for not putting in the work? A few more hours on social media? What kind of accomplishment is that.
I promised the previous owner the amp would arrive safely, and it will.
Join Our Mailing List For More Content
Join our mailing list to receive even more free content. Once I month I send out a free newsletter containing more inside tricks of the trade, anecdotes, and more. There is no commitment required and I offer this for free to anyone who finds value in these writings.
We hate SPAM. We will never sell your information, for any reason.
