How To Ship Tube Amplifiers - Eliminate The Weight (Finding A Gem Down a Dark Dirt Road Pt. III)
Jan 24, 2026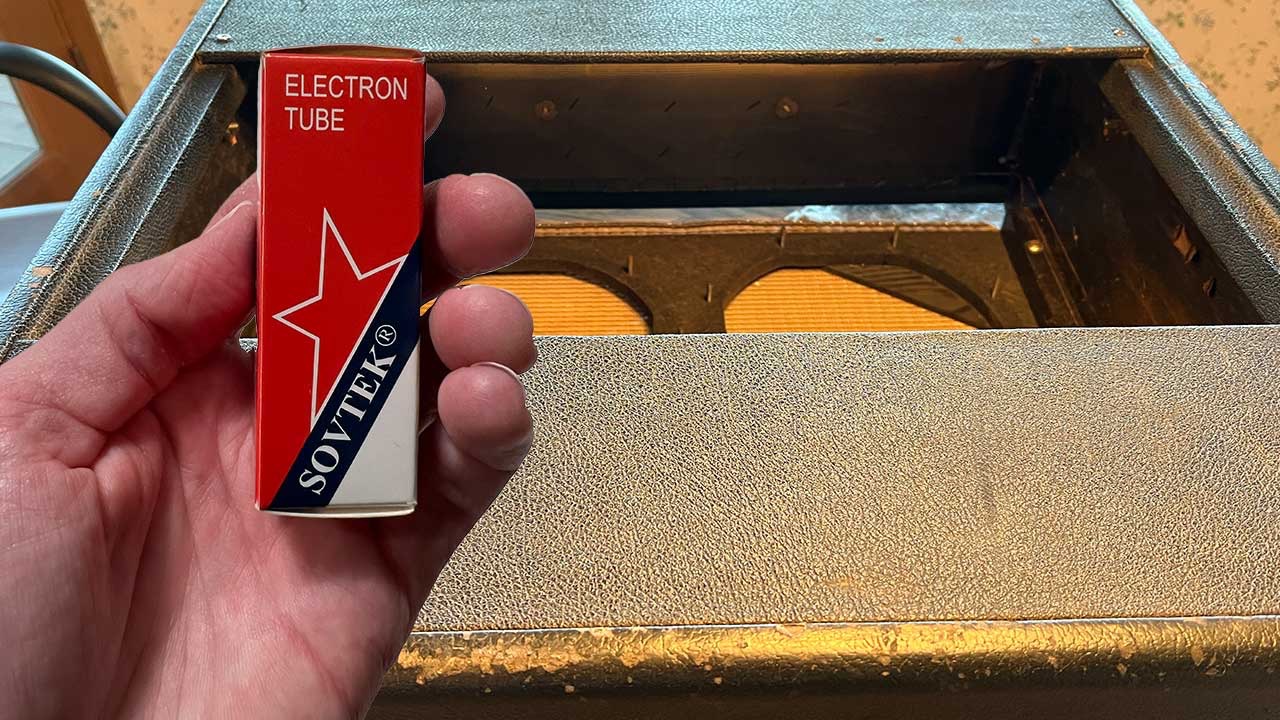
Remove Tubes (Common to all methods):
Whether you elect to pull the chassis or not, preparing the amp for shipment begins with removing the tubes and storing them individually wrapped in a padded box. Be sure to label where each goes. I label them from the first stage preamp outward, sequentially numbered (V1, V2, V3, etc.). Although I highly suggest chassis removal, if you cannot do so or elect not to do so out of convenience, skip this section and meet me again in Part IV.
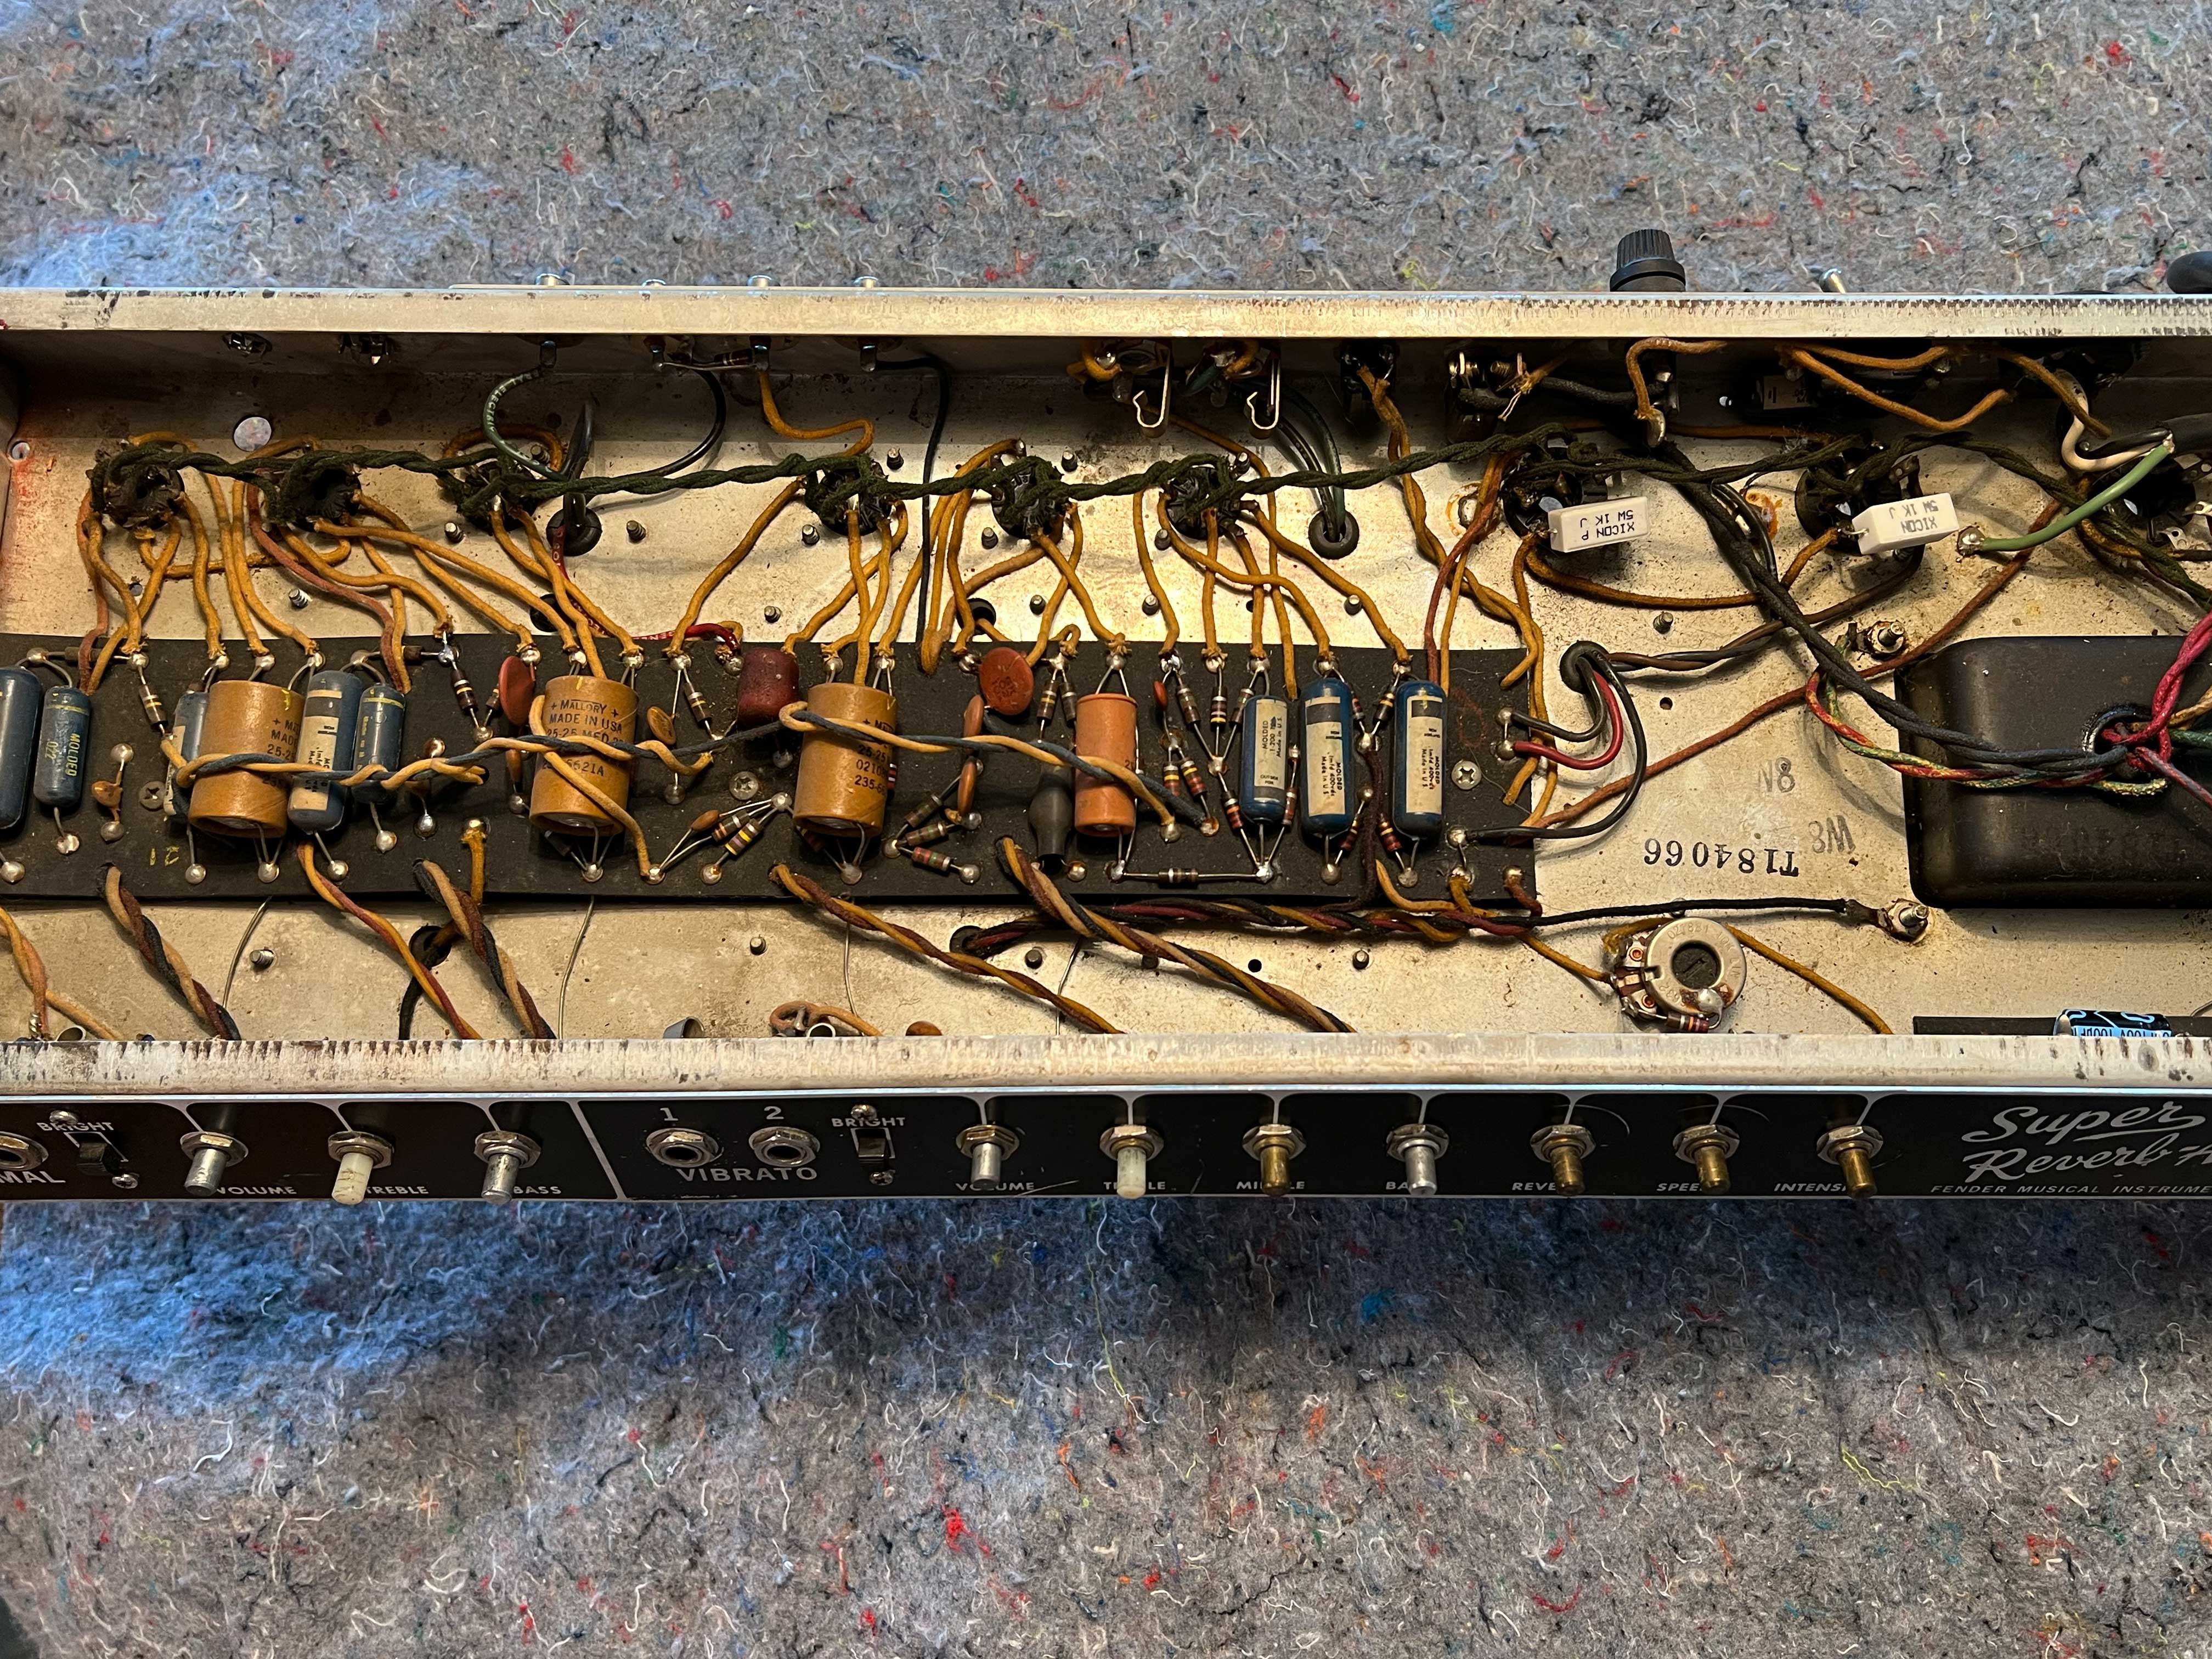
Remove Chassis (Capital City Guitars method):
With the back cover removed and tubes pulled, then unscrew the wood screw securing the power cord to the wooden cabinet. That way you won’t go to pull the chassis only to find that the power cord is holding you up from removal. Label everything in individual bags so that nothing can get mixed up. If your amp has reverb, also disconnect the Reverb input and output RCA cables from the back of the chassis, along with the speaker cable. Now you have the chassis prepared for removal.
Be forewarned that tube amplifiers may contain hazardous voltages inside well after powered off and disconnected from the wall, so if you don’t already work on your own amps and are not a tech, here is all you need to know: avoid touching anything inside the chassis as you are pulling it. Removing jewelry and watches is good practice, and make sure you are not doing this barefoot on a concrete floor.
If you use common sense to not touch any eyelet or turret connections (which you would have to work very hard to do when simply removing a Fender chassis) the odds of anything going wrong is not more than driving to the store for a loaf of bread.
Use a well-fitting Philips head screwdriver on the chassis straps, and loosen the nuts on the underside.
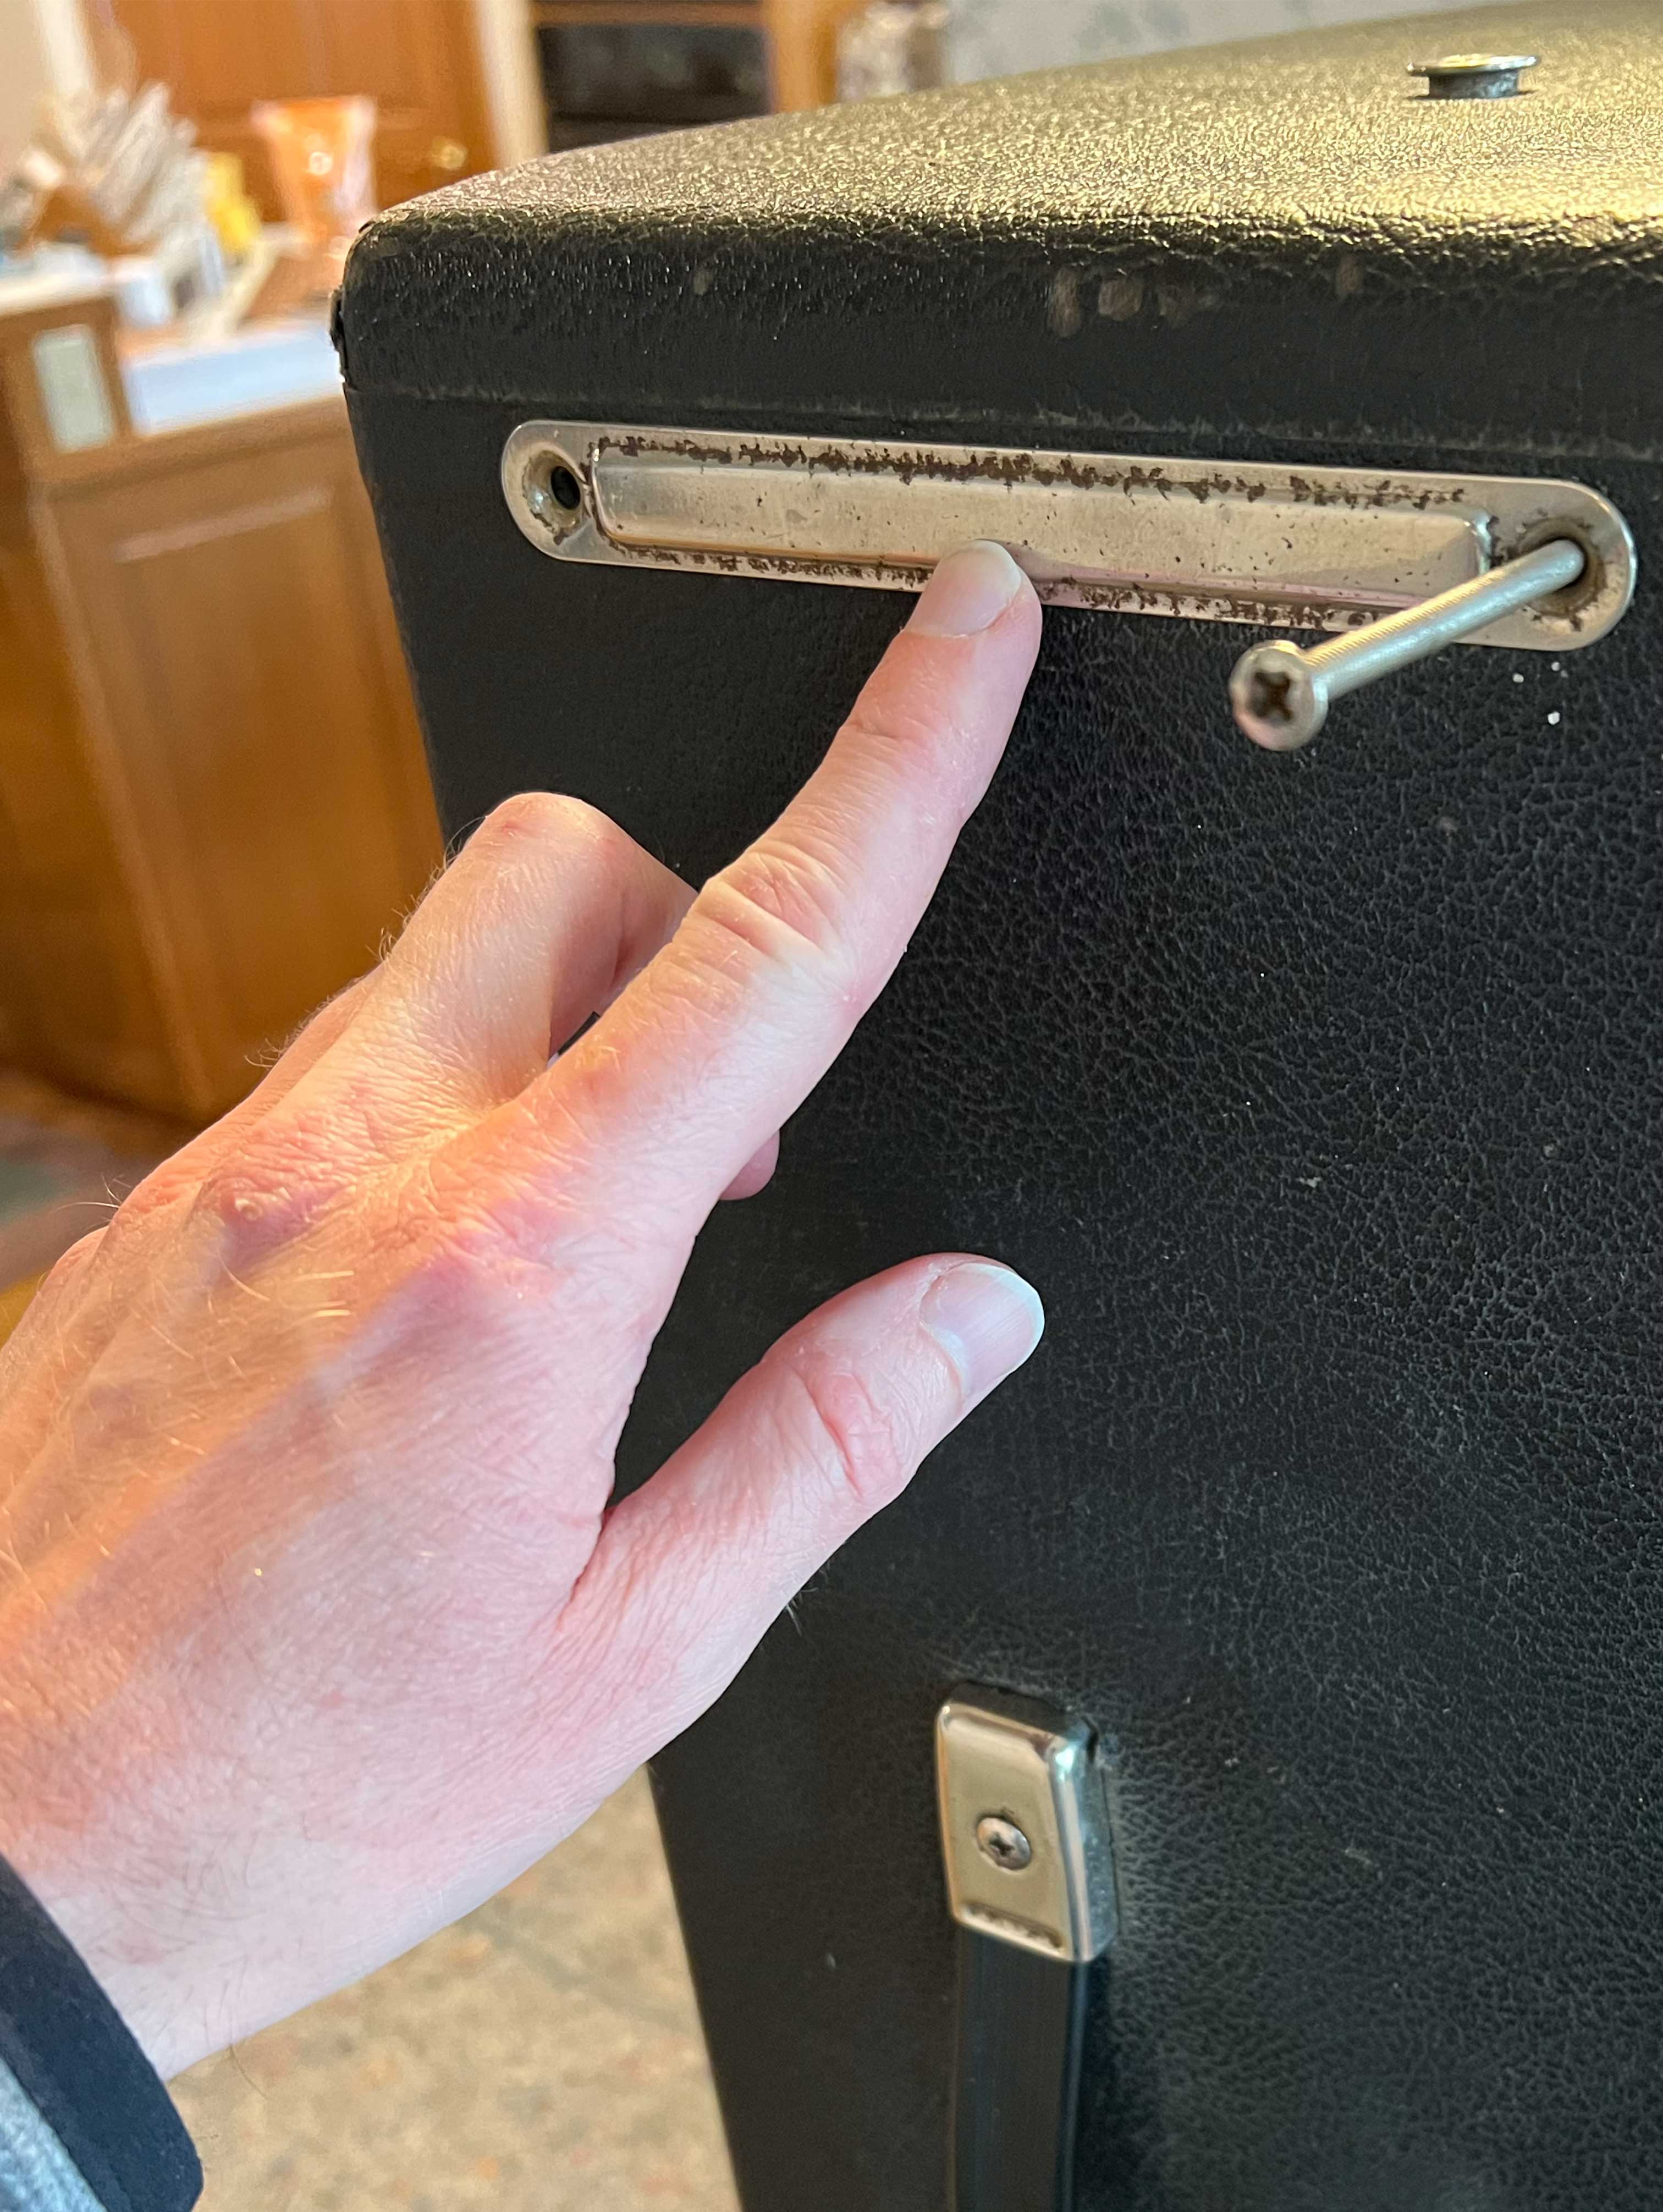
So that the chassis will not fall down, I learned from watching a video of Louis Rosano in his shop at the Louis Electric Amplifier Company to put the amplifier on its side with the power transformer nearest the workbench/table.
That way you can support the weight of the chassis at the power transformer and guide the chassis out. On the Super Reverb in particular, if the chassis drops down, the output transformer in the center could impale a speaker cone. By placing the amp on its side you control the motion and substantially reduce working against gravity.
![]()
Support the weight under the transformer while removing the bolts and nuts so that nothing becomes bent or torqued.
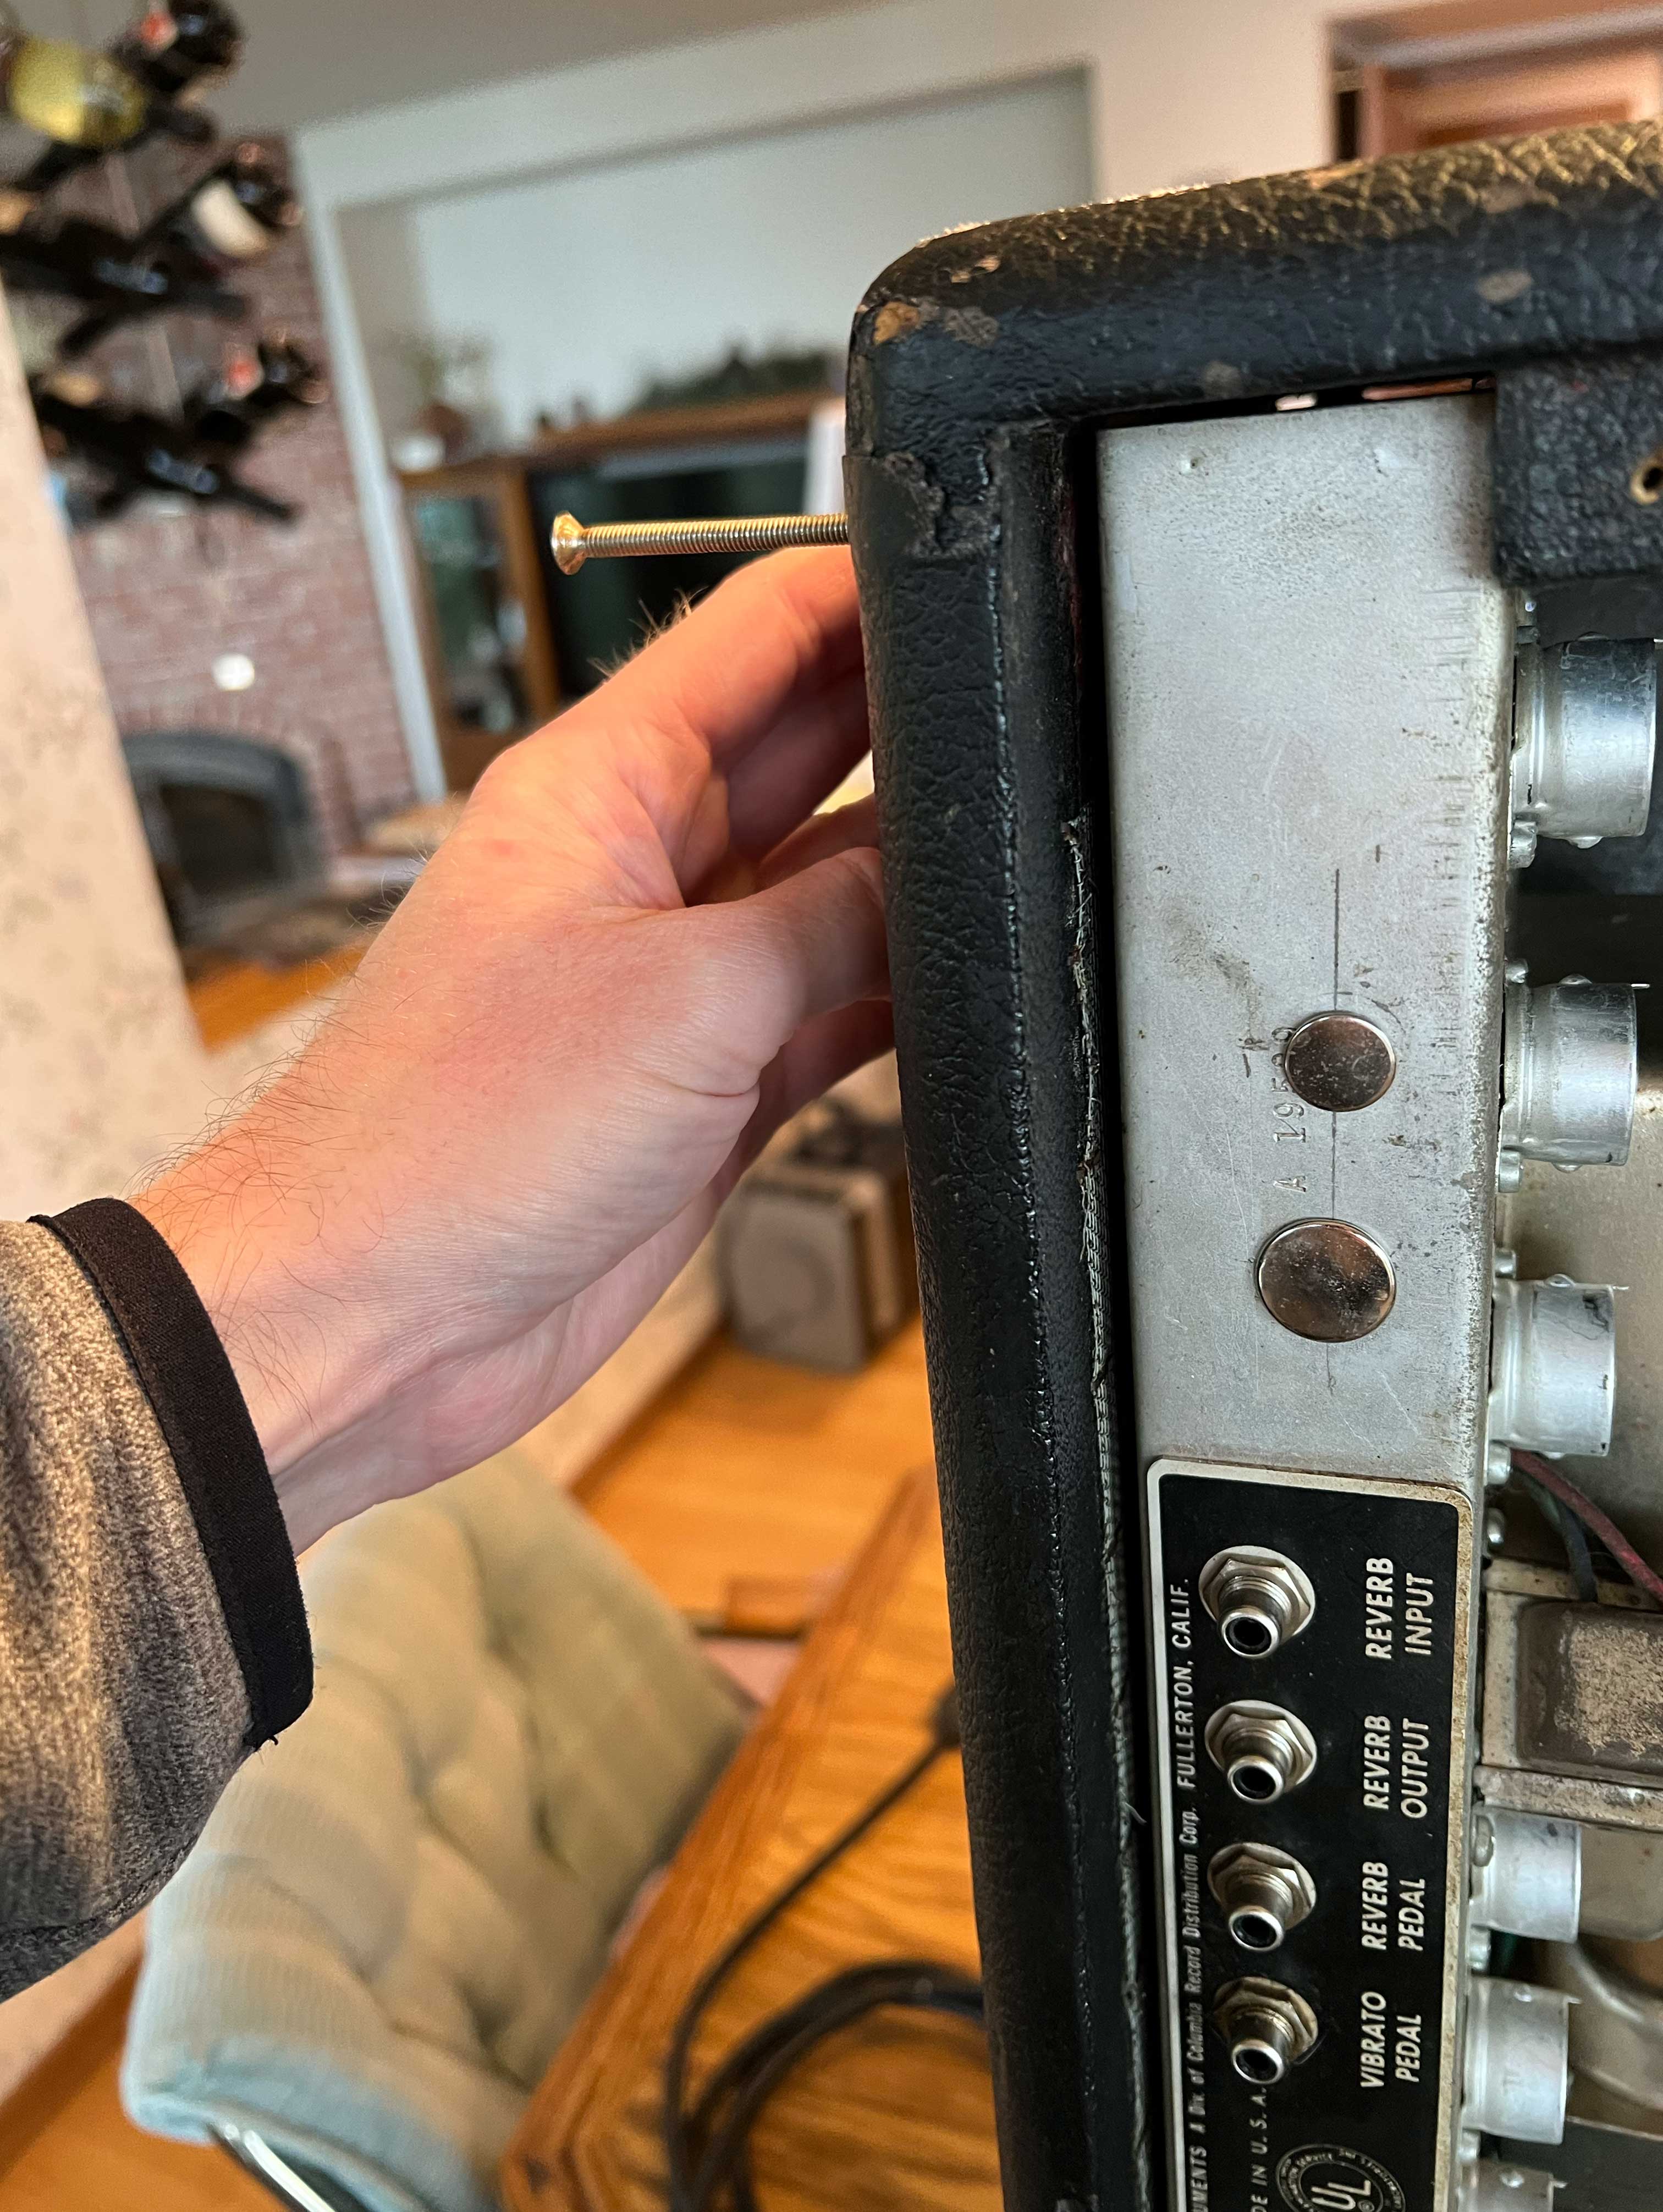
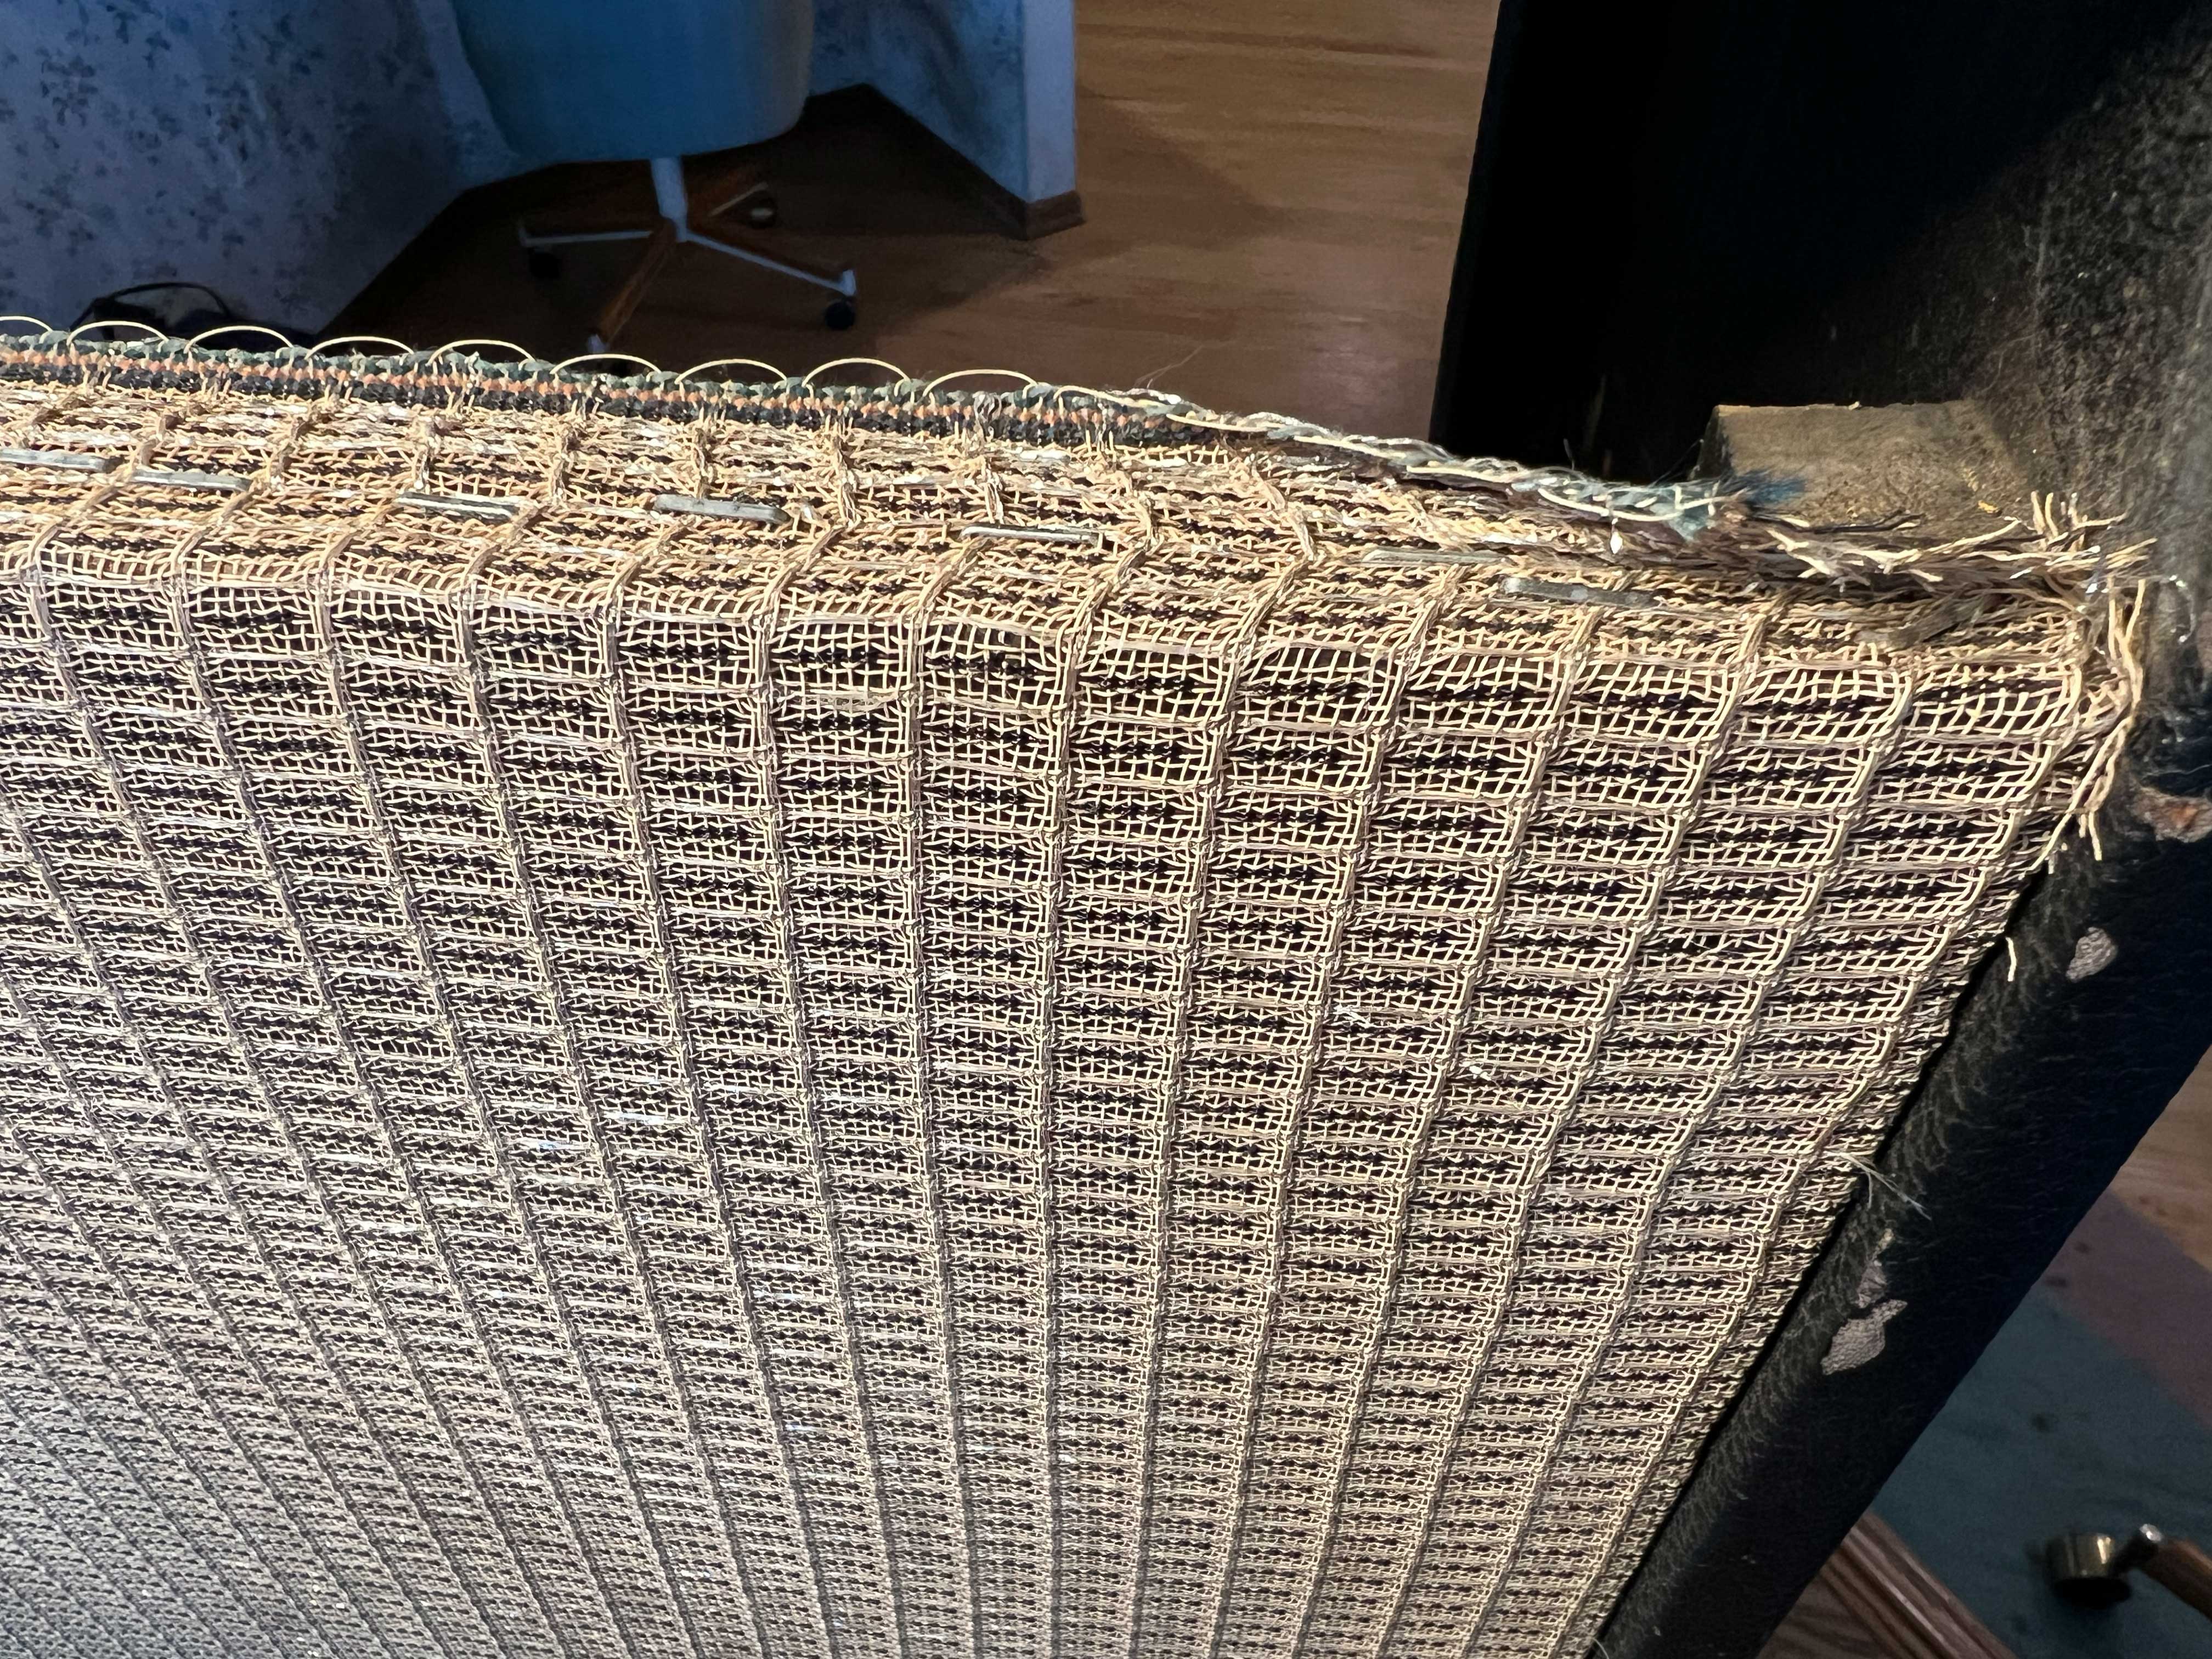
If the chassis does not want to come out, don’t force it. When I got the Super Reverb it had a very common problem on vintage black and brownface amps - a bent faceplate. I straightened it out with a pair of iron bars, C-clamps, and a towel to protect the paint on the front of the panel, so there are techniques to repair faceplates, but it’s better to avoid bending them in the first place. Perhaps not surprisingly, I found the probable cause after removal. The grille cloth was bent over with an extra layer on top at the corners. Bent faceplates are frequently caused by improperly pulling a chassis.
Because the filter caps, bias supply cap, and screen resistors had been changed, I was certain a tech had been in here before so it is most likely the faceplate had been damaged in previous “service.”
One more reason to work on the side so that gravity is no longer sandwiching the heavy chassis to the cloth snagging on the faceplate.
Since I took the time to remove the faceplate for repairing the bends, the knobs had already been removed in the photograph below.
Speakers (I’m Going Totally Nuclear Method):
Recall the story in Part I about the previous owner of this Super who had a Twin Reverb arrive from Guitar Center with “absolutely wrecked baffle, speakers in a pile on the cabinet, and one of the speaker cones torn too.”
Since I had the original padded boxes from Eminence this was a no brainer.
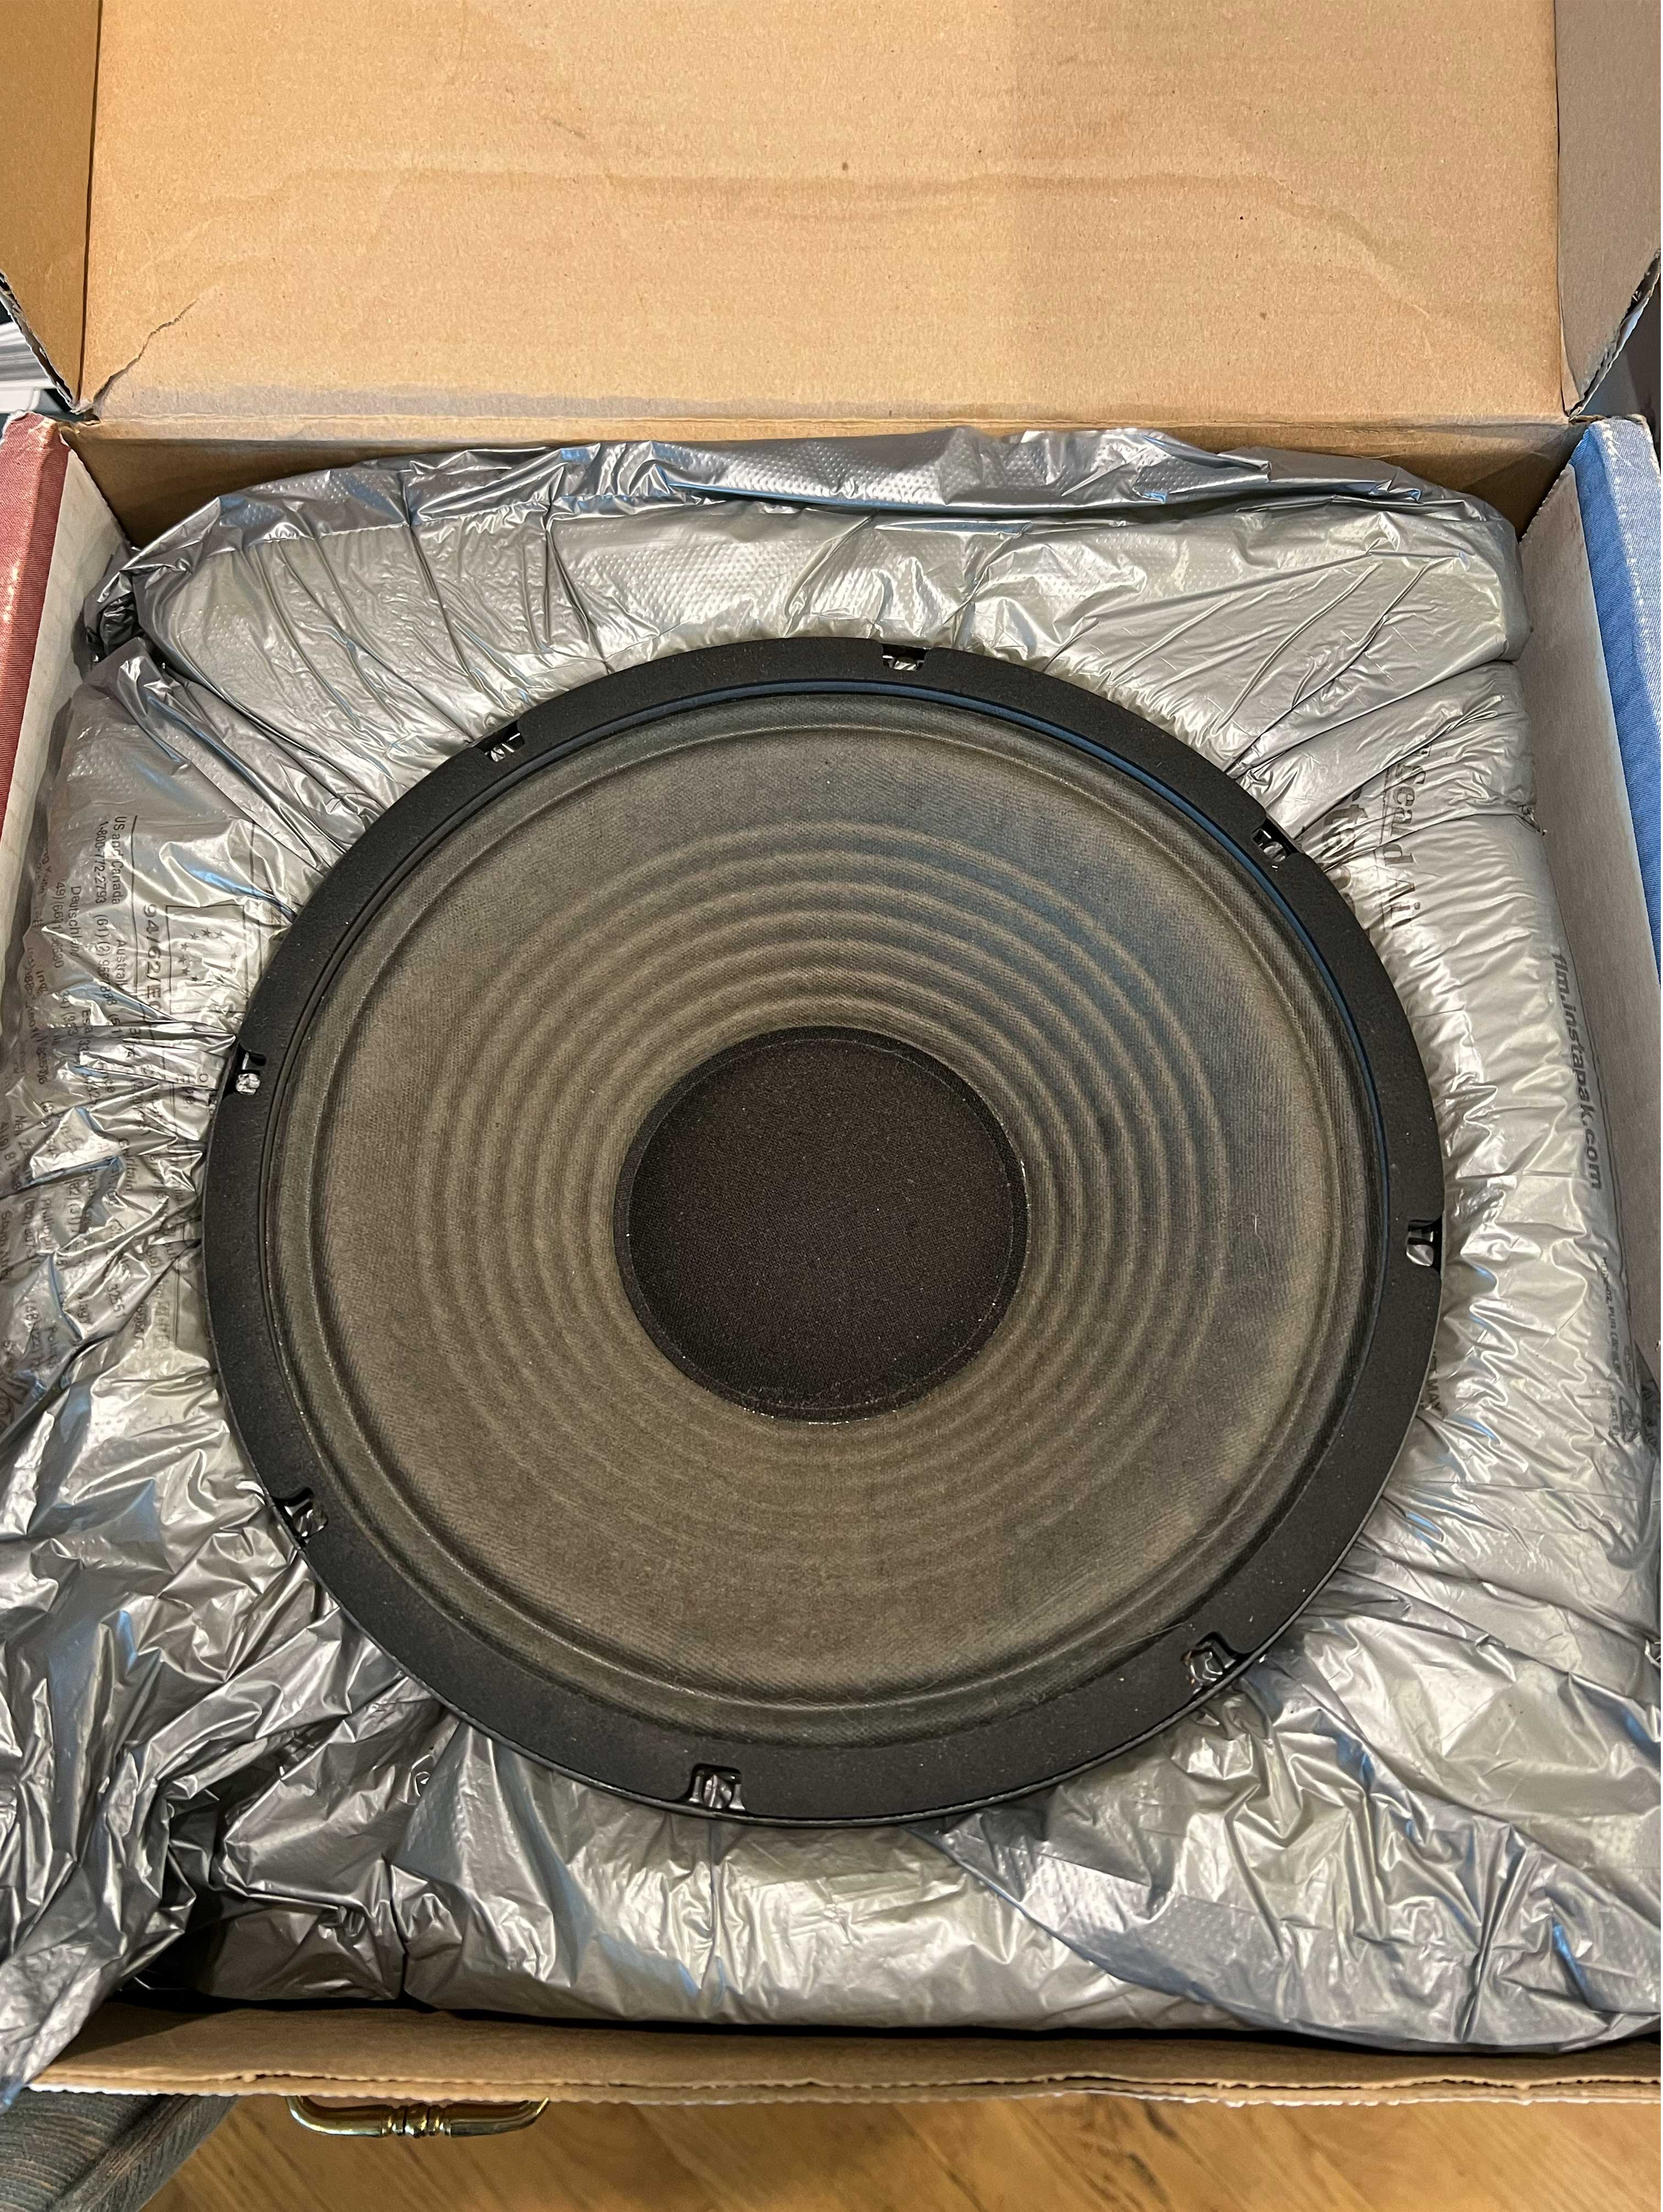
The additional weight of four ceramic magnet replacement speakers (which are considerably heavier than the original Alnico magnet CTS/Fenders) on an aging particle board baffle in fine shape merited the time involved to remove the speakers and ship separately. It’s worth it for the value I place on preserving and taking care of vintage amps. YMMV.
If removing speakers, be careful to ensure that no solder drops down onto the back of the cone when removing the speaker leads. I carefully placed a protective sheet over the back of the cone while working.
With leads removed, loosen the nuts and lock washers securing the speaker to the cabinet. This is a good time to take notice of how they are installed. You do not want to over tighten speakers. Doing so may warp the basket and cause voice coil rub, ruining the speaker. Work in opposite directions instead of all at once. For instance, 12:00, then 6:00. 3:00, then 9:00.
The Reverb Tank:
The reverb tank was also removed (not shown). As I wanted to inspect it for originality after the sale, this was done early on. While not terribly expensive to replace, original ones would be and the tank is little more than some springs with a couple transducers and tiny wires. While these regularly survive tour buses, cargo, and decades of use by players, the original tank was not about to become damaged on my watch for lack of adequate shipping preparation, so it was removed and treated to the same level of care as tubes.
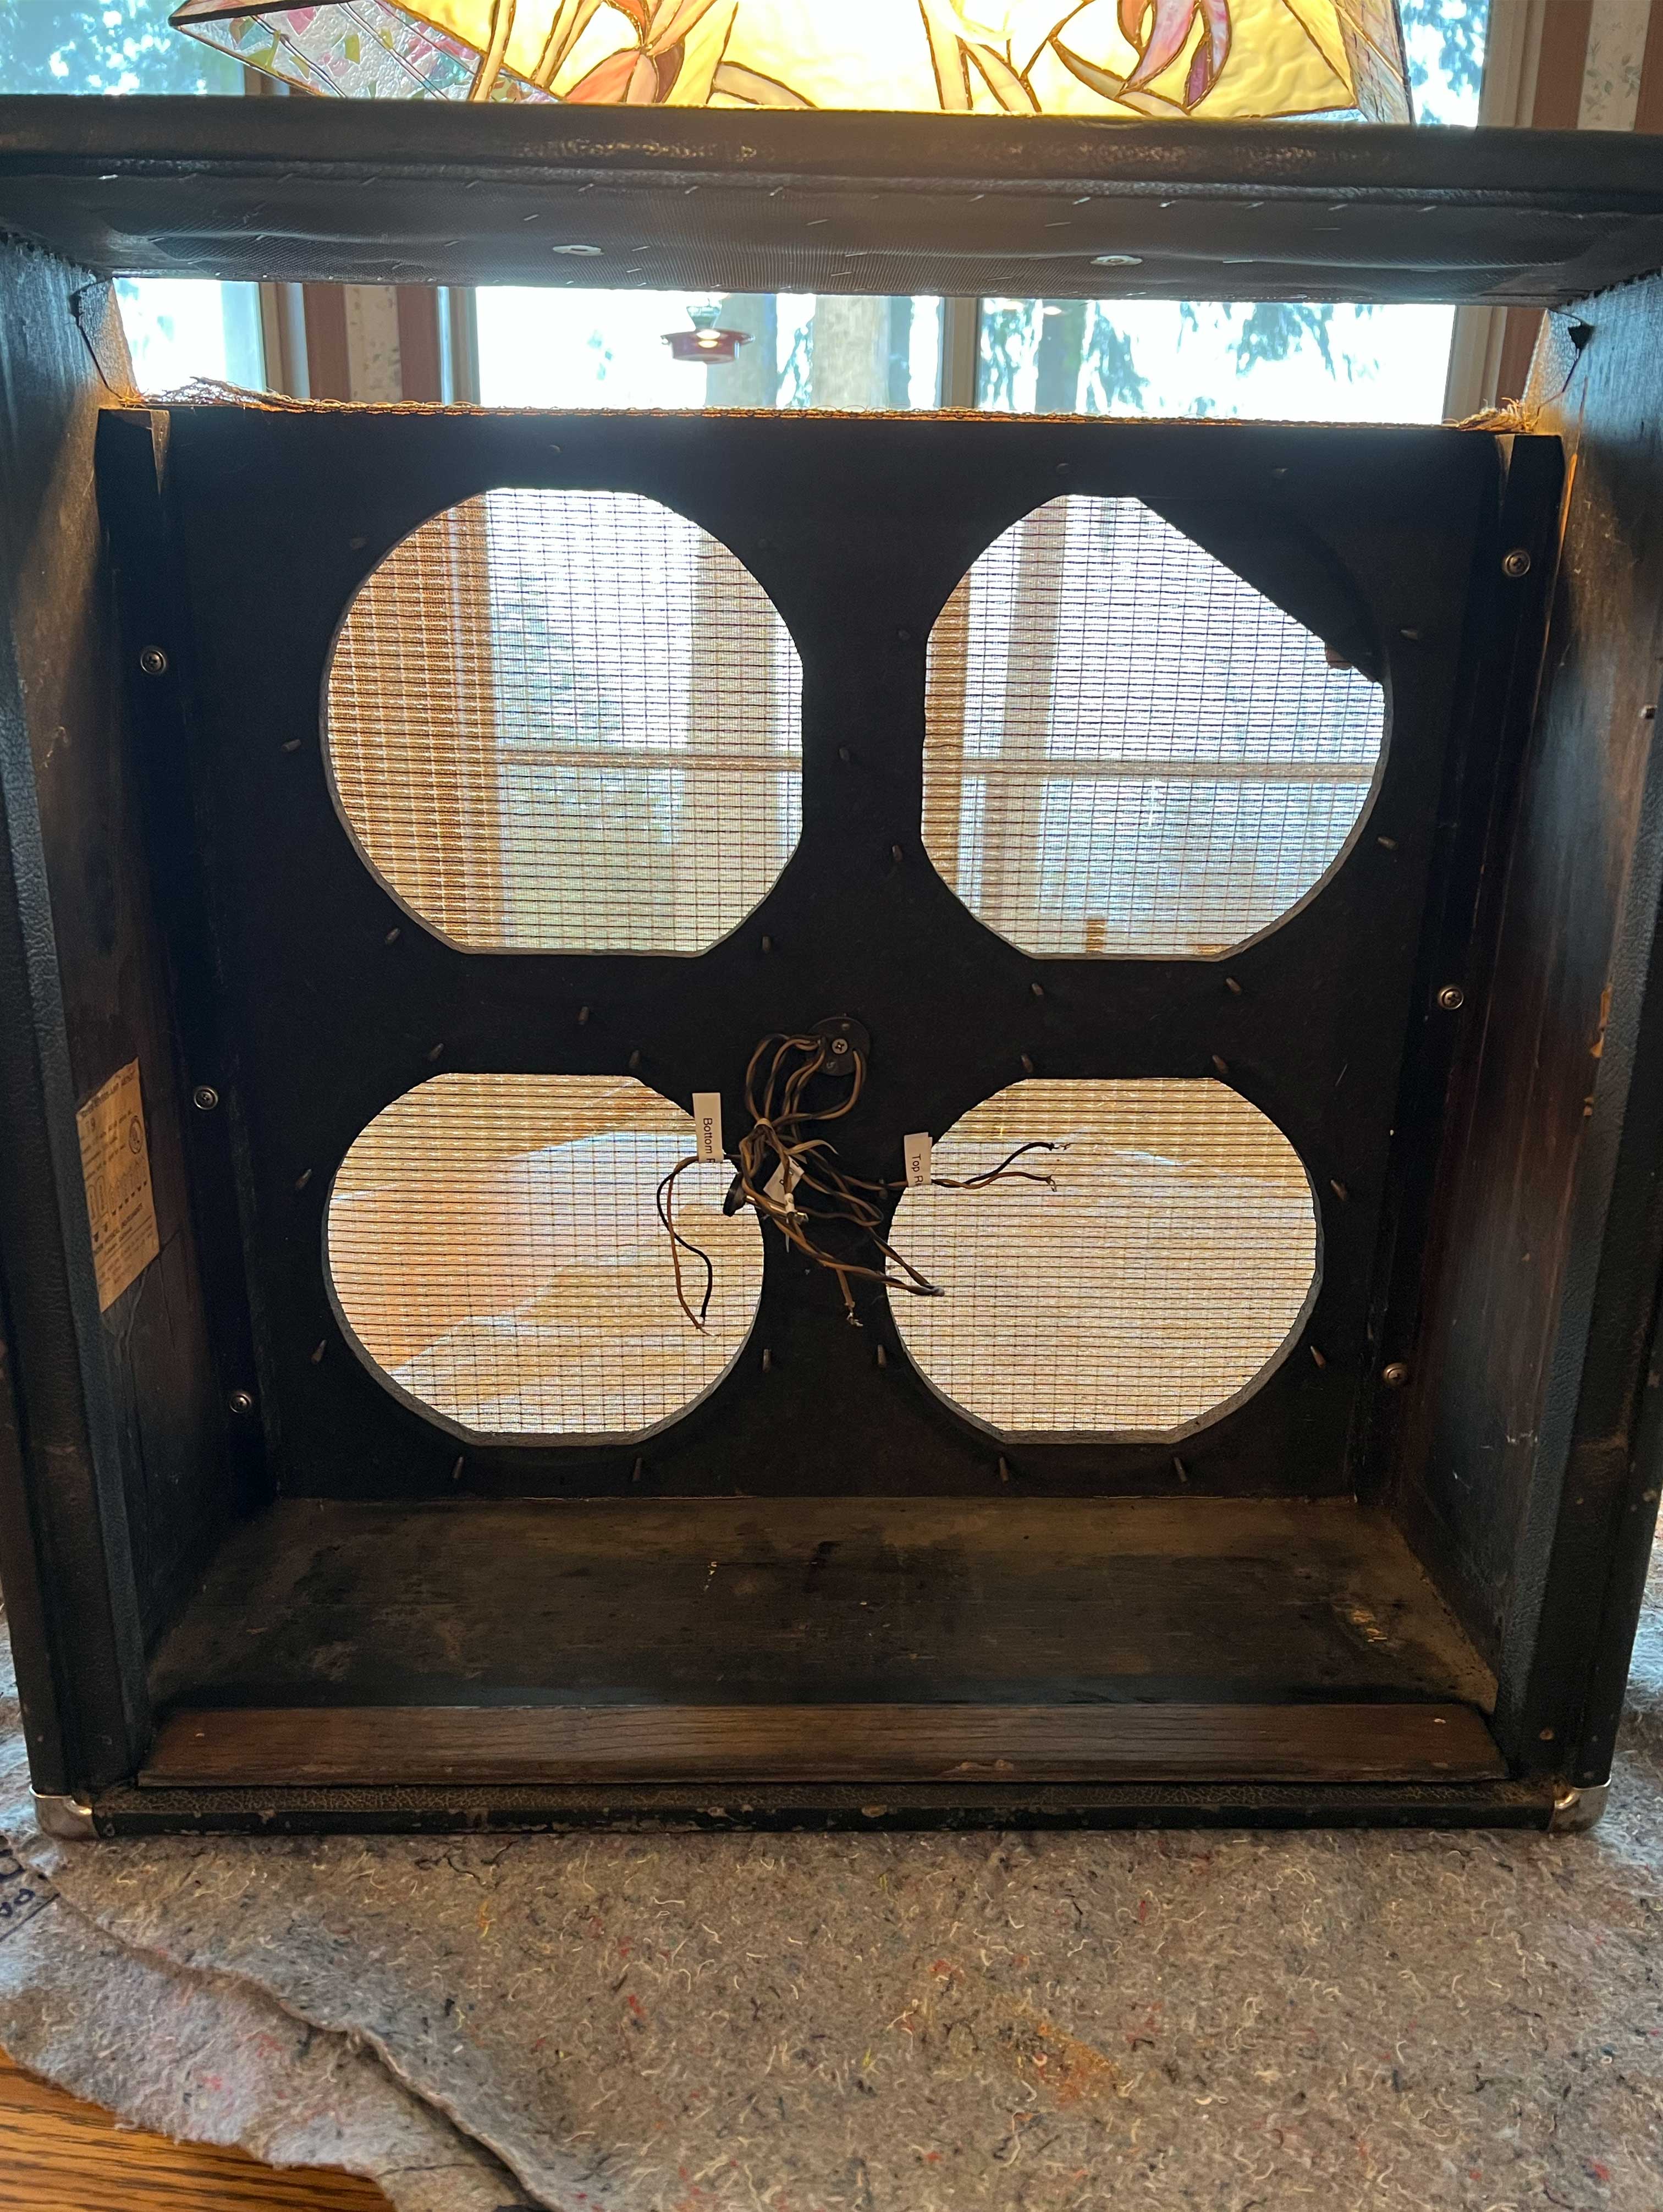
Bare Cabinet
Now the cabinet was bare and ready for packaging. Removal of the speakers and tank also allowed closer inspection of the condition of the cabinet in general. Sometimes a little extra effort can stop larger issues before they arise. This was one such case.
With a clear view of the bottom, I noticed a crack along the full length of the bottom piece (previously hidden by the back panel), in line with the hole for the bottom back feet. A strip of hardwood (oak) was used to repair and strengthen, delicately cutting the tolex back along a very straight line and test-fitting to leave ample room for the panel to go back on after the repair. This repair is visible in the picture with the cabinet now bare:
Meanwhile I got in touch with Will Dyke at Amarillo Amp Works, both because he does great cabinet work, and to see if he could provide an expert’s eye on the condition of the rest of the cabinet. He graciously shared with me about Fender’s joint cutting machinery decades ago and was very generous with his time to take a look at the condition of the finger joints from inside the cabinet.
With the integrity of the cabinet verified, it was time to not let it get destroyed during shipment.
In Part IV we’ll begin the boxing.
Join Our Mailing List For More Content
Join our mailing list to receive even more free content. Once I month I send out a free newsletter containing more inside tricks of the trade, anecdotes, and more. There is no commitment required and I offer this for free to anyone who finds value in these writings.
We hate SPAM. We will never sell your information, for any reason.
